Question
Clipping Mask?
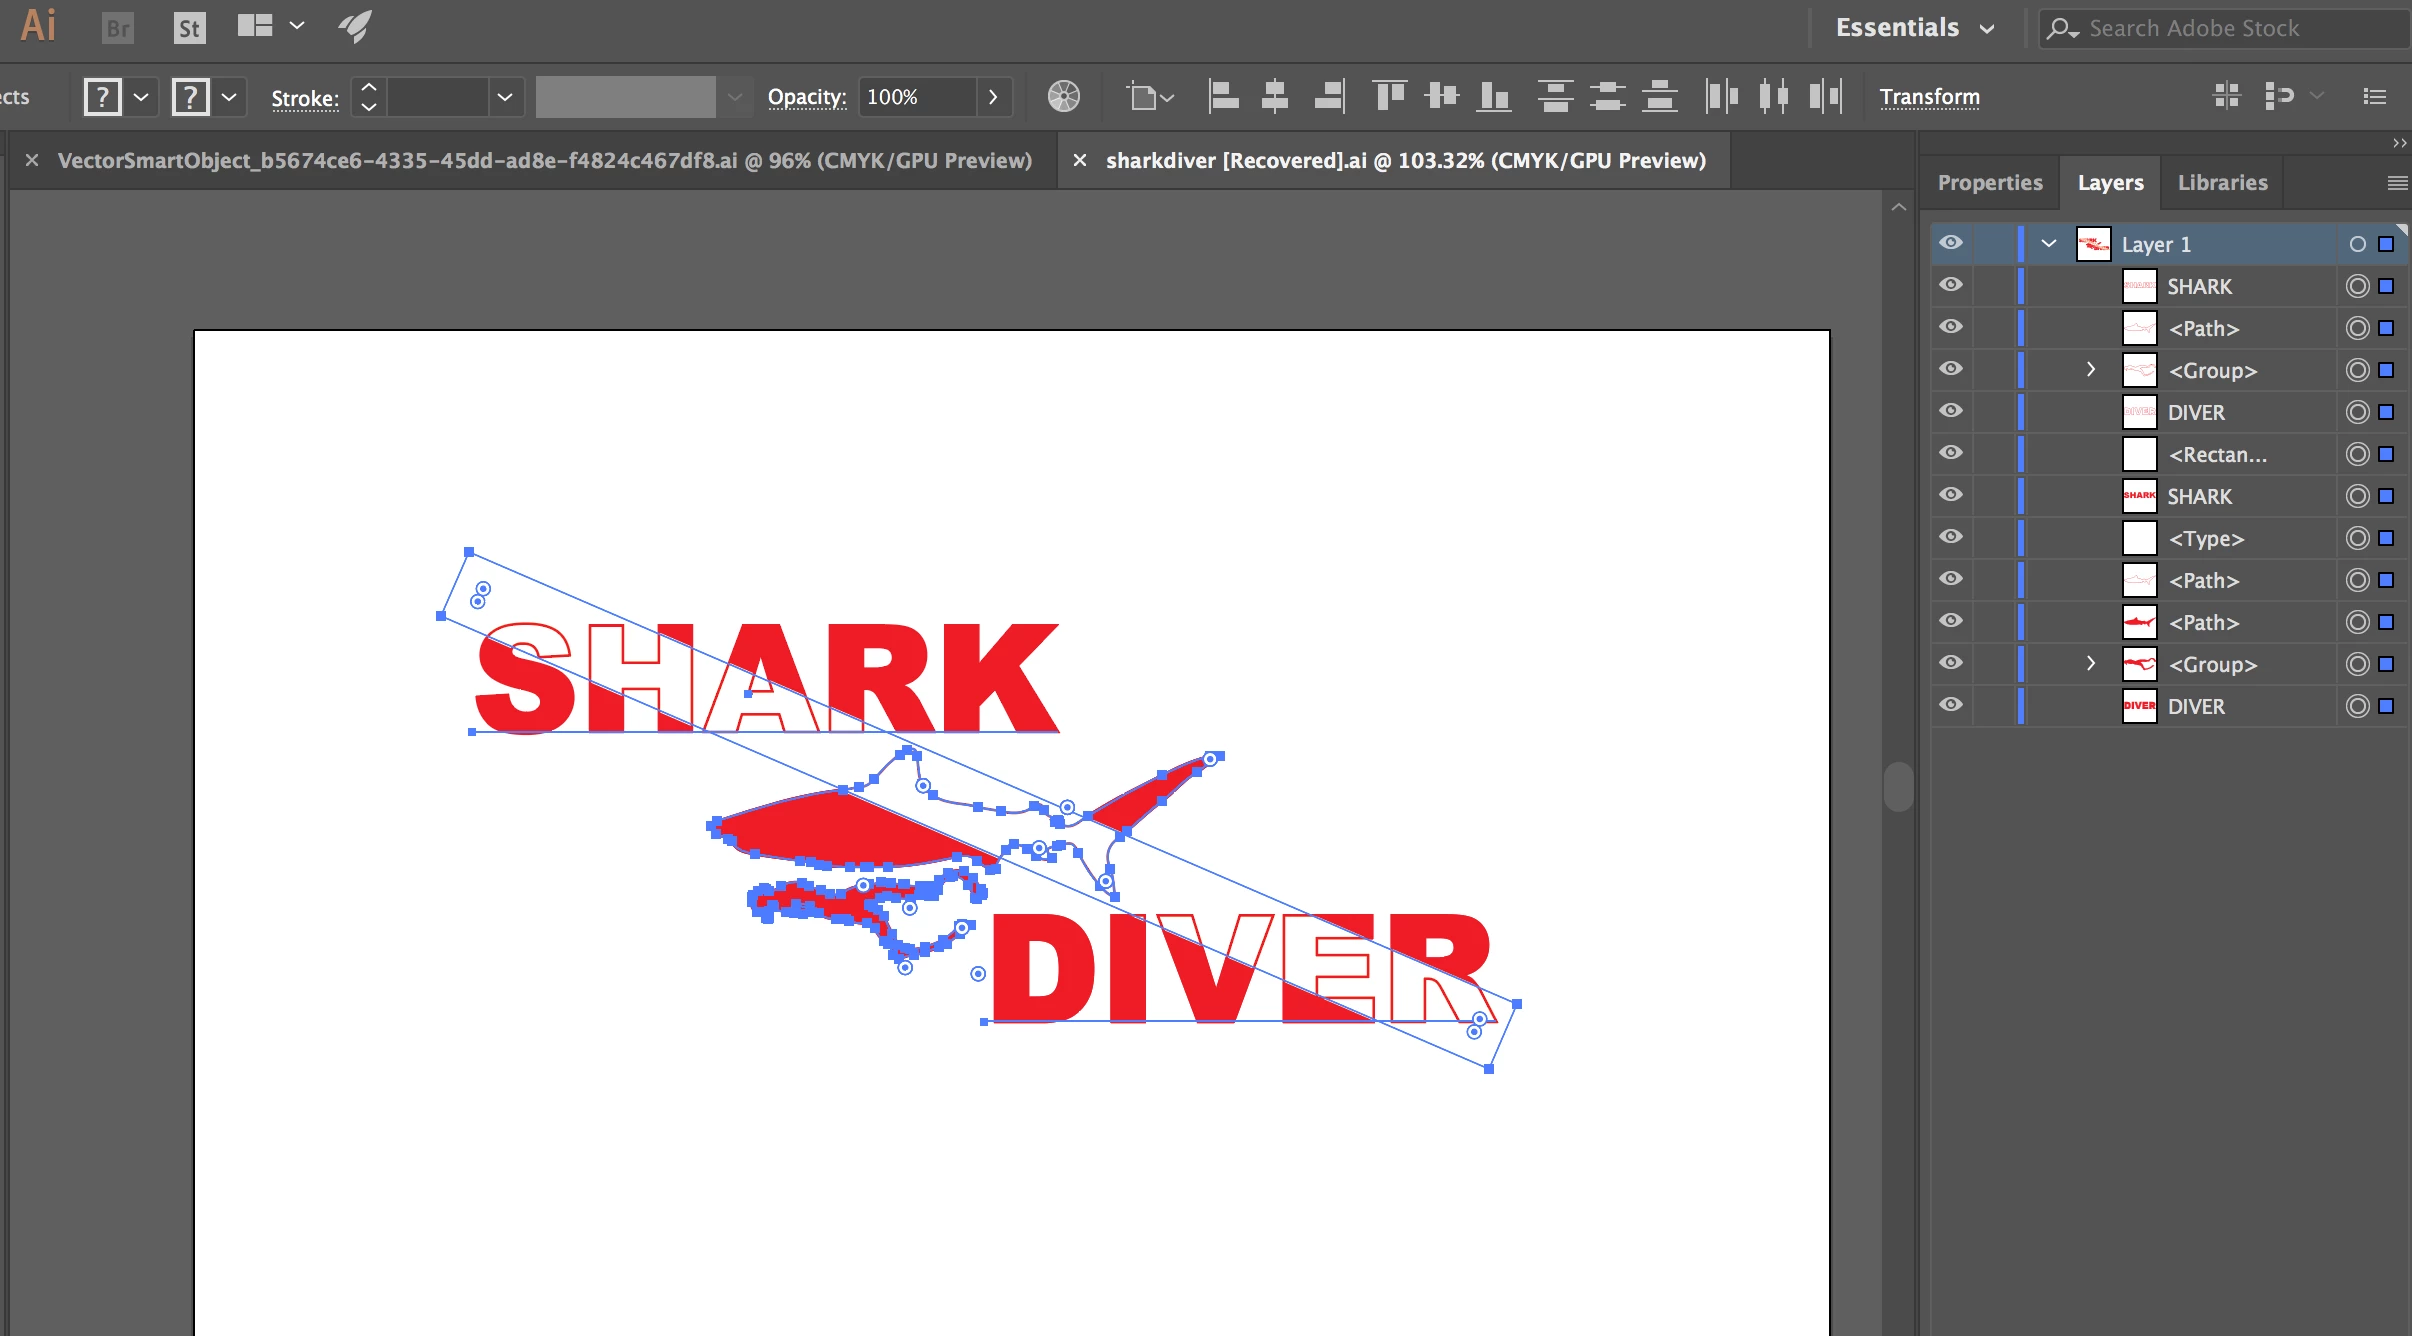
Hello,
I have a design that I am trying to create but I am having trouble doing it. The design I am trying to create a design that resembles a dive flag. That being said, I can't figure out how to get the text and the shark to have a white streak overlay on them. When I export this design the white rectangle that I have placed over the design is being exported as well. How do I clip the design so that when I export it the rectangle will not show.