Copy link to clipboard
Copied

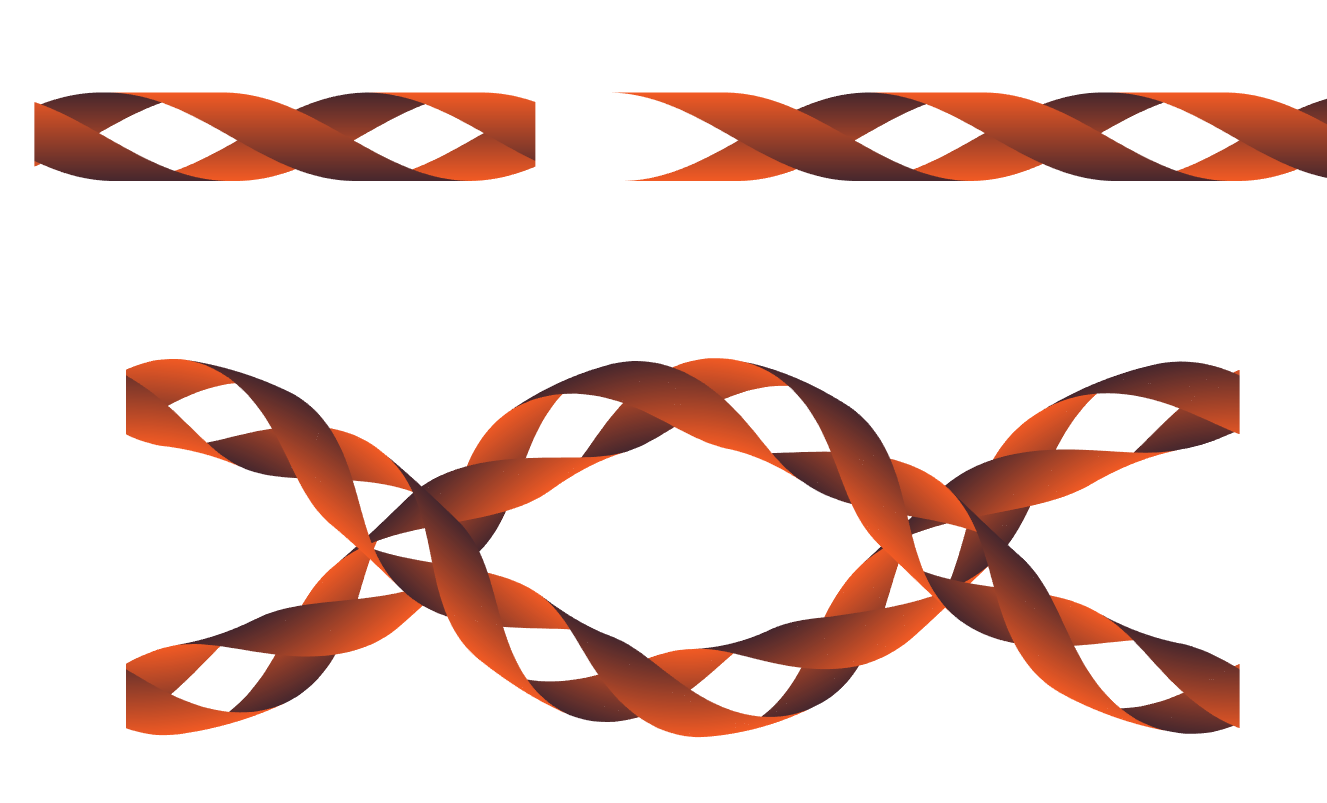
One would think a double helix wouldn't be rocket science in Illustrator, but I'm stumped. See the two twisted ribbons herewith, each created by extending a thin rectangle diagonally along the extrusion of a circle, using 3D effect. I'd like them to twist inside each other, though. I don't need the final illustration to be editable 3d, though that would be cool. The first blunt-object idea I had was just to expand/flatten the top object and then erase the portion that's going "behind" the bottom object. This has proven more difficult than I'd hoped.
Any help doing this, or finding any other nifty way of making a double helix in Illustrator gratefully accepted. A google search has been surprisingly unsuccessful.
Rob
 1 Correct answer
Here is my 2D live effects interpretation in case this is useful to you.
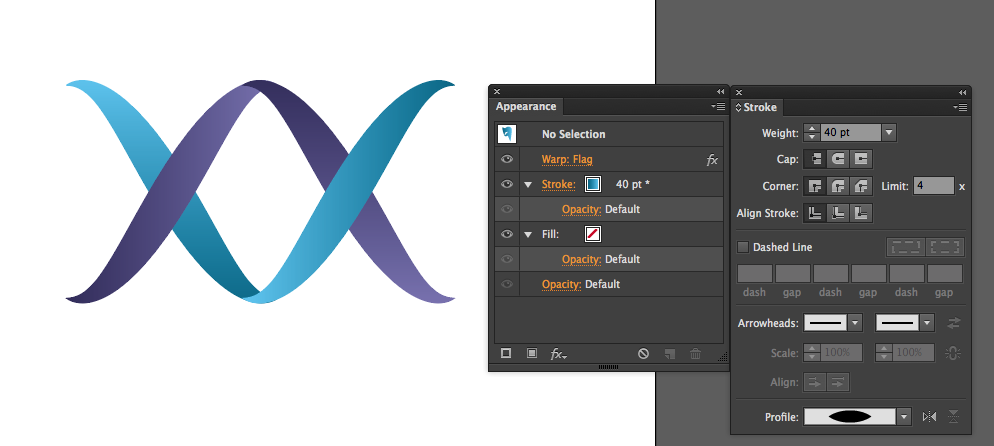
http://files.kaleidoscopechicago.com/_2Y0KqXd7vTXs9R
Double Helix.ai
1.1 MB
The URL will expire on July 7.
Explore related tutorials & articles
Copy link to clipboard
Copied
Create 2 equal squares and give then then gradient shape
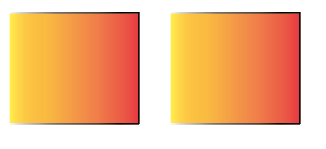
From Transform Panel change corner angles of first one to 60 Degrees and second one to -60 degrees ,
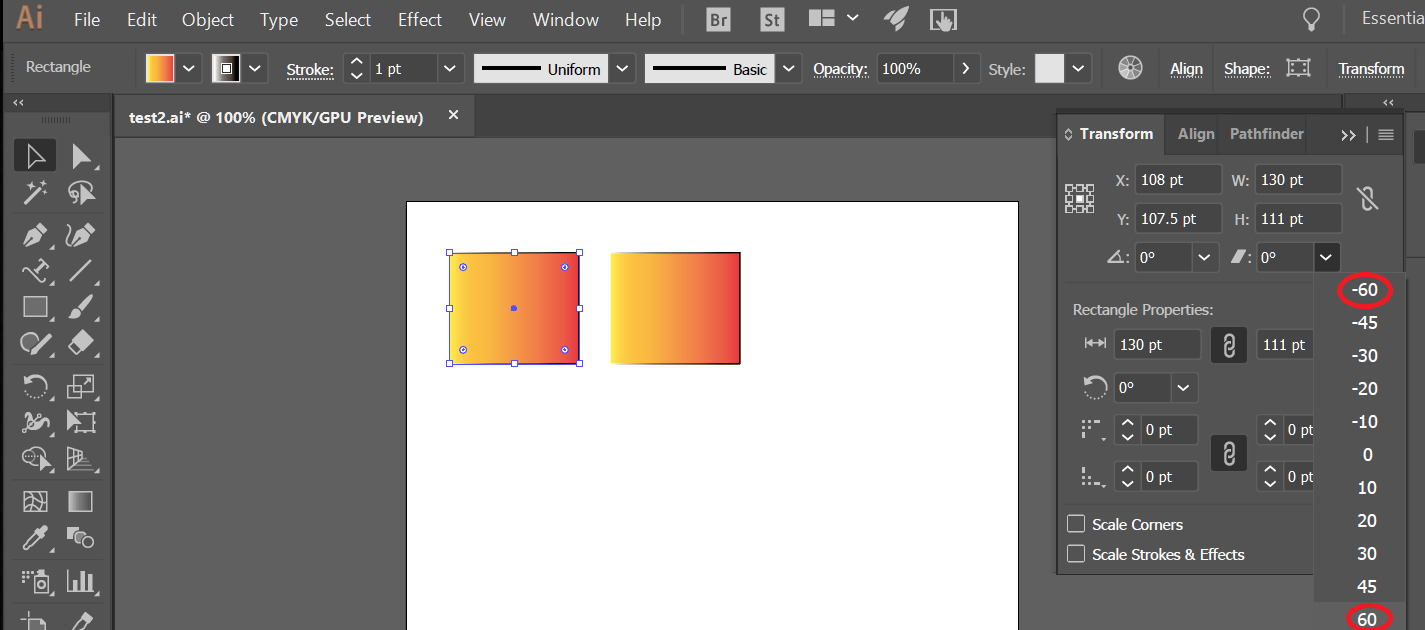
it will look like this

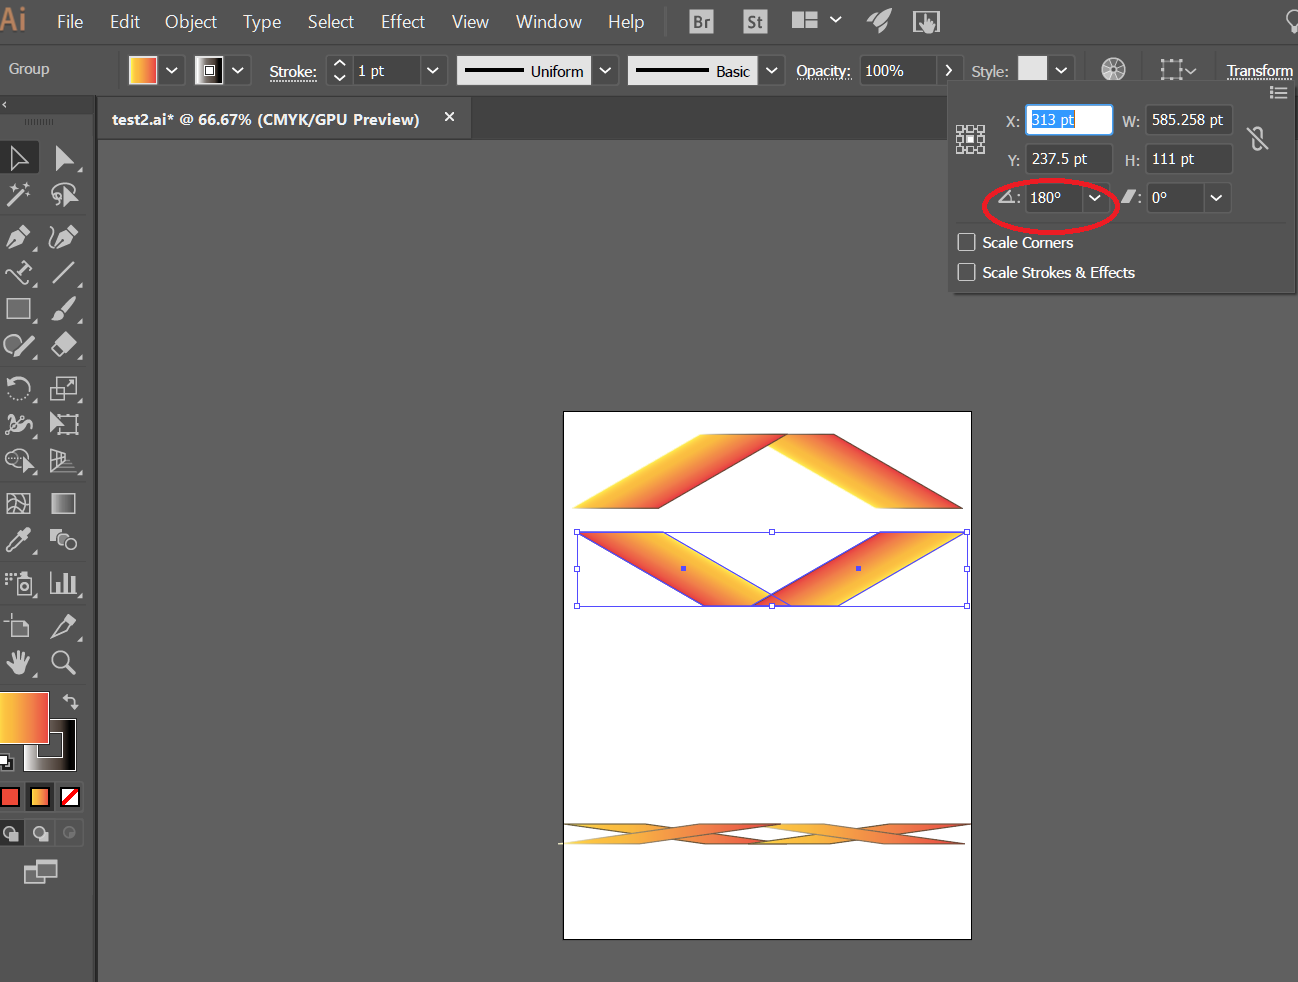
Then Duplicate it by ALT and drag and rotate second one to 180 degrees and adjust the positions.
Regards
Srishti
Copy link to clipboard
Copied
Here is my 2D live effects interpretation in case this is useful to you.

http://files.kaleidoscopechicago.com/_2Y0KqXd7vTXs9R
Double Helix.ai
1.1 MB
The URL will expire on July 7.
Copy link to clipboard
Copied
This is really elegant, Mike. Thanks.
I also found this older discussion where JETalmage uploaded a really interesting PDF showing a 3D effects approach. The downside to that, at least the way I worked with my own file, is that the file was 31 mb, and after awhile, at least on my computer, the slightest modification causes a really slow redraw.
I'm thinking, though, of doing an Expand Appearance on the "twisted ladder" and then adding on your ribbons for a complete DNA strand.
Copy link to clipboard
Copied
Great glad you enjoyed that. Please post your result if you have time and let us know what you might find. If I had time was going to make a new stroke profile where the center is not as fat so the tips do not get so thin.
Copy link to clipboard
Copied
I'm still in the midst of the work, but the one thing I've done early on is to expand the strokes into shapes. Much easier to flip and otherwise re-arrange that way. If you flip the stroke that still has the flag wave effect, the effect doesn't flip along with it and has to be reversed manually. Or at least this is how I had to deal with it.

Copy link to clipboard
Copied
In appearance palette you can change the warp amount to a negative value to flip.
The flip icon in the gradient panel is most useful on this project.
I try to keep my work live without expanding as far as I can go, have had many accidental great designs happen that way. And you can always expand, but not the other way around.
Copy link to clipboard
Copied
Hello Mike,
Please could you upload your Double Helix.ai file again? I've just come across this thread and it's what I'm trying to do.
Many thanks,
Jon
Copy link to clipboard
Copied
HI Jon,
I no longer have that file, but created a new one with steps for you to follow how I got there.
http://files.kaleidoscopechicago.com/_Mg1ZQ7MpUR0spR
Double Helix2.ai
119 KB
The URL will expire on Dec 28.
Copy link to clipboard
Copied
Hi Mike,
That's very kind of you, thank you!
Have a great day,
Jon
Copy link to clipboard
Copied
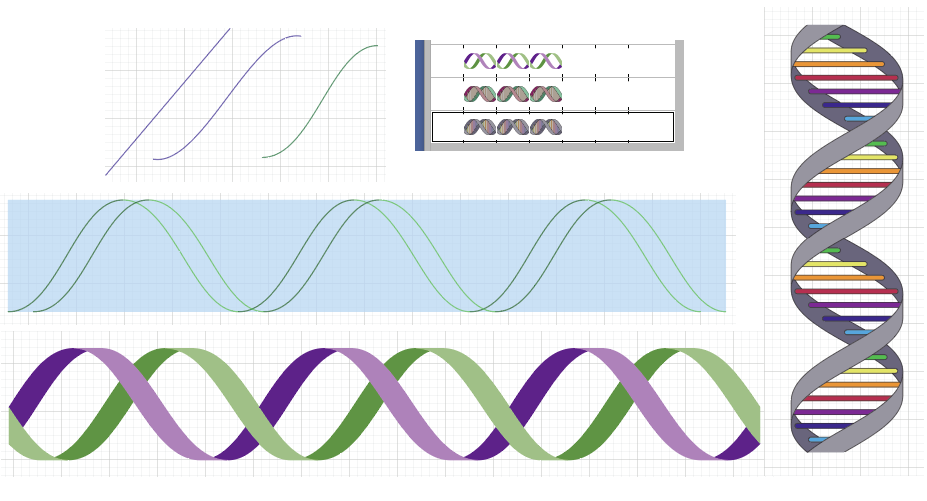
if anyone's interested, I made a version of my own the first time this topic came around:
double helix brush.ai - Google Drive
Copy link to clipboard
Copied
I did something similar. I am sharing if interested.
My starting point was an angled stroke line and applied a Warp>Flag.
Expanded the Flag.
My friends here were Selection Tool, Direct Selection Tool, Layers, Transform, Align, Pathfinders, Preview Mode, Outline Mode, Smart Guides, Live Paint.
I then made some Pattern Brushes.
K
Find more inspiration, events, and resources on the new Adobe Community
Explore Now
