New Participant
October 25, 2022
Question

Fill an object with parallel lines that are equidistant from each other

  • October 25, 2022
  • 4 replies
  • 1838 views

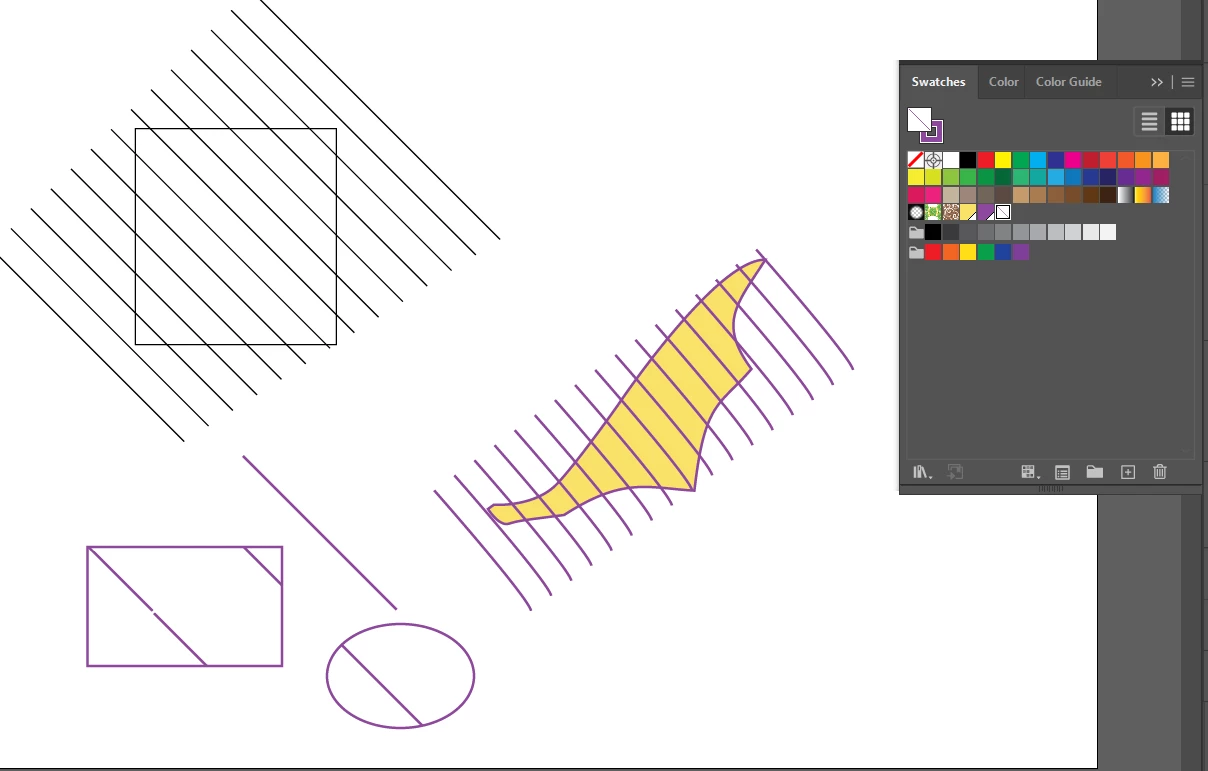
Objective: to fill a whole figure, divided into different shapes, with lines. Each surface has different colors. Despite the different sizes of the subplanes, the lines should be equally spaced.

When I work via object I cannot remove the lines that are outside my object with pathfinder. There is also a setting that makes bruches, but I am not currently getting the exact result I want there either

Thank you very much for the help.

Below you can see a preview of the result I want to get. credits to the artist Send Brassai.


This topic has been closed for replies.

4 replies

Sigy5EE4Author
New Participant
October 25, 2022


My goal with my previous question is to fill up the dragon Spryo. The horn should be in triangles like this, the wings should follow the pattern of the spacers.How do I create those corners?

I work with windows. How do you rotate the elements. You explained in your previous post, but I'm not fully following.

Thank you very much!

Doug A Roberts
Community Expert
October 25, 2022

So there is a lot more going on there than just filling shapes with parallel lines, enough that a case could probably made for simply drawing the lines -- because you'd need different approaches for each of those specific situations.


Here's an example of how you might make the horn:


Ton Frederiks
Community Expert
October 25, 2022

You can use Pattern fills and use an additional color fill below them with the Appearance panel.

Curved lines can be clipped with a Clipping Mask.

A script that cuts paths may help too, see:

https://github.com/creold/illustrator-scripts/blob/master/md/Path.md


Doug A Roberts
Community Expert
October 25, 2022

As an example: Make a pattern swatch that consists of a rectangle the same colour as the strokes you ultimately want to use in your drawing, and a no stroke/fill rectangle. Drag them (as one) to the swatches panel:

Draw your face (or whatever). In this example I made it a live paint group after completing the linework, added the base colours, then expanded the live paint group:

Then you can add the pattern swatch as a second fill on those shapes that require it, and rotate the fill as needed (in the transform panel, select 'transform pattern only', or hold the ~ or ¬ keys --depending on your system while using the rotate tool).


Sigy5EE4Author
New Participant
October 25, 2022

So it's not just straight lines that I want to use. I also want to have curved lines like you can see in the image of the artist on the neck and chest.