Copy link to clipboard
Copied
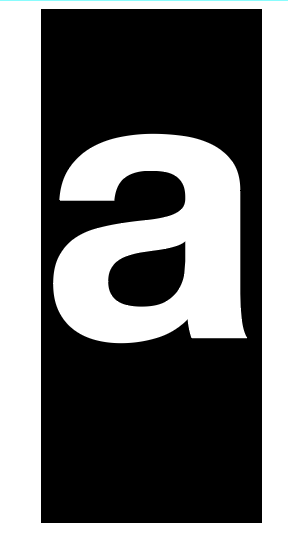
I am relatively new to Illustrator and editing an existing file. I've successfully completed some small design projects on my own (and am continuing to learn). I need to delete the existing text in a project and replace it with new, but I am having difficulty determining the size of the existing text. No matter where I click or what I do, it shows as 12. I've tried online help and some internet searches and haven't found much helpful. When I try placing new text, it defaults to 12. There are two sets of different-sized text that I need to replace for a trade show exhibit booth. The actual size text is attached below. Any insight would be appreciated. Thank you! Sara
 1 Correct answer
This letter is converted to outlines - it's not a text but vector image
This way you can't check it's size
Try to type text and then scale it to destination scale
Explore related tutorials & articles
Copy link to clipboard
Copied
This letter is converted to outlines - it's not a text but vector image
This way you can't check it's size
Try to type text and then scale it to destination scale
Copy link to clipboard
Copied
Thank you so much! Very helpful.
Copy link to clipboard
Copied
Be sure to scale your text with Shift key pressed - proportionally
Copy link to clipboard
Copied
12 point is the default size, of type which includes ascenders, descenders and empty space at top and bottom of font.

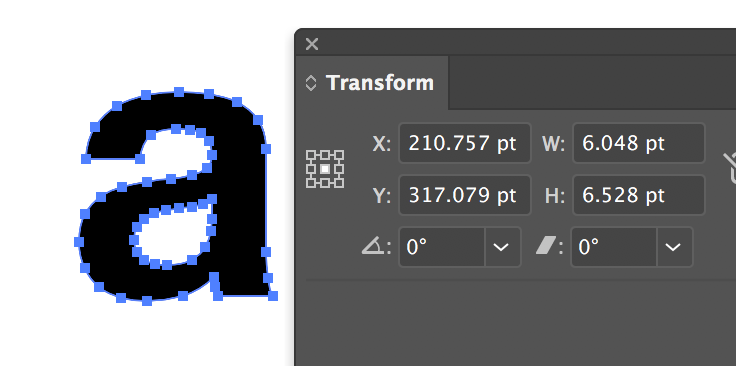
If you were to outline the font look in transform palette you would see about 6.528 pts for height depending on your font and charachters set.

So lets say you have some existing outlined type to match and the lowercase "a": is 13 pts high. you could then take 13 / 6.528 and get roughly 200%. You can then take 12 pt and multiply by 200% and set type at 24 pt to match your exisiting outlined type.
Copy link to clipboard
Copied
Since the text has been converted to outlines, if you know the font, you could make a new text box, enter the same text, place it over the existing text, and adjust the size of the new type until it matches what was there. You could temporarily change the color of the text to make it easier to see when it matches.
Copy link to clipboard
Copied
Jacob Bugge posted this work-around a few years ago. If you're wanting editable lettering to match a specific size of lettering already converted to outlines, like the height of a letter "a" you can try this approach.
1: Type a new letter "a" in a typeface that matches the lettering sample.
2: Select the "a" and click Effect>Path>Outline Object
3: Edit>Preferences>General>tick Use Preview Bounds
(this will shrink the bounding box to the size of the letter)
4: Use the Transform palette/panel to numerically size "a" to desired height.
5: Align/position the lettering object as desired.
6: Open the Appearance Panel and remove outline effect.
7: Edit>Preferences>General>untick Use Preview Bounds.
This approach can be used for sizing lettering according to capital letter heights. For instance, the sign industry sizes lettering to that method. If a customer orders 24" tall channel letters for his store front he is going to expect the capital letters to be exactly 24" tall (provided if it's a typeface such as Helvetica that follows the baseline and cap height lines consistently). He's not going to accept capital letters that turn out to be 16.3488" tall. He's not going to accept excuses about bounding boxes. He's going to go by something he can see in the real world and physically measure.
This approach can also be used if you're wanting to vertically align lettering in boxes, decorative frames, etc with the alignment made in reference to the capital letter rather than the blue bounding box.
I'm not a big fan of the bounding boxes Illustrator puts around type objects because they appear arbitrarily defined. The boxes do not have the same sizes as the UPM dimensions/boxes built into the actual font files (something I confirmed by opening specific font files in FontLab Studio and comparing UPM dimensions to Illustrator's type boxes).
Find more inspiration, events, and resources on the new Adobe Community
Explore Now
