- Home
- Illustrator
- Discussions
- Re: Gradient that grows from the inside of a singl...
- Re: Gradient that grows from the inside of a singl...
Copy link to clipboard
Copied
Hello,
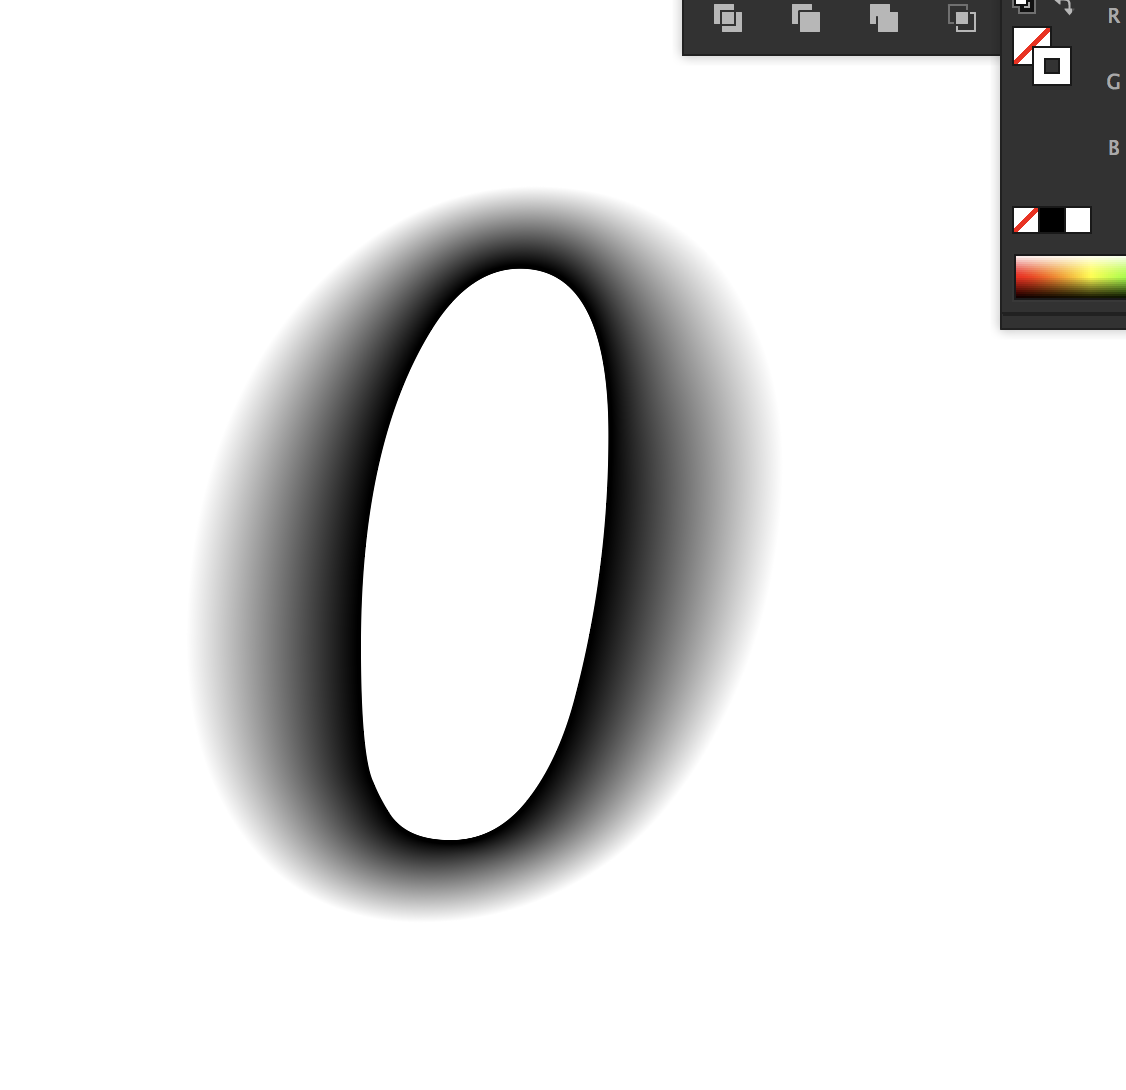
I have one letter..The Letter O - It has been outlined.
I would love to have a gradient that starts dark in the center and works its way out to white/transparent.
I have tried a few things, but nothing seems to give the natural feel. The dark would have to be completely around the inner part and grow outward.
Here is the letter for example: Start letter and my failed attempt.
Any help would be appreciated.
Cheers,
Babs

 1 Correct answer
iBabs,
As I (mis)understand it, you may:
1) Release the Compound Path,
2) Set the inner path to black stroke/no fill and set the outer path to white stroke/no fill,
3) Object>Blend>Blend Options, set Spacing to Smooth Color and Orientation to Align to Path (unnecessary, but I prefer it (also to meet later possible requirements)),
4) Object>Blend>Make.
Explore related tutorials & articles
Copy link to clipboard
Copied
iBabs,
As I (mis)understand it, you may:
1) Release the Compound Path,
2) Set the inner path to black stroke/no fill and set the outer path to white stroke/no fill,
3) Object>Blend>Blend Options, set Spacing to Smooth Color and Orientation to Align to Path (unnecessary, but I prefer it (also to meet later possible requirements)),
4) Object>Blend>Make.
Copy link to clipboard
Copied
HI Jacob,
The blend was exactly what I was looking for. Here is the result.
Thank you! Had a brain freeze ![]()

Cheers,
Babs
Copy link to clipboard
Copied
HI All,
So everything was going well, until I got the the letter B...the 2 compound holes are making a mess of the effect, if I can get anything to work at all. I had some success trying to use specified steps and play with a value of like 500 etc., but wondering if I missing anything. I have tried tome the 2 holes act like one object, through grouping, but it still gets wacky. I also tried playin with the pathfinder for those two-but still quite challenged.
I tried to attach my .ai file, but it was not an acceptable format, so here is a .png.... any additional thoughts when there are 2 cut out paths in the letter?
Thank you!!
babs

Copy link to clipboard
Copied
Babs,
Here is a way with a Blend like on the O, after splitting the B (Helvetica), the white line to the left being made with the Line (Segment) Tool to cut (Object>Path>Divide Objects below), then making the blends between each set of uncompounded inner and outer path as stroke/nofill paths:
It may be different from what you want, but otherwise there is some decision about how you want the bit between the counters.
Copy link to clipboard
Copied
Hi Jacob,
Thank you.. I ended up cutting it and playing a bit with the pathfinder and got a result that looks exactly like this. I figured there was no way other than to cut it. The center effect was what I was trying to remove, but found no way to make the two holes act as one.
This confirms what I suspected, but figured I had nothing to lose by reaching out!
thanks so much for ALL your help!!!
babs
Copy link to clipboard
Copied
You are welcome, Babs.
There are often different ways.
Copy link to clipboard
Copied
Try making the gradient slightly more oval.
Copy link to clipboard
Copied
Hi Monika,
Thank you!! The blend was the thing I was looking for, but I did play more with the gradient as you suggested and it did closer ![]()
Thanks so much!
babs

Copy link to clipboard
Copied
Are you trying to produce this effect ?

Copy link to clipboard
Copied
Hi JB,
Thanks, the blend was the tool I needed, you can see the results I posted .
Thank you for taking the time to reach out!
babs
Copy link to clipboard
Copied
You are welcome, babs.

Copy link to clipboard
Copied
Excellent solution indeed ![]()


