Copy link to clipboard
Copied
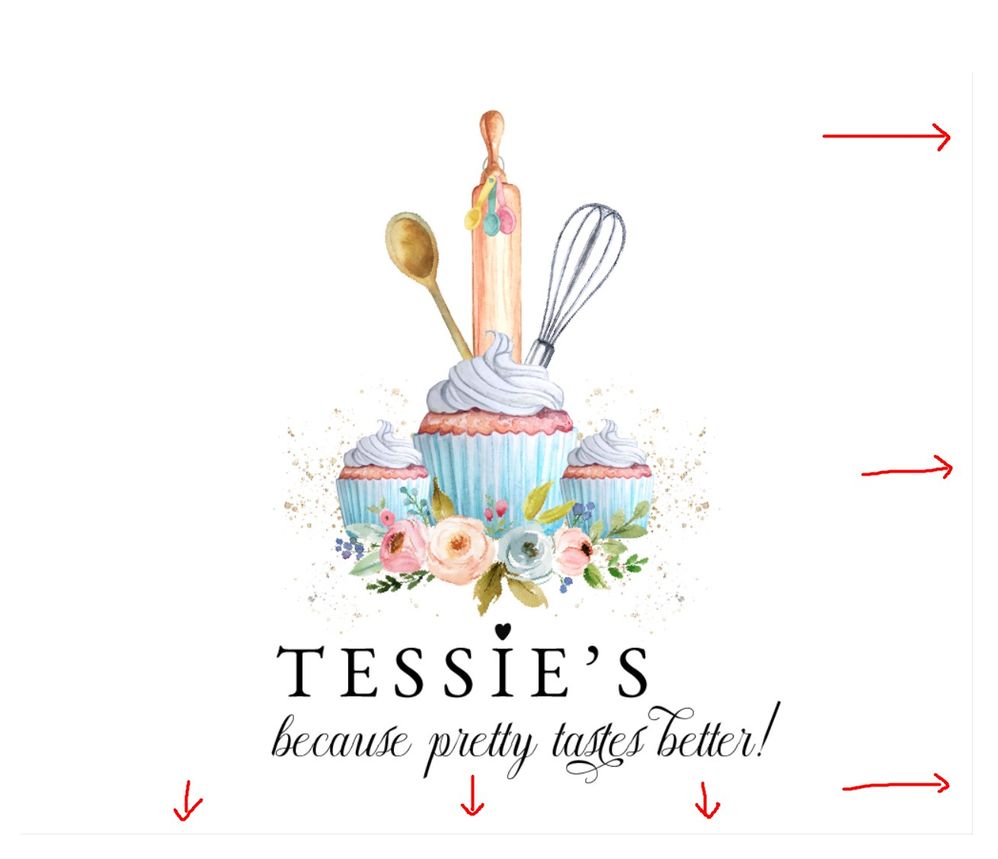
Hi, today my illustrator has started doing something really weird! .. it has started putting a thin grey line on the right hand side of the JPG and the bottom of the JPG .. I"ve tried everything to get rid of it - I've searched google for hours - but nothing 😞 can anyone help me??? see picture attached
 1 Correct answer
Jodie,
See especially the enhanced part.
This may sound unforgivably outdated and boring, sorry.
If you wish to have PNGs (PNG24 (also (little) known as PNG32, it holds 24 bit colour and 8 bit Alpha channel (transparency)), of course) look crisp and clean, it is important to have the images in the exact desired final pixel x pixel size, forget about resolution which may actually lead to wrong sizes and hence blurriness. It is easiest and safest to work at the desired size.
A very common
...Explore related tutorials & articles
Copy link to clipboard
Copied
Hi i think these lines are in image you need to clean them with photoshop....regards
Copy link to clipboard
Copied
Jodie,
See especially the enhanced part.
This may sound unforgivably outdated and boring, sorry.
If you wish to have PNGs (PNG24 (also (little) known as PNG32, it holds 24 bit colour and 8 bit Alpha channel (transparency)), of course) look crisp and clean, it is important to have the images in the exact desired final pixel x pixel size, forget about resolution which may actually lead to wrong sizes and hence blurriness. It is easiest and safest to work at the desired size.
A very common unsuitable way is to Export to PNG (remember to use PNG24 and use Transparency for artwork to be in front of different backgrounds) with a medium or high resolution, such as 300PPI.
And a common misunderstanding: (almost) 11 out of 10 times, a statement like "I created the document at 300 PPI" means that the value is chosen in Effect>Document Raster Effects Settings; however that only means that the (current) resolution of any raster effects applied to the vector artwork, such as (any kind of) Blur, is set to that value (and only unless/until the value is changed to something else); when zooming in, this resolution can be seen in contrast to and on the background of the vector artwork. So this setting has nothing whatsoever to do with the actual resolution of a raster image created from the (vector) artwork.
To retain the clean and crisp artwork, a PNG must be created at exactly the pixel x pixel size that it is to be used for, or at sizes that are powers of 2 times as large (2, 4, 8, and so on).
For clean and crisp artwork avoid JPEG.
It is also important to have the artwork and also the Artboard placed fully within integer/whole pixel X and Y values in the Workspace, which means that the X and Y values at the corners must be integer; this can be ensured by using one of the corner Reference Points in the Transform palette, and then checking that all the values X, Y, W, and H, are integer (the centre Reference Point can only be used if both W and H are even numbers).
Otherwise the resulting image will become a bit wider/taller and the extension(s) will be empty and therefore be (partially) transparent/white.
Therefore, the safest way is to create the artwork at the final pixel x pixel size and use a corresponding Artboard, then either use the Legacity Save for Web (where you can look in the Image Size window for size confirmation) or Export at 72PPI. In either case, use the relevant optimization (available with both ways); it is also convenient to have 72PPI in the Effect>Document Raster Effect Settings.
If you have pure vector artwork, you can relax a bit and have the artwork/Artboard at any size (the Artboard must have the same proportions as the final image), then use the Legacity Save for Web and set either Width or Height in the Image Size and Apply (make sure the other value is also correct).
The Legacy Save for Web may be an old carthorse, but it knows its way home, even if the driver is drunk and sleeping it off in the hay in the back.
Find more inspiration, events, and resources on the new Adobe Community
Explore Now

