Answered
halftone / gradient /solid
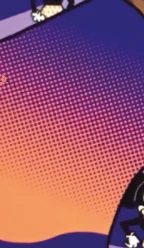
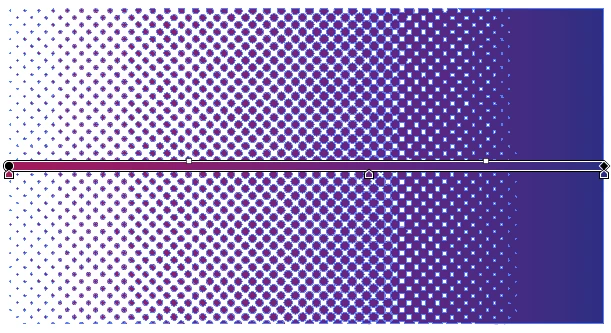
Hi all, I'm looking to recreate this - a halftone gradient that ends in solids on both sides. Wonder if this is possible without having to get Phantasm?

Hi all, I'm looking to recreate this - a halftone gradient that ends in solids on both sides. Wonder if this is possible without having to get Phantasm?
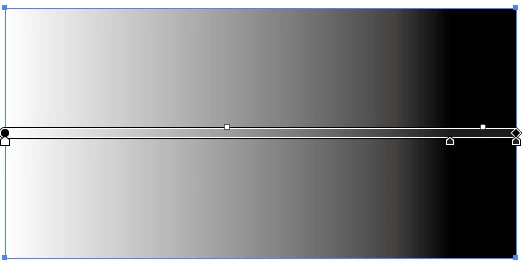
To complete the steps as suggested by
![]()
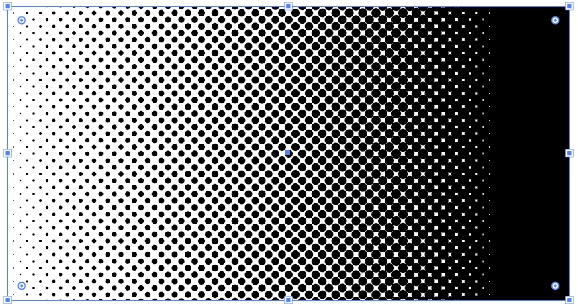
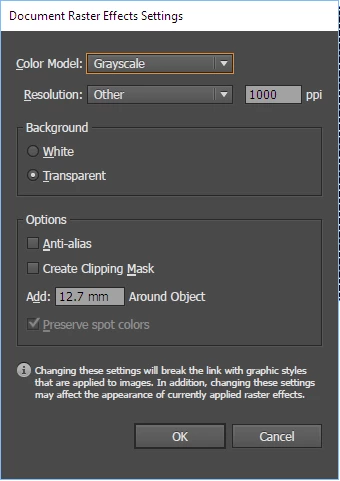
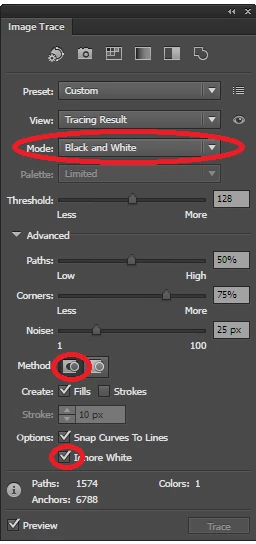
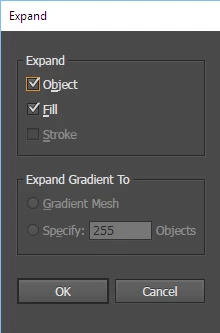
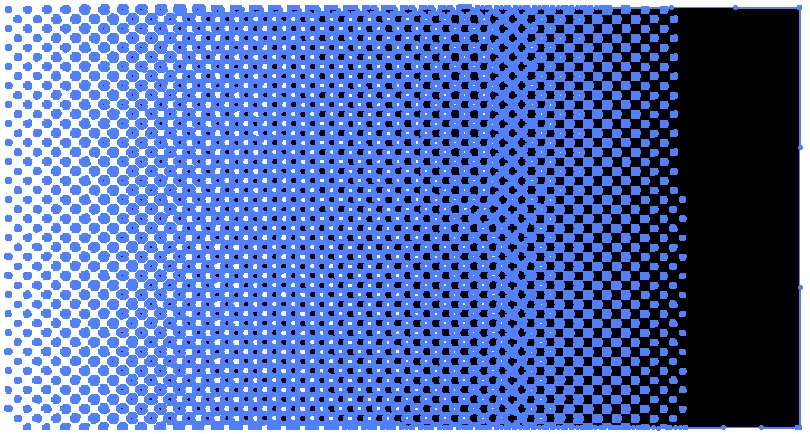

Now you can rotate, add clipping mask or combine with your artwork! 

Already have an account? Login
Enter your E-mail address. We'll send you an e-mail with instructions to reset your password.