- Home
- Illustrator
- Discussions
- Re: Help! getting these lines between dark images
- Re: Help! getting these lines between dark images
Copy link to clipboard
Copied
HELP!
I have scanned in images which I am colouring using Ai.
When I fill with a dark colour, a thin white line is noticeable when I export to PDF or to In design.
The line is deletable but it takes ages to find and delete each one for some images.
I have to colour in some 200 separate images, i've tried everything else and the only method I have is really time consuming!
Is there anyway to stop this from happening?
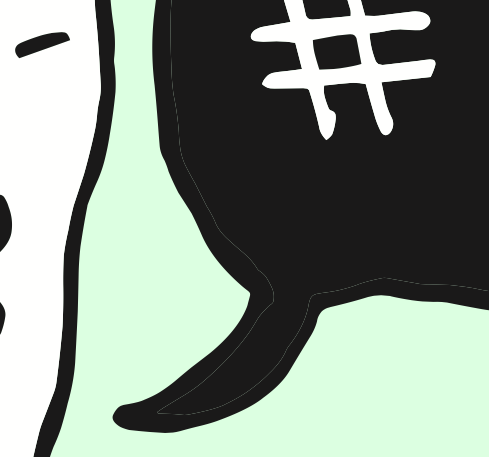
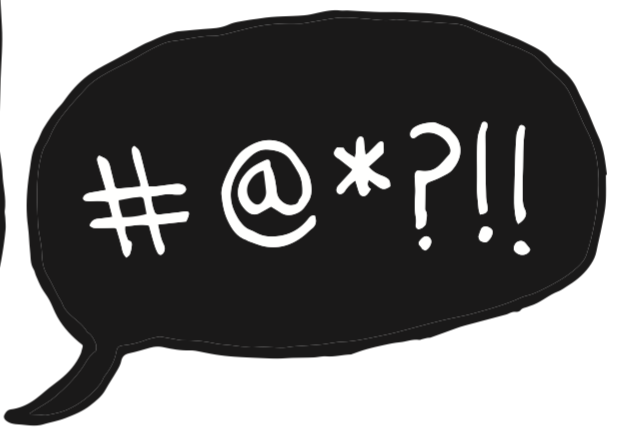
 1 Correct answer
You want to get rid of the white lines inside the hair?
You would just need to select the illustration and click on the pathfinder "Merge" in the pathfinder panel. This will unite all the black colored elements as long as it's the exact same black.
Explore related tutorials & articles
Copy link to clipboard
Copied
Felix,
If the lines have one or a few specific Stroke Weights, you should be able to select one (of each Stroke Weight), then Select>Same>Stroke Weight to delete all (of the same).
Copy link to clipboard
Copied
Thank you all!
I tried all three things you said but ended up with another solution.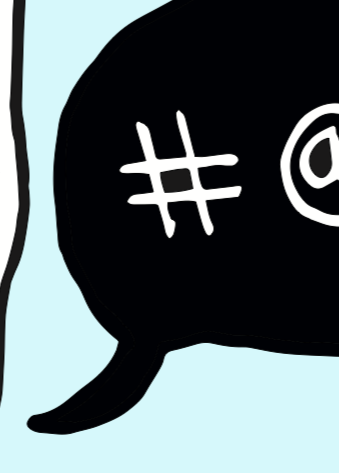
Jacob's idea didn't really work, as it would just delete the whole image when I tried, but it did give me the idea to change the stroke from transparent to a super thin black stroke.
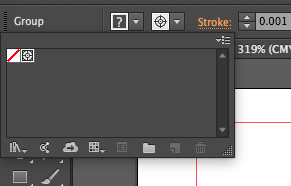
seems to have worked wonders for this project!
Thanks for the ideas!
Copy link to clipboard
Copied
The screenshot shows you have the registration color applied.
In case you will send this for offset printing, this is asking for trouble.
It means there will be 100% of every color printed on that spot. Which is bad in almost any aspect of printing.
Copy link to clipboard
Copied
Shoot!
you're right 😕
I'm really stumped here about this problem.
when I did what I said worked it just made all the lines thicker which is also not what I want.
Does anyone know how to make this work ? 😕
Copy link to clipboard
Copied
this turned out to just make all the lines thicker than they were 😕
I still need a solution..
Copy link to clipboard
Copied
You would need to tell us exactly what you did. And please show a comparison of line thickness.
Copy link to clipboard
Copied
Do you have Anti-Aliasing turned ON in Preferences? Is the White line in the original? Look at your scanner settings to see if you can reduce the sharpness in the scan.
Copy link to clipboard
Copied
So you are scanning images and then autotracing them?
And then you fill the white parts?
What you can try is the automatic way of combining the outline with a correspoding fill:
select all and then in the Pathfinder panel click on Merge. This will unify all neighbouring shapes that share the same color.
Copy link to clipboard
Copied
Thank you!!
Okay, so here's the full process.
- Drew black on white paper illustrations which we scanned in.
- Sent the scan through photoshop to better contrast the blacks & whites and get rid of any accidental marks.
- Saved the photoshop file and opened it in illustrator
- Selected image > Image trace > Expand.
- Triple clicked area outside of image and hit delete to get rid of background.
- Selected whole image & selected : Object > live image > make
- changed colour to CYMK and filled in the image with bucket tool.
- Saved as .ai file
- Opened Indesign & placed image onto card.
- Exported file as PDF [high quality print]
Resulting files then have the lines.
I tried to change the 'stroke' to [registration] at around 0.01 size. this seemed to get rid of the white lines but also increased the thickness of the lines by quite a large amount which also seems to effect the image.
Here is examples of the line thickness change as well as the obvious white lines on the hair in the 2nd image.
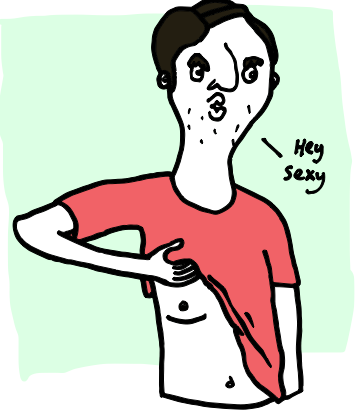
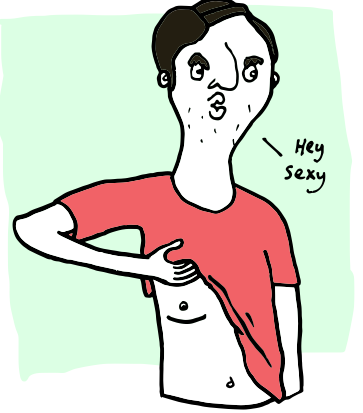
ps. I hope you don't mind the content of the images, they are just a good example!
It's for a card game I kickstarted which I need to get printed very soon.
I'm really worried though that the white lines will show up in the factory print and that would be a huge problem as we are printing 1000 copies!
Copy link to clipboard
Copied
You want to get rid of the white lines inside the hair?
You would just need to select the illustration and click on the pathfinder "Merge" in the pathfinder panel. This will unite all the black colored elements as long as it's the exact same black.
Copy link to clipboard
Copied
Hi all,
So I thought the problem was solved but the white lines are still showing up between the black lines and colours.

I have tried as said above but nothing has worked for me.
Even when selecting and deleting the stroke line between the colours.
please help!
Copy link to clipboard
Copied
That's just a preview issue.
Happens when 100K gets antialiased.
Copy link to clipboard
Copied
Try selecting the inside image remove the stroke and then use path> offset with a low positive number to expand it a small amount something like .03 or a bit larger until you covered the gap then selecting both objects trying using pathfinder to merge the two make sure you hold down alt>unite and expand.
Copy link to clipboard
Copied
Sorry scrub the part that says path>offset and instead use object>transform>scale everything else is the same.


