RachelleSher
Known Participant
November 27, 2016
Answered

How do I create an "effect" of dance movement in AI 2017

  • November 27, 2016
  • 2 replies
  • 719 views

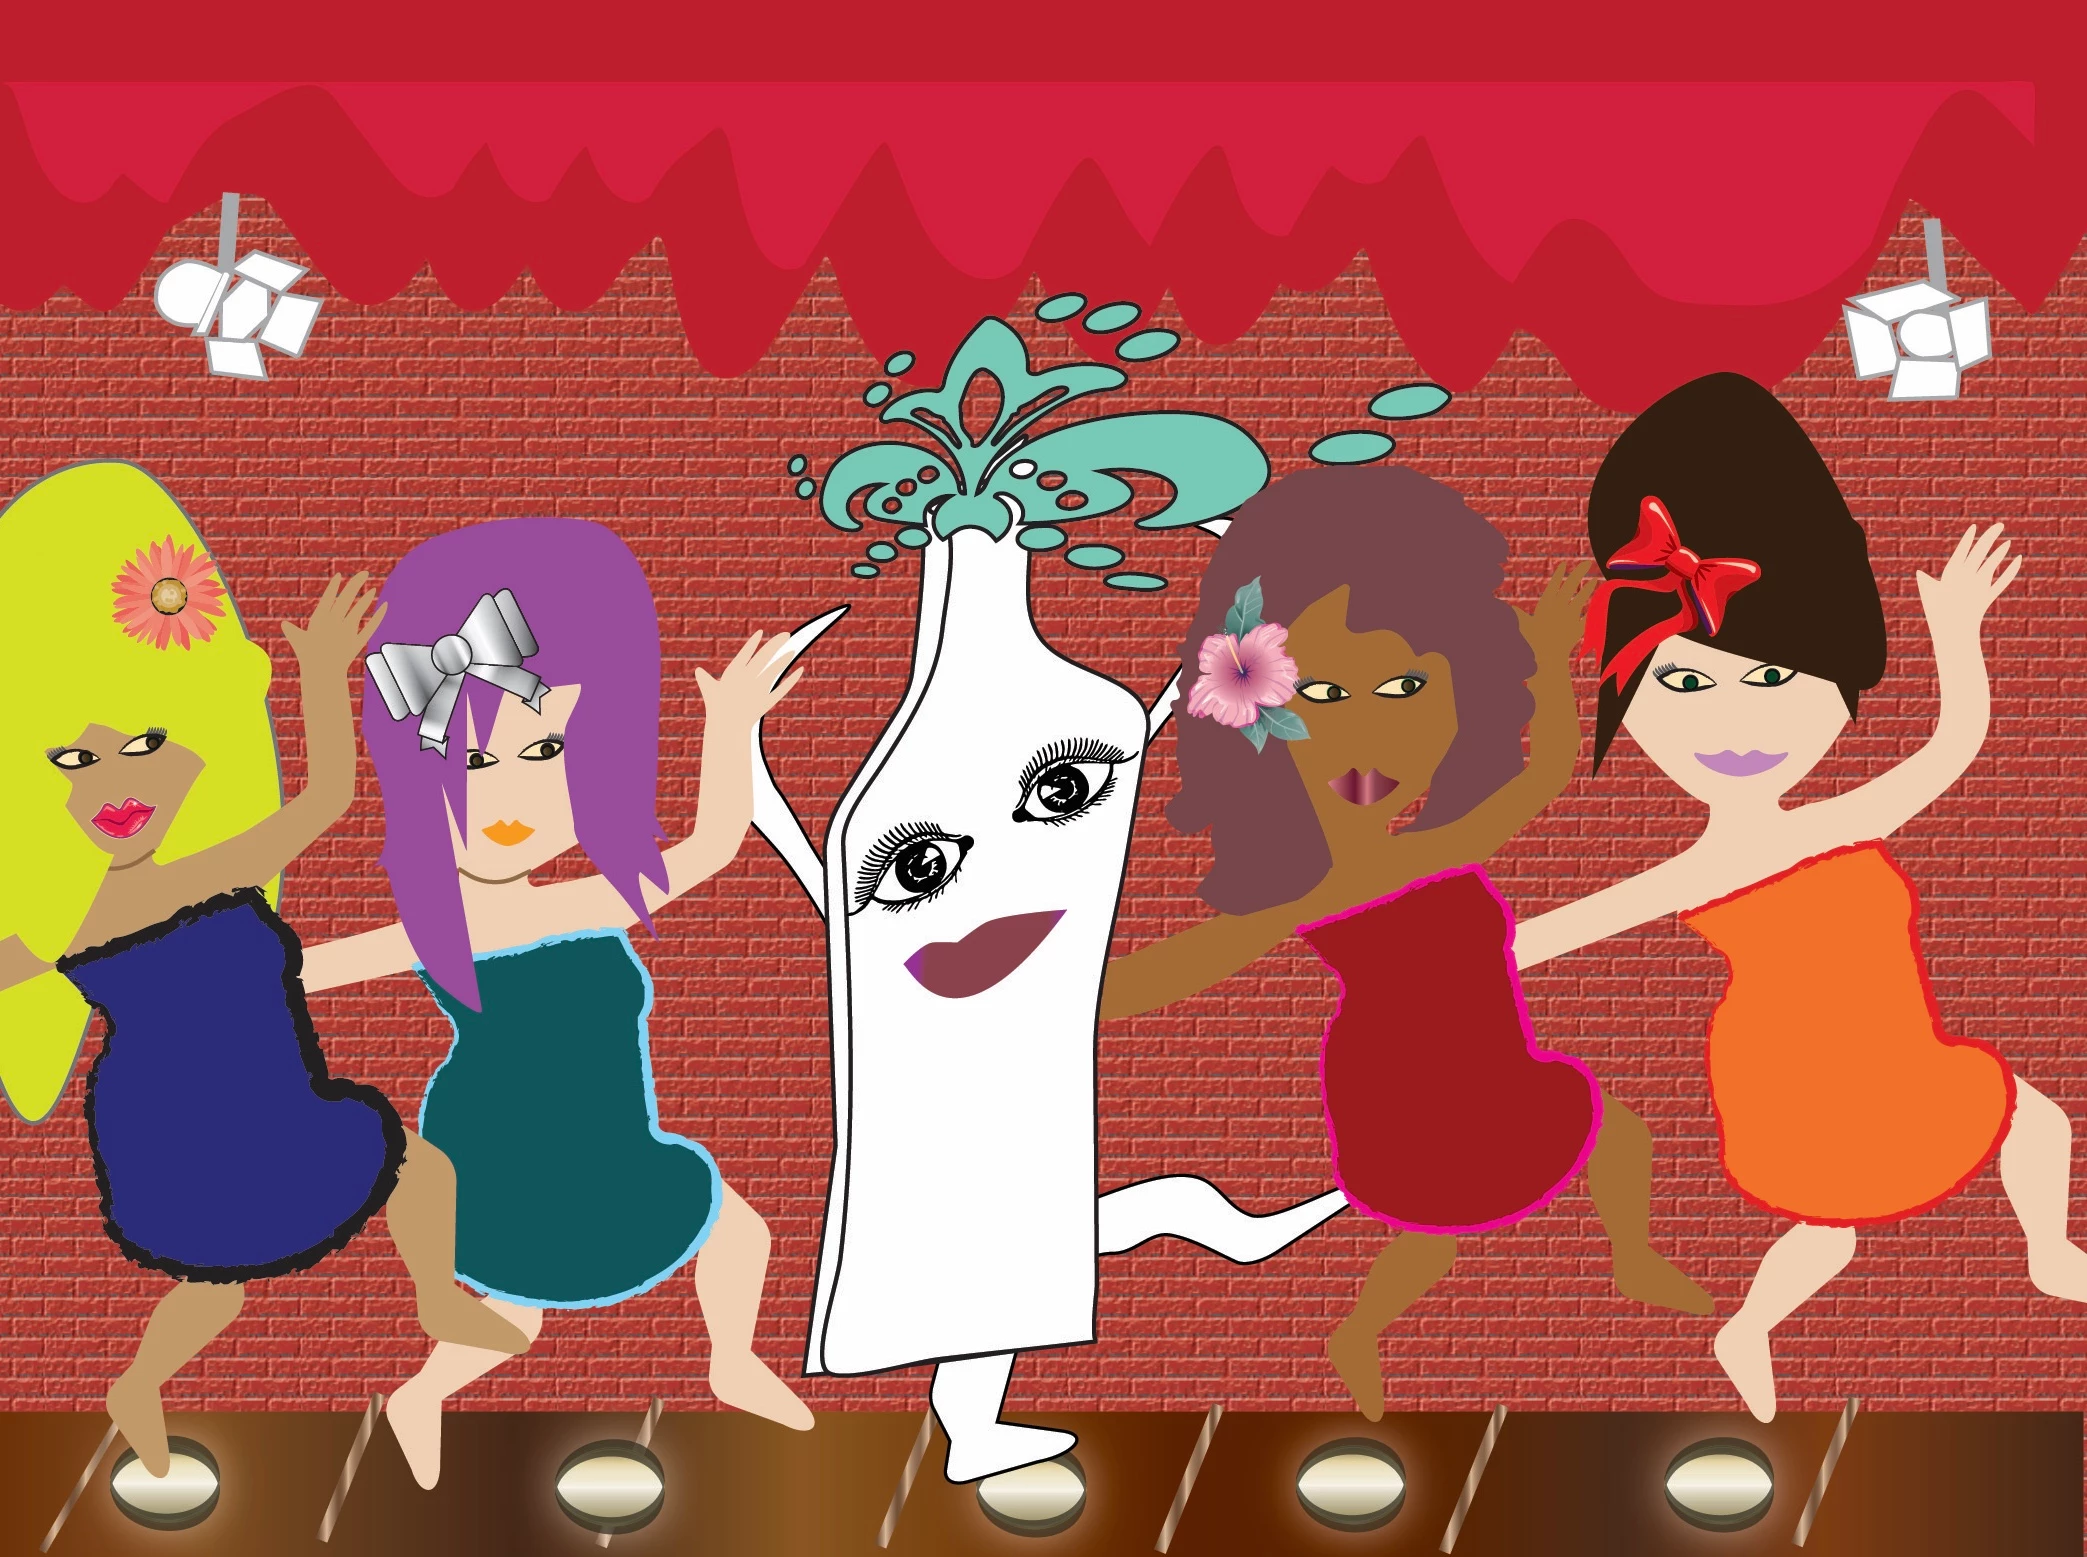
I am working on a school assignment in AI 2017.  I have a  2 dimensional scene of characters doing a can-can dance.  A friend asked if I could place something in the illustration that would look their hips or their legs were moving without animation.  I hope this makes sense!  Here is the illustration.  (No laughing please! )

All I can think of is maybe something like:  ))) near their knees and hands . . . any thoughts?

Thank you!  Rachelle Sher

This topic has been closed for replies.
Correct answer Jacob Bugge

For my part you are welcome, Rachelle.

2 replies

Kurt Gold
Community Expert
Community Expert
November 27, 2016

You asked for not laughing about that picture, but I couldn't resist and had to laugh a bit about it, because it's pretty bizarre and trashy (no offense meant).

The good news is that in my eyes no additional elements are required to underline the cheerful dance.

Invite your friend and take some drinks from the dancing bottle in the middle of the gang. He and maybe you will then see astounding moves of their hips, legs and perhaps something else.

RachelleSher
Known Participant
November 27, 2016

Ohhhhh!! Yes I have use blends before! Thank you!

"I would blame all of my typos, grammar, and maybe even some foul language on Siri… But bottom line is....I didn't proofread .... well enough.

Jacob Bugge
Community Expert
Jacob BuggeCommunity ExpertCorrect answer
Community Expert
November 27, 2016

For my part you are welcome, Rachelle.

Jacob Bugge
Community Expert
Community Expert
November 27, 2016

Rachelle,

You may consider something like a Blend, here described for a leg:

You may have a full (100%) opacity leg at the actual position/shape and a reduced opacity version at an original position/shape

(where the leg has been moving from), then set a number of intermediate steps (maybe just a few), and a (possibly circular) path going between the original and actual positions/shapes, corresponding to the middle of the leg and representing the angle of movement between the extremes.

You may set the number of intermediate steps in Object>Blend>Blend Options, and then you may Object>Blend>Make, and then you may ShiftClick the path and Object>Blend>Replace Spine.

It may take a few tries, and Ctrl/Cmd+Z (Undo) is your friend.

You may work with other parts in similar (but maybe more complicated shapewise) ways.