Participant
March 30, 2024
Answered

How do I create the pencil architectural drawn effect?

  • March 30, 2024
  • 3 replies
  • 1686 views

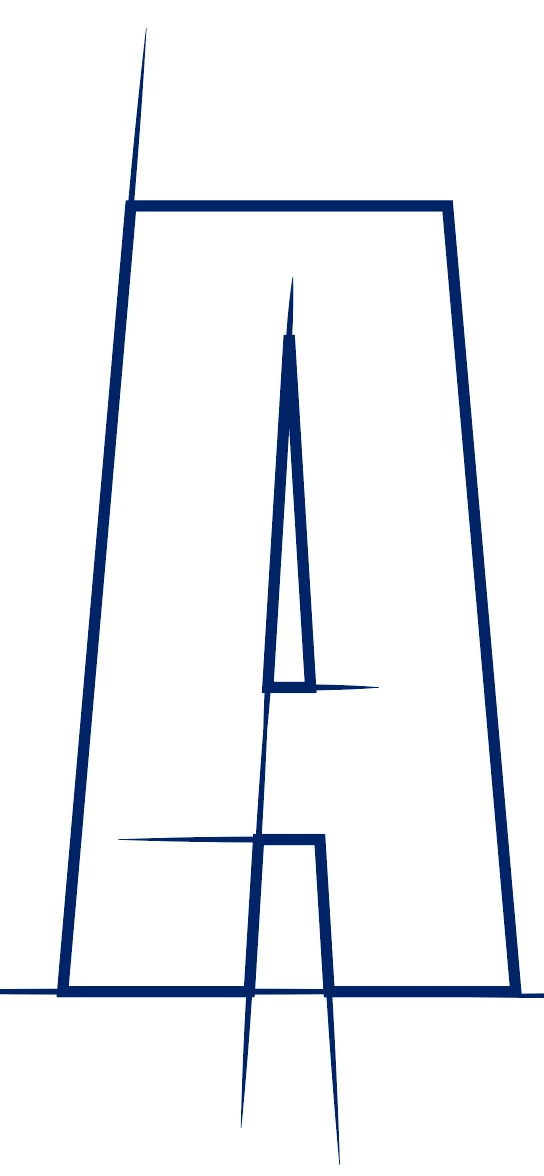
Hi all. I am trying to create a logo that has letters similar to this attached sample. I am creating the letters manually using pen tool What is the best way to create the pencil sketch extension effect in AI.


Thanks

Correct answer dob3rman8258353

Awesome. Will try this now. Thanks for responding.  

3 replies

Monika Gause
Community Expert
Community Expert
March 31, 2024

I would go with the plugin option, but if you absolutely need to do this using the built in methods, then you can do the following:

A horizontal line with a width profile applied:

Draw a rectangle that has no stroke and no fill

The rectangle needs to be below the horizontal line and it needs to be smaller, like in the screenshot above.

Drag those into the brushes panel and make a pattern brush. And then set up the options as in this screenshot. Note the 5 tile elements of the brush.

Set the colorization method to Tints, so you can apply color to the lines.


Then you need to select your text object with the selection tool, set its fill to None and in the appearance panel (Window > Appearance) click on the button that creates a new stroke.

Then you can apply that brush

dob3rman8258353AuthorCorrect answer
Participant
March 31, 2024

Awesome. Will try this now. Thanks for responding.  

Jacob Bugge
Community Expert
Community Expert
March 31, 2024

dob3rman,


Presuming you are creating and keeping the letters as stroke nofill paths, you can do it natively as follows for each letter:


1) Create the letter,

2) For each letter part or each letter part set to have a (common) thin spiky addition, deselect (click an empty spot), then Click the relevant path segment with the Direct Seletion Tool and copy it, then:

2a) Reduce the Stroke Weight to the desired thickest value,

2b) Extend the length by the desired amount in the desired direction(s), one way or both ways (you can use the Scale Tool or the Transform panel,

2c) Make the spike(s) with the Width Tool.


For the top left spike and the other one sided extensions in the sample, in 2b) you can use the Trransform panel with the bottom left Reference Point selected, then increase the H value by multiplication or addition and Ctrl/Cmd+Enter to keep proportions and have the thin line shoot up.


For the bottom horizontal double spike and the other one sided extension in the sample, in 2b) you can use the Trransform panel with the centre Reference Point selected, then increase the W value by multiplication or addition and Ctrl/Cmd+Enter to keep proportions and have the thin line run along the baseline and shoot out to both sides.


Myra Ferguson
Community Expert
Community Expert
March 30, 2024

The best way to create this effect would be to use AG Architect from Astute Graphics. It is a paid plugin. Here's a video that shows how it works: