Copy link to clipboard
Copied
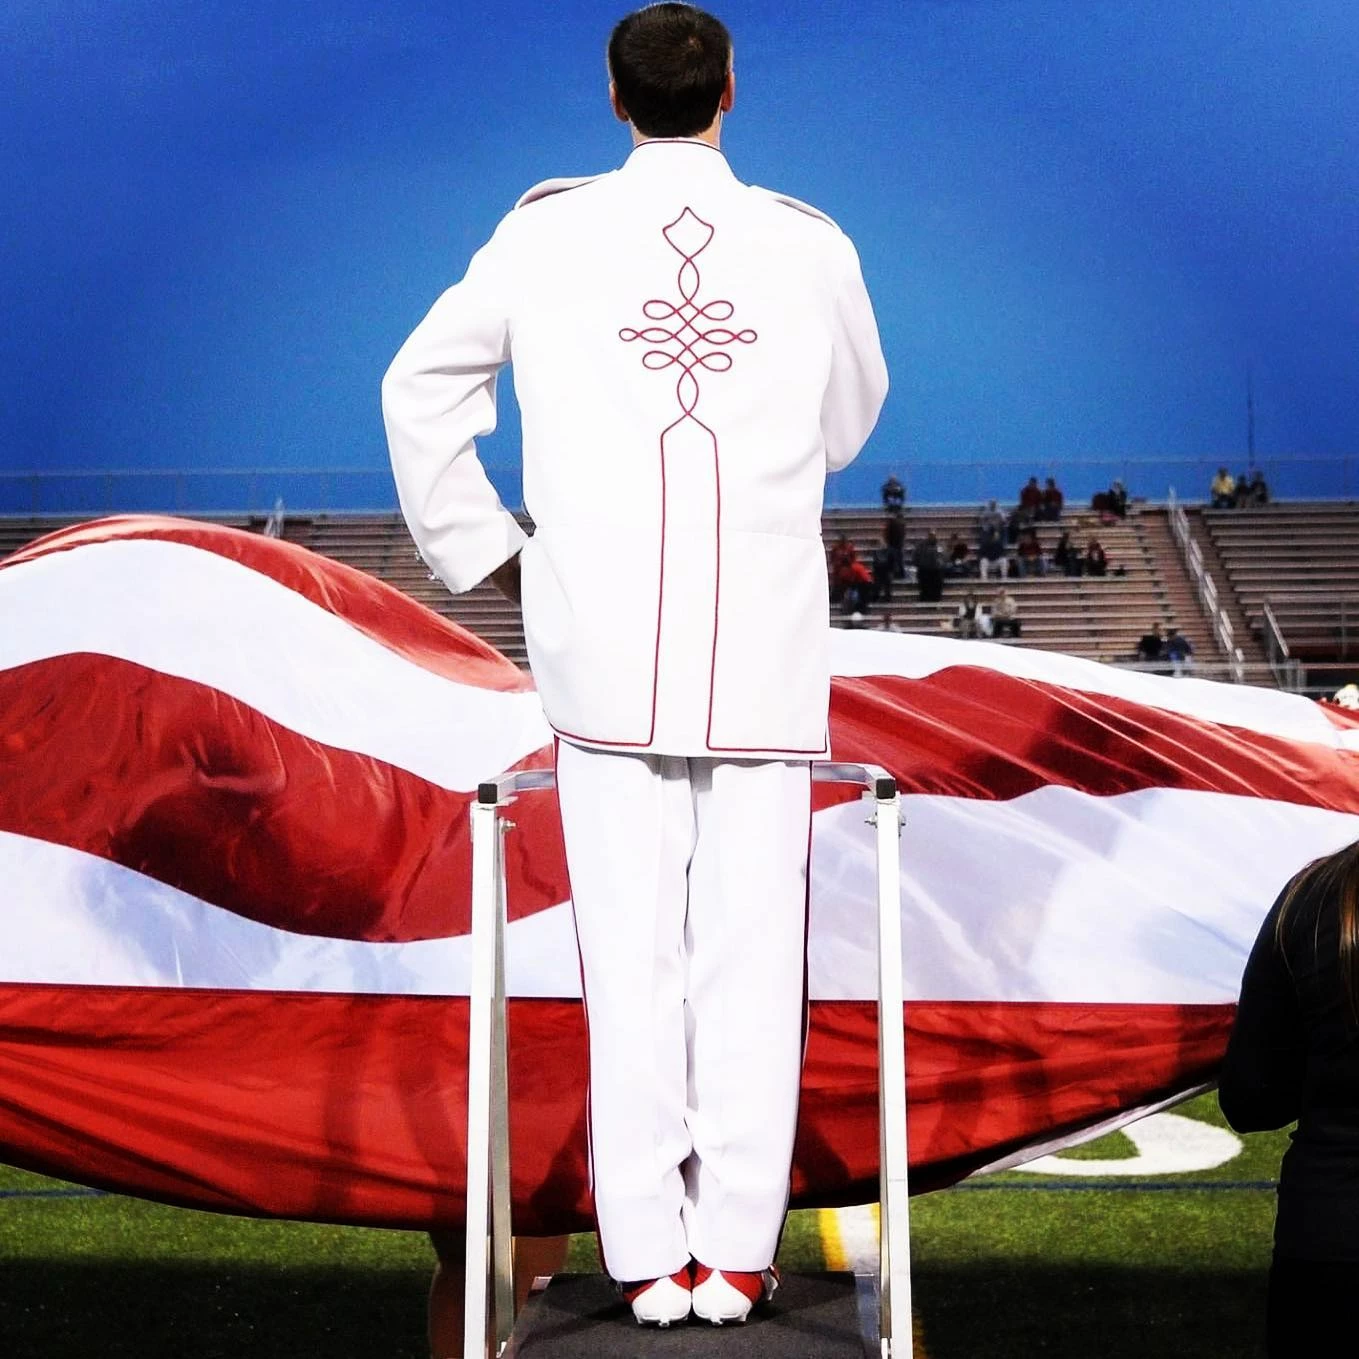
I find this extremely difficult, even with the pen tool or golden ratio. Could someone help?
Copy link to clipboard
Copied
The pen tool needs some practice to master it.
Copy link to clipboard
Copied
BWP,
With the symmetry at different levels and the regularity of the design, I believe the best approach is to work with the reflect effect supported by an overall frame and some guiding lines, and to create all smooth Anchor Points by ShiftClickDragging vertically or horizontally.
You can, Smart Guides being your friends:
1) Create a rectangle larger than one of the intended halves, then move a copy to the right by the width of the original rectangle so you have the two rectangles with one coinciding side;
2) Select both rectangles and Group them, then Effect>Distort&Transform>Transform>Reflect with 1 copy, then lock both rectangles within the Group;
Now you have a frame to work within (you can set a copy aside to reuse for other mirroring tasks);
3) Add vertical and horizontal guiding lines (just simple lines will do) for perfectly aligning Anchor Points, and lock them; they can be based upon any ratio(s) you like, and you can make a whole grid of them, maybe even with or based upon the Rectangular Grid;
Undoubtedly you will find that you need to add more guiding lines, which you can do and then resume drawing as described in 6);
4) With the Pen Tool, ClickDrag (or just Click) on a suitable spot on the centre line, then ShiftClickDrag the next Anchor Point in the design on the preferred side (on the relevant guiding line), this is just temporary;
5) Drag the new path into the Group in the Layers panel;
6) ShiftClickDrag the secondAnchor Point from 4) anew, then continue ShiftClick
Drawing with the Pen Tool to form one of the continuous smooth paths crossing back and forth over the centre line, and enjoy the reflexion growing with it, using the guiding lines to align the Anchor points, all the way using one Anchor Point at the end of each swirl (set) with vertical Handles and one Anchor Point for the top/bottom of each swirl part with horizontal Handles, top/bottom preferably aligned vertically and maybe with the same Handle length;
You can work on top of a locked sketch;
When you have finished drawing, you can adjust position and Handle lengths of each Anchor Point, and go back and forth between them.
In order to have two actual paths, just Object>Expand Appearance to form a Group of them.
You can also stop drawing midway if the bottom part is to be a relexion of the top part, then reflect a copy vertically and join the two parts. The sample image seems to call for your stopping at the farthest end of the widest swirl set.
In order to ensure the same Handle lengths you can use the Line Segment Tool to make a guiding line, by Direct Selecting the Anchor Point and then ShiftClickDragging from the Handle into the Anchor Point; you can (copy and) move the guiding line to any Anchor Point you wish to adjust by it.
Below is a crude drawing loosely made without guiding lines and without alignment of swirls/swirl parts either way, starting from the top and going left.
Click/RightClick to get closer, Click again to get closer still
Find more inspiration, events, and resources on the new Adobe Community
Explore Now