

- Home
- Illustrator
- Discussions
- Re: how to auto Trace inside of shape
- Re: how to auto Trace inside of shape
how to auto Trace inside of shape

Copy link to clipboard
Copied
I have these heads here and i cant seem to figure out how to clip the white areas of the head without the normal hand tracing. can someone please help?1


Explore related tutorials & articles
 7
Replies
7
7
Replies
7
Copy link to clipboard
Copied
Not at all sure what you mean by "clip the white areas".

Copy link to clipboard
Copied
I’m guessing you mean that you want to remove the white area? I also assume you mean Live Trace?
to do this, create your Live Trace and then open the Live Trace panel. In here click on the option to “Ignore White” this will make all white areas transparent for you.
if you are NOT referring to Live Trace and you simply want to select the face shape, double-click the image to enter Isolation mode, here you can select a Shape from within a group or compound path. Depending on how “deep” the grouping structure is, you may need to double click several times till you isolate the Shape you want.

Copy link to clipboard
Copied
It's a logo.
Do a manual trace.

Copy link to clipboard
Copied
If what you are trying to do is isolate the face from the hair using the trace feature, there are a couple of ways to do it.
Paste the image into Illustrator and click image trace to see a preview of the tracing results.
Next click the expand button to expand the traced results. You should see a bunch of points and paths (blue).

With the new artwork select, ungroup and ungroup. Sometimes you have to ungroup more than once.
Once that's done, deselect and click in the middle of the face. Change it's fill to yellow.
You can see below that the face is not a closed object, so it thinks you want the entire white are that is now yellow.
Copy and paste this yellow area to somewhere else on your page away from your logo

Now select the Eraser tool and erase a path all the way around your face area that you want to extract. It doesn't have
to be exact, just enough to establish a boundary.

Now you can deselect and reselect the face. Change it's color to red and you'll notice that it is the shape
you are looking for. Delete all the yellow and refine any rough edges before dragging back to your traced logo.

Hope this works for you.
Copy link to clipboard
Copied
No need to ungroup elements to select the face if you go into isolation mode. In isolation mode you can select individual objects from within a group without having to remove the grouping.
Copy link to clipboard
Copied
Right after I posted this, I realized I would have done it differently myself.
STEP 1 - AutoTrace your image ignoring white.
STEP 2 - Create a new layer and drag it behind Layer 1 (label it face if you want) Lock layer 1.

STEP 3 - With "face" layer selected, grab the Blob Brush tool and draw a rough outline surrounding the face and overlapping the edges.
STEP 4 - With the Direct Selection Tool (open arrow), select just the internal path of the shape you just drew and delete it.

STEP 5 - Unlock Layer 1, select all and click the Trim button in the Pathfinder pallet.

Then double-click to enter the resultant group and clean up any stray points, fine tune your paths, etc.
Copy link to clipboard
Copied
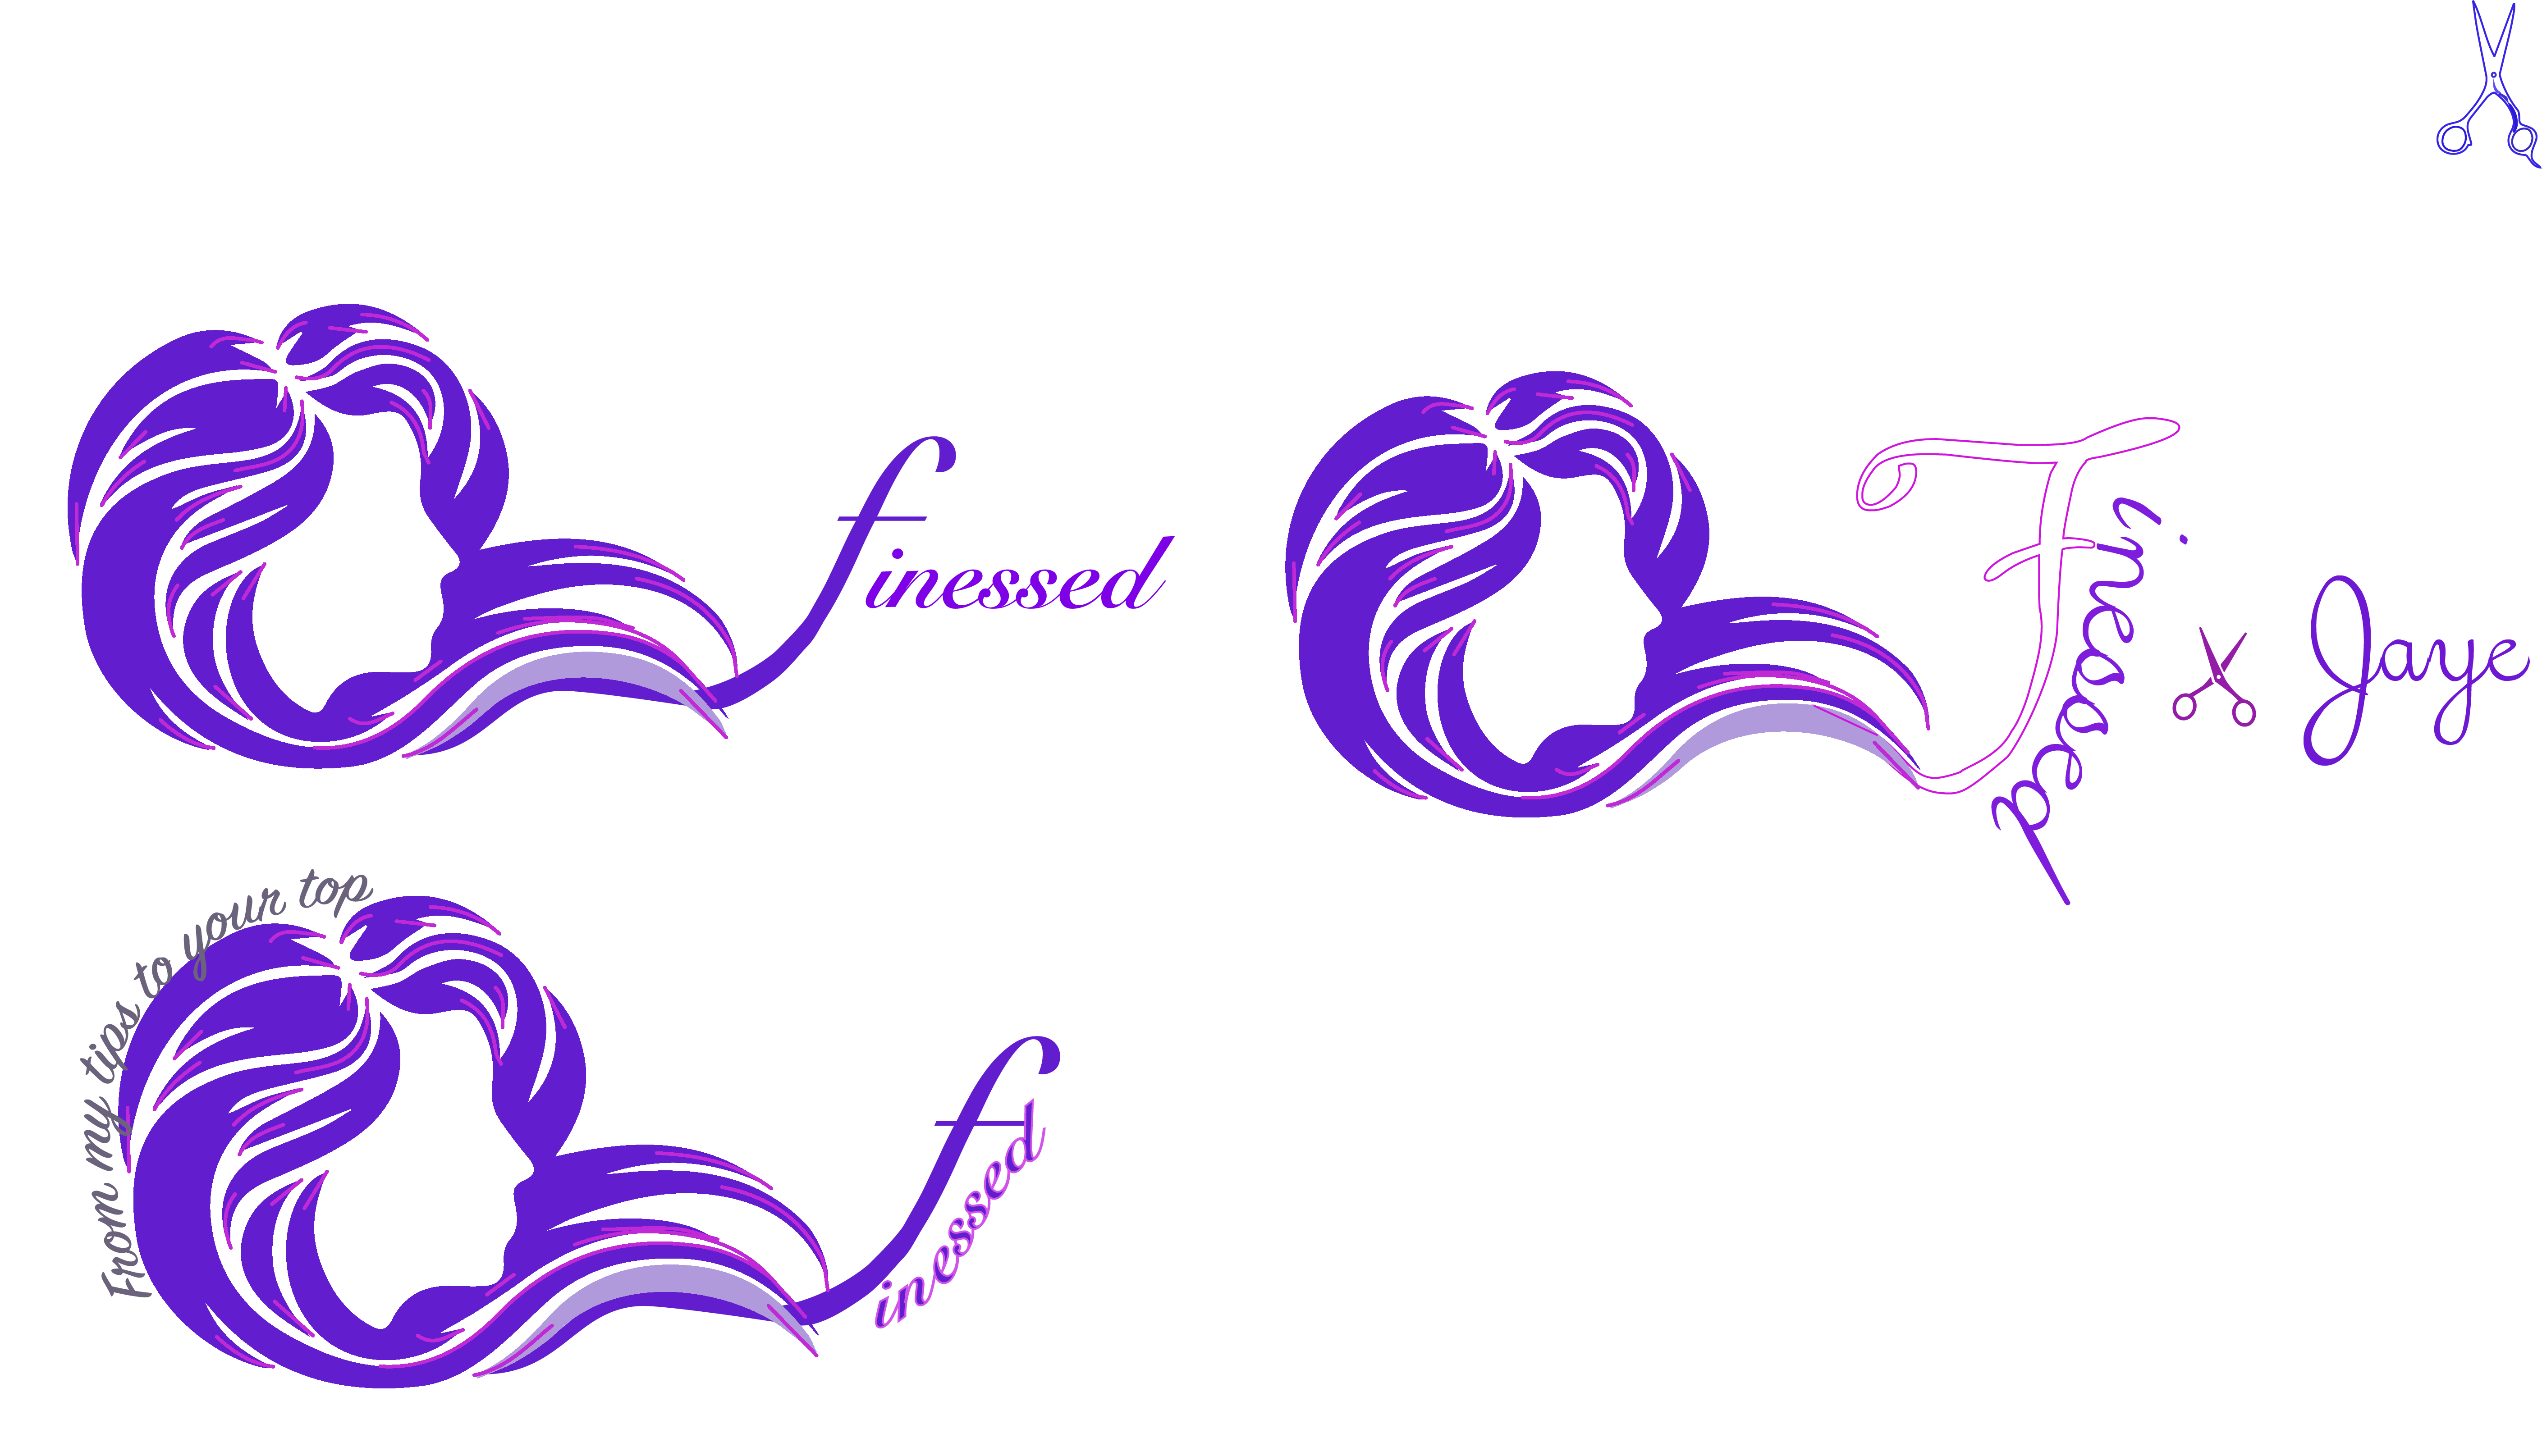
thanks all for the help. i appreciate the answers but none if this is what i was looking for, but i still learned something for the future! i thought i needed to trace to white parts of the face in order to fill them with color but i did not. all i had to do was make some of them a path and live paint them and i got what i wanted. this is what i created for a client

Find more inspiration, events, and resources on the new Adobe Community
Explore Now
 AdChoices