

- Home
- Illustrator
- Discussions
- Re: How to create a evenly spaced grid of rectangl...
- Re: How to create a evenly spaced grid of rectangl...
How to create a evenly spaced grid of rectangles

Copy link to clipboard
Copied
Ok Im having difficulty in creating 5x5 rectangles with rounded corners, which themselves have a specific height and width and the spacing (rows and columns) inbetween are evely spaced.
How would i acheive this???


Explore related tutorials & articles
 11
Replies
11
11
Replies
11

Copy link to clipboard
Copied
You will want to use the Effect>Distort&Transform>Transform. Make your initial square, Select it and go to Effect>Distort&Transform>Transform. With the dialog open choose the number of copies and the distance you want it moved (i.e. for a 0.25 gutter choose 5.25). Then reselect the original and do it again in the other direction. You will get a warning about adding another effect but ignore it. If you want the copies to be live, then use Object>Expand Appearance.
Sorry I didn't use the rounded rectangle but the method is the same.
Copy link to clipboard
Copied
Thanks for the replies.
I had actually tried Steve Fairbank's method before posting this thread, however it would you would have to set the area and thw shape width seperately f.e. if i were to set the height and width and the spacing, the overall area wouldnt expand to compensate but rather stay the same, if i then increase the area it would mess up either the spacing or the width and height. Very Frustrating. a
Anyway I have achieved what i wanted using Larry G. Schneider's method.
I have one more question now at this point:
Do you know how to manipulate the spacing between the shapes so that there is even spacing in the rows and columns between the shapes?? Doing this whilst using your method i found was hit and miss and i only got it roughly right.
Thanks

Copy link to clipboard
Copied
Edit: I did not see Steves posy=ting foir some reason his is the easier way!
An easier way of doing this and control the spaces between the squares without the use of math is to draw a square to the size of the area you need the grid to occupy
then
1. Select the square
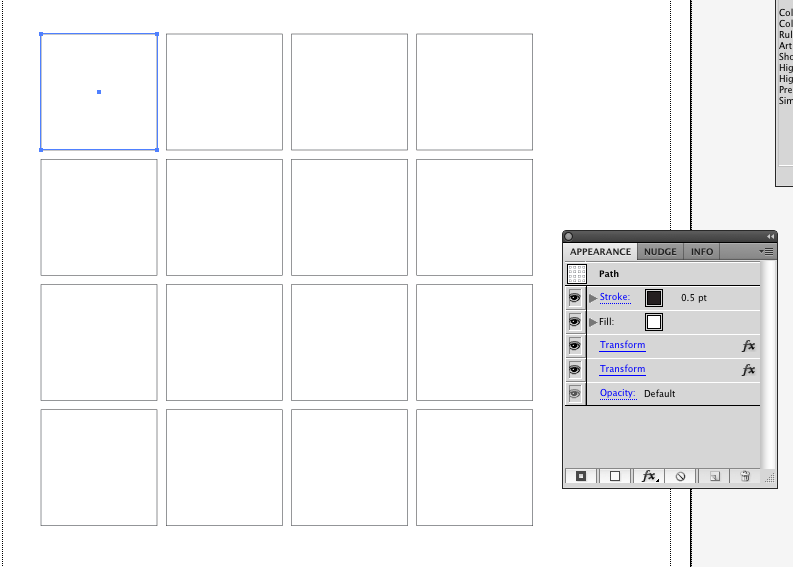
2. Go to Object>Path>Split Into Grid
3. In your case enter fie for the nuber of coulmns and rows
4. enter the disance between the columns and rows (you can enter the same distance for both or if you wish different spacing)
5. Go to Effects>Stylize>Round Corners and enter the size of the round corners you need. the effect is live so you can either expand the effect for round corners or turn the on and off or enter new numbers at some futre date if required.
Copy link to clipboard
Copied
... which is exactly what I thought I said
Copy link to clipboard
Copied
You absolutely did write exactly that but I somehow missed it. My bad!
Copy link to clipboard
Copied
😉

Copy link to clipboard
Copied
Use the align panel, and make sure you have it all the way open (click on the little arrow thing in the header to tip it open - note that it has 3 states.) The bottom section is distribute spacing. The toggle button on the right side determines how it distributes, set it to Align to Selection if your leftmost and rightmost are where you want them to be and the middle ones will be evenly spaced within, Set it to Key Object if you want to be able to type the amount of space manually and then with all of them selected, regular click on the one you want to stay put.

Copy link to clipboard
Copied
Now what this is r4eally pointing to is that though one can accomplish this there really is not step and repeat feature in Illustrator with real controls even though fabric designers oft start out in Illustator.

Copy link to clipboard
Copied
Thank you ! great method and very helpful
Copy link to clipboard
Copied
Draw a rectangle or square that is the same size as the total.
Then: Object > Path > Split Into Grid and define the number of rows and columns and gutter width.
If you want rounded corners you can apply them as an effect.

Copy link to clipboard
Copied
I can't speak for edisonmax, but Steve Fairbairn's suggestion worked great for my project. I was trying to trace the Belorussian Flag, which has an "quilt-like" pattern on the left section. The top shows the "pixelated" version. The bottom shows the finished product. Thanks so much for the help.

Find more inspiration, events, and resources on the new Adobe Community
Explore Now
 AdChoices