- Home
- Illustrator
- Discussions
- Re: how to create mountain contour lines
- Re: how to create mountain contour lines
how to create mountain contour lines
Copy link to clipboard
Copied
Hi All,
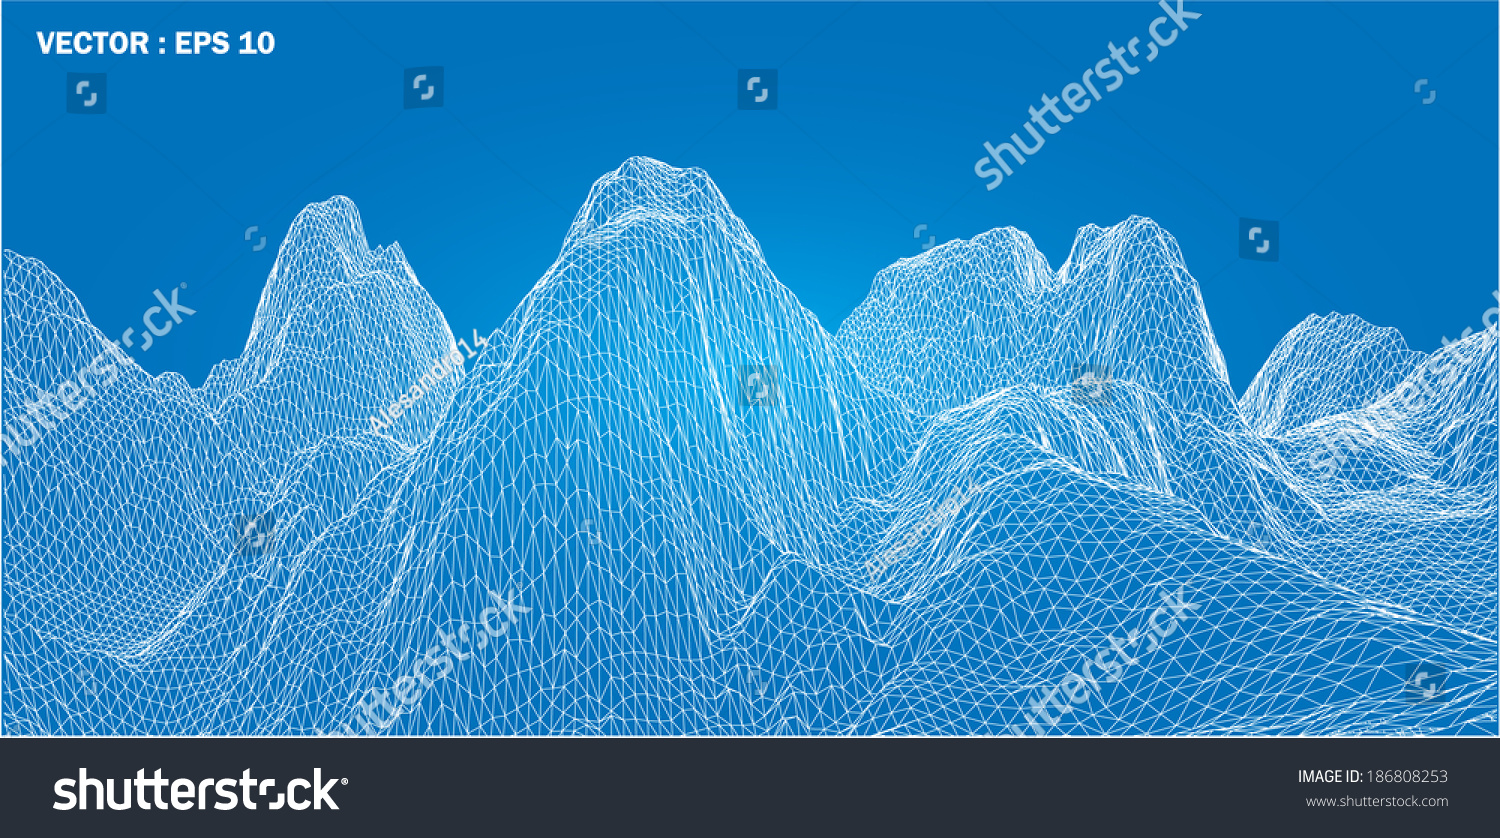
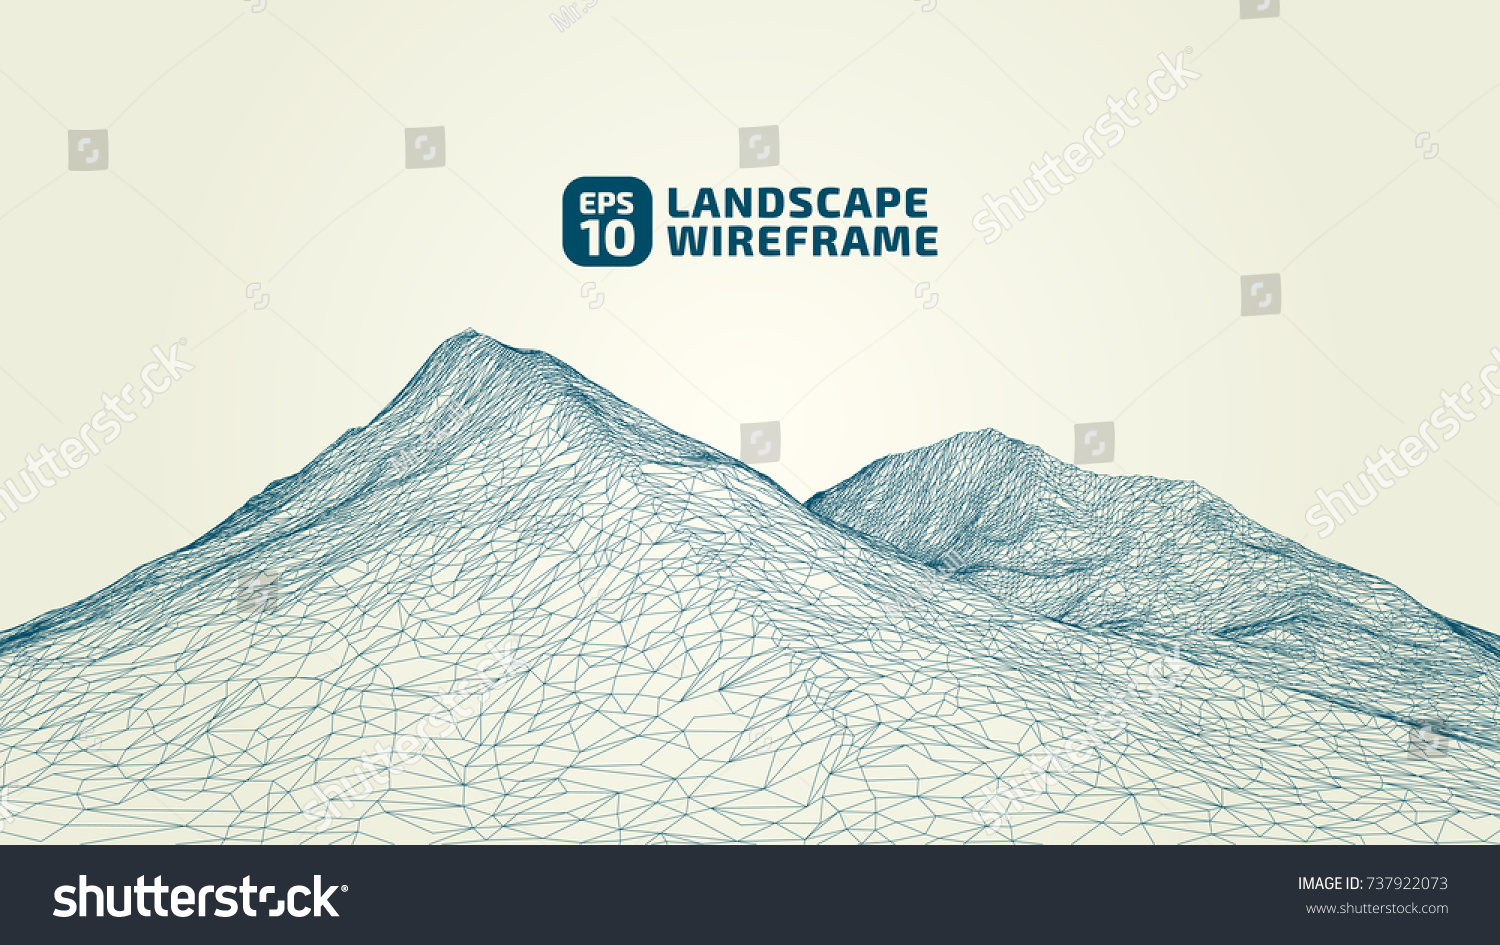
I'm looking to create a contoured outline of a mountain range / mountain (based on an actual photo). Something similar to the attached examples. Can you please point me toward the best way of going about this, plugin, tutorial, initial steps. The important aspect is that it should be based on an photo of an actual mountain.
Any tips are much appreciated.
Thank you very and have a great day


Explore related tutorials & articles
Copy link to clipboard
Copied
I can tell you how to create something vaguely similar in Illustrator, but not something based on an actual mountain. I can't see a way of doing that without either painstaking illustration or an actual 3D model.

If this is useful to you at all, use the following steps:
1. Using the grid tool, create a 100x100 grid.
2. Apply an envelope mesh (Object > Envelope Distort > Make with mesh). Give it as many rows/columns as you want, but larger numbers will make it hard to manage. This example has 10.
3. Rotate the whole thing 45 degrees. Object > Transform > reset bounding box, then flatten the whole thing somewhat (this gives you more interesting angles to work with).
4. Pull at the mesh points to adjust your mountain range.
Under Object > Envelope Distort > Envelope Options, you may want to set fidelity to 100, or you'll get parts where the paths pull away from the mesh in unwanted ways.
But as I said, you're unlikely to be able to fulfill your criteria this way.
Copy link to clipboard
Copied
Tnx Doug,
I suppose that if I leave the fill white and the line black for example then the created shape will not be transparent and will not create a jumble of lines at the peaks? Additionally, I wonder if there is a raster way of working something similar but based on a photo in photoshop? Maybe a plugin?
Thanks again
Copy link to clipboard
Copied
You could try and search for "depth maps". There are tutorials on how to make this for 3D printing terrains. You will need to leave out the step of actually printing it.
Copy link to clipboard
Copied
janhavelka wrote
Tnx Doug,
I suppose that if I leave the fill white and the line black for example then the created shape will not be transparent and will not create a jumble of lines at the peaks?
Unfortunately no. You're just warping the shapes of objects; there's no way of having parts of a single object in front of or behind itself.
