- Home
- Illustrator
- Discussions
- Re: How to force all lines to align true (rectilin...
- Re: How to force all lines to align true (rectilin...
How to force all lines to align true (rectilinearly)?
Copy link to clipboard
Copied
I have an AI document containing lots of squares and rectangles and various filled rectilinear path objects.
All very neat.
None of them overlap.
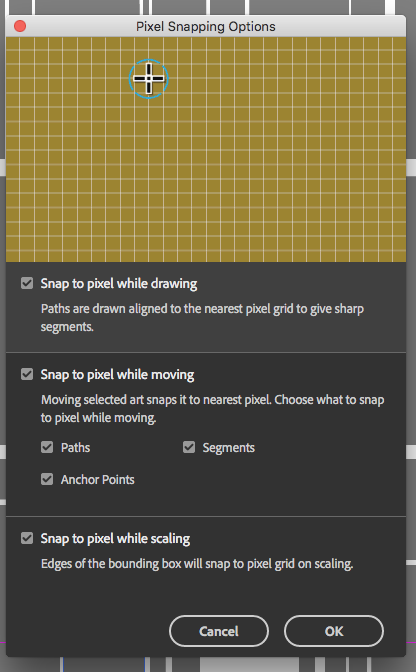
I've just discovered Object > Make Pixel Perfect- it's amazing for shifting all your points to snap to the pixel grid!
Trouble is many of my points are now messing up my square angles.
Anyone know of a method or script that will force all points to form right angles (90 degrees)?
I have a feeling there was some kind of Mosaic effect or something I used a long time ago that did a similar job?
Explore related tutorials & articles
Copy link to clipboard
Copied
Are all your rectangles and squares in rounded pixel sizes containing no decimal points?
Was object >> create object mosaic, what you used in the past?
Please post s screenshot?
Copy link to clipboard
Copied
Thanks, yes, I've just relocated and tried make mosaic but it's not doing the job.
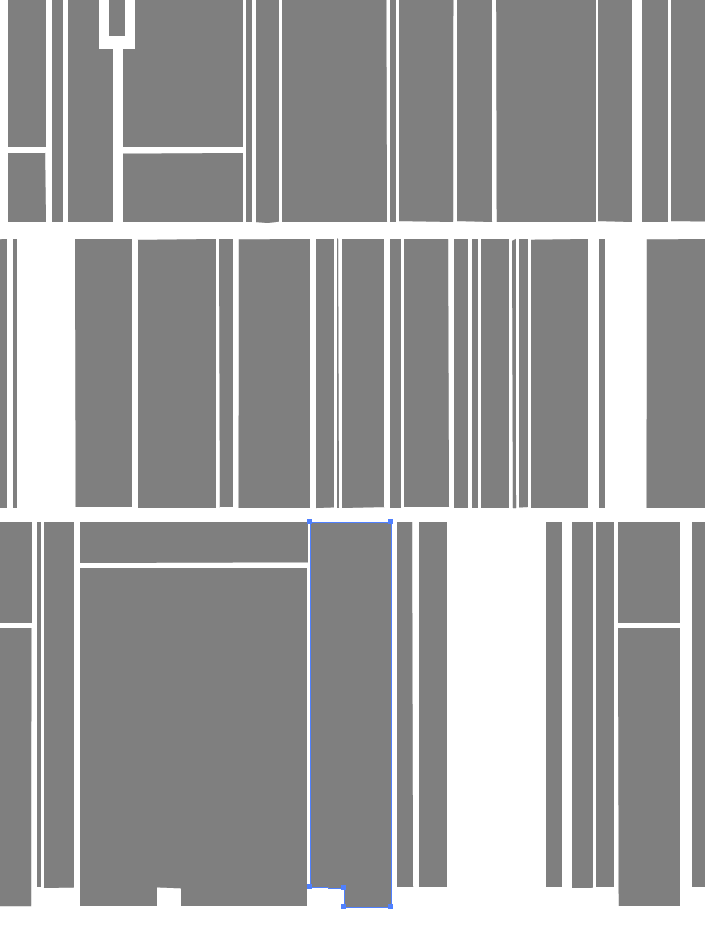
Here's some screen grabs that show the document and the problem.
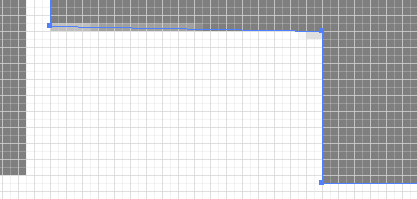
Note where the slight (non-right) angle of some of the lines is causing pixel-blur even though every anchor is snapped to the pixel grid.

Close up...

The demo makes it all seem so simple ...

Copy link to clipboard
Copied
Runninghead,
I am afraid there is no easy general method.
Copy link to clipboard
Copied
Maybe not Jacob, but there will be one nonetheless.
Scripting may be the way to go, some already exist, but I'd be surprised if there's not a method that utilises the built-in functionality as it's got a lot of potential.
eg- I've just tried scaling the whole thing down, choosing Make Pixel Perfect again and then scaling it back up.
It didn't work but I'm sure something like that might do it in the end.
Copy link to clipboard
Copied
runninghead,
I have an AI document containing lots of squares and rectangles and various filled rectilinear path objects.
All very neat.
I am afraid there is a little lack of neatness, namely that some of the path segments are not vertical/horizontal, in other words you have hit a neighbouring grid point.
I believe pressing the Shift key or using Smart Guides (on) to run along the gridlines is the way to do it while creating.
There may still be an issue when you close the path which may throw the last segment off, if you choose a grid point short of or past the right one.
You could start with a path segment that is too long where you want the end segment, then click the grid points for all the new segments, then click the preliminary segment still guided whish will leave you with an open path and the superfluous part of the preliminary segment as a new separate segment, then Direct Select the start Anchor Point and ClickDrag it to snap to the opposite open end Anchor Point and Ctrl/Cmd+J to join and thereby close the path.
Copy link to clipboard
Copied
Thanks Jacob, I'm seeking to perfect a workflow here for the easy creation of rectilinear vector plans from scanned raster images.
The slight lack of neatness in my current paths is an artefact from LiveTracing the original raster image.
I have already have exhausted the possibilities of LiveTrace for production of clean rectilinear forms.
Essentially it's disappointing that you get so much irregularity from LiveTrace when Tracing a pixel-regular raster image, but that's as good as it gets.
I believe it should be achievable given Illustrator's current capabilities and given that raster files are pixellated (grid based anyway).
With the very large number of points in play, manual adjustment of each point is both unfeasible and undesirable, though I value your suggestions and they'll be ideal for use in another context.
I'm currently looking in to both Subscribe Plugin and a Script, but if anyone's got a better idea I'd love to hear it!
Copy link to clipboard
Copied
i'd use the free astute graphics plugin Subscribe
and its Straighten tool
to sort your wonky lines, here and there
50 secs
SUBSCRIBE FREE | Connect and Straighten Tools in Illustrator - YouTube
Copy link to clipboard
Copied
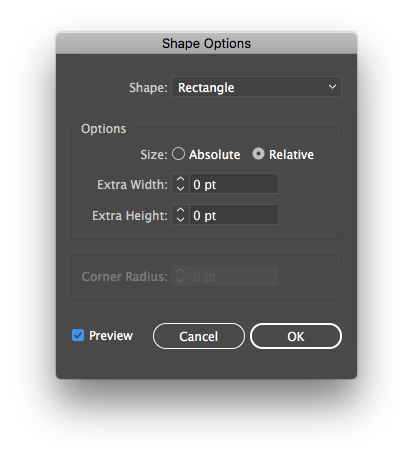
I think your best bet is Effect > Convert to Shape > Rectangle, using the options below. That is, if you wanted all the shapes to be rectangles. If there were more complex shapes involved, then this method wouldn't work.
Shape: Rectangle
Size: Relative
Extra Width: 0 pt
Extra Height: 0 pt

After adding that effect to the shapes, you may notice that even after using Object > Make Pixel Perfect, some of the pixels are still not aligned to the pixel grid (appears to be a bug). After which, you can use Object > Expand Appearance, and then once again Object > Make Pixel Perfect to align the rectangles to the grid.
Copy link to clipboard
Copied
Yep- Doesn't Work but thanks anyway.
Astute Straighten Tool in Subscribe Plugin (Free) does speed up the process
of manually straightening lines considerably but this thread is to
establish an automated method, which is likely possible with a little
creative experimentation.
Copy link to clipboard
Copied
For my part you are welcome, runninghead.


