October 17, 2017
Répondu

How to use the option Blend spine with a text? (Screenshots)

Option for replacing the spine of a "Blend" is grayed out. When I select the blended object and the object I want replaced, the replace spine option is grayed. Object - Blend - Only visible options are Make and Blend option.

Screenshot: Snaggy - easy screenshots

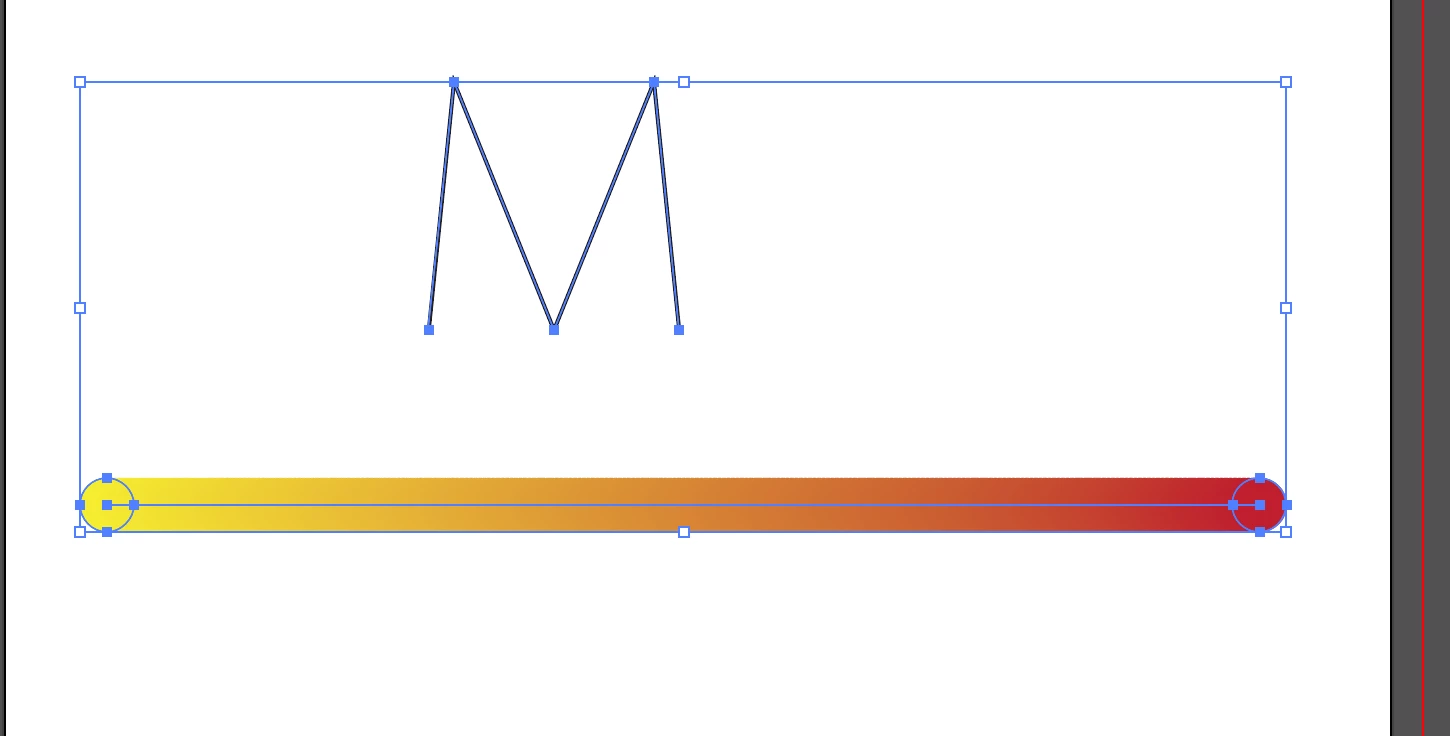
When I do a blend option, I get this: Snaggy - easy screenshots

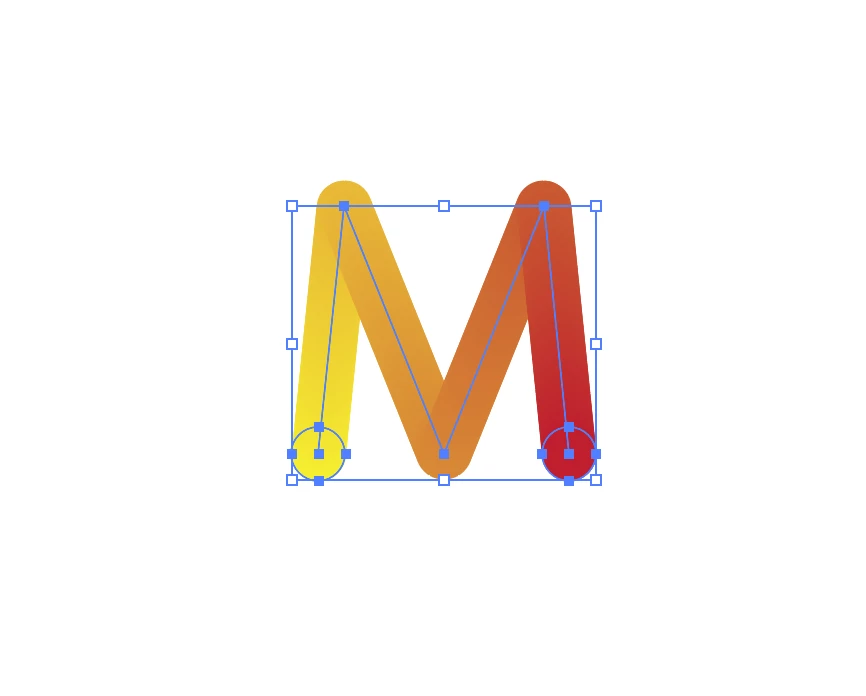
I'm trying to do this: Snaggy - easy screenshots

THANK YOU SO MUCH

    Ce sujet a été fermé aux réponses.
    Meilleure réponse par SJRiegel

    You don't have a blend there - you have a gradient, and you are blending it with the letter.

    What you need is to create a blend between two circles, and then draw the M with the pen tool.

    You will then be able to replace the spine on the blend with the hand-drawn letter.

    1 commentaire

    Legend
    October 17, 2017

    I can't view any of your screenshots. Please use the icon shown to embed them in your post.

    October 17, 2017

    This is what I get:

    And I want it to look like this:

    Legend
    October 17, 2017

    You don't have a blend there - you have a gradient, and you are blending it with the letter.

    What you need is to create a blend between two circles, and then draw the M with the pen tool.

    You will then be able to replace the spine on the blend with the hand-drawn letter.


    To get something closer to the blended look of the B in your example, color your two circles with different gradients.