- Home
- Illustrator
- Discussions
- Re: howto create realistic stitched patch effect
- Re: howto create realistic stitched patch effect
Copy link to clipboard
Copied
the title says it all, how do you realisticly recreate a embroided patch effect.
think of militairy patches.
this pictures shows what i mean
http://e-patches.com/wp-content/uploadszsedc/2008/05/airsoft.jpg
http://www.emblemworks.com/zencart/images/sec.jpg
i have been fiddling around with the scribble effect. but i cant get the lighting to look right.
tnx in advance,
-Diego
 1 Correct answer
Embroidery border.


Store the Appearance as a Graphic Style. Apply it to any path. Create the original grad using only grays, set the Colorization mode of the Pattern Brush to Hue Shift or Tints & Shades, and the one Brush will serve for any color "thread".
JET
Explore related tutorials & articles
Copy link to clipboard
Copied
I find expanding the scribble effect and applying a gradient to the resuting shape helps a great deal.
Copy link to clipboard
Copied
by using the scribble and texturize effects I came up with this result.
http://img137.imageshack.us/img137/4590/68915484.png
I think it looks pretty good, except I want the stitching to stay in a 90 degree angel to the stroke on the corners and on the vertical sides of the rounded rectangle. any tips or workarounds?
Copy link to clipboard
Copied
You would need to create a custom pattern brush to get the stitching to follow the path. Not easily done, but possible.
Copy link to clipboard
Copied
thanks, that worked quite well.
the only thing is you cant create a brush with the texturized effect turned on, so you have to remove the effect and then create a brush.
the "stitiching now follows the path in the corners. the only thing is that if you then re-apply the texture the texture still goes one way.
do you know a way to work around that?
Copy link to clipboard
Copied
Edit: Never mind misunderstood your issue.
Learn the appearance palette it is your friend.
Bert
Copy link to clipboard
Copied
Embroidery border.


Store the Appearance as a Graphic Style. Apply it to any path. Create the original grad using only grays, set the Colorization mode of the Pattern Brush to Hue Shift or Tints & Shades, and the one Brush will serve for any color "thread".
JET
Copy link to clipboard
Copied
Thanx alot jet!
you solved my issue completely.
thanks again for taking the time to formulate this clear explanation.
-Diego

Copy link to clipboard
Copied
Hi, Thank for the short tutorial. It is very helpful but in my case I must be missing something because I can't make it work.
I follow this tutorial but when I get to the "pathfinder:merge" I don't know with which other shape I have to merge it.
If I skip the merge and drag it to the brushes, I get an error "The selected artwork contains an element that cannot be used
in a pattern brush". I found out that the problem is the gradient because if I do all the same without gradient then I can use
the artwork as a pattern. The problem is that I nedd the gradient to make it realistic. Can somebody tell me what I am doing wrong?
Thank you very much in advance for your help
Carlos
Copy link to clipboard
Copied
You can't use grad fills in a Brush. So, as the instructions indicate, you have to:
- Object>Expand Appearance. (Flattens the live Scribble Effect.)
- Object>Expand...>Fill. Specify Steps: 20. (Flattens the live Gradient Fill into a set of discrete paths with normal solid fills.)
- PathFinder palette>Merge. (Unions adjacent areas of same color, and punches areas of overlap. This is just to further optimize the Brush by minimizing the number of paths.)
These steps are all mentioned in the demo, but are not as explicitly spelled-out, because the assumption is the reader has read the manual and is familiar with the basic features and commands, and would therefore understand the "shorthand" instructions.
JET
Copy link to clipboard
Copied
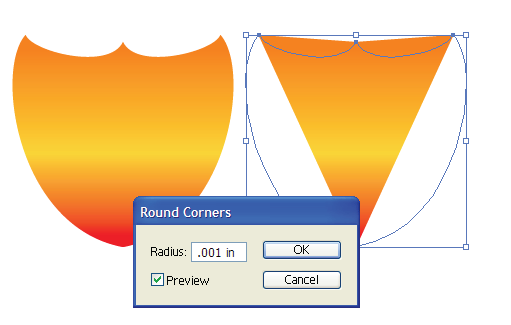
In my case, the Round Corners effect doesn't give small round corners. What would I be doing wrong?

Copy link to clipboard
Copied
Try something larger than 0.001 in. That can't even be shown on the screen.
Copy link to clipboard
Copied
Thanks for the suggestion. I couldn't get the round corner effect to work for me no matter what. But the round any corner script worked.
Copy link to clipboard
Copied
Not entirely relevant, but maybe helpful to anyone who happens upon this thread later (get it? Thread! I crack myself up.)
I had cooked up a way to "embroider" a while back which might come in handy for the rest of the patch or whatever you might be making.
Source file here: http://www.illustratorhints.com/2010/05/embroidered-text-effect/

Copy link to clipboard
Copied
COOL!
Copy link to clipboard
Copied
Thanks, Jesse.
(That was sew funny. You have me in stitches. I'll needle little time to recover.)
Copy link to clipboard
Copied
Maybe we shall all be stitched up before we knowhowto.
Copy link to clipboard
Copied
Ah, you guys are a rip!
Copy link to clipboard
Copied
Has anyone ever applied an embroidery effect to a logo? If so, how is that accomplished?
Copy link to clipboard
Copied
Hi Guys,
I have been trying so hard to get the embroidery effect, but having mega trouble!
I am no novice to AI, but I don't know it is alluding me. I tried to follow Jets tutorial, but I get stumped with the scribble part and beyond. I private messaged him, but to no avail.
Can anyone lend a hand, it would be most appreciated!
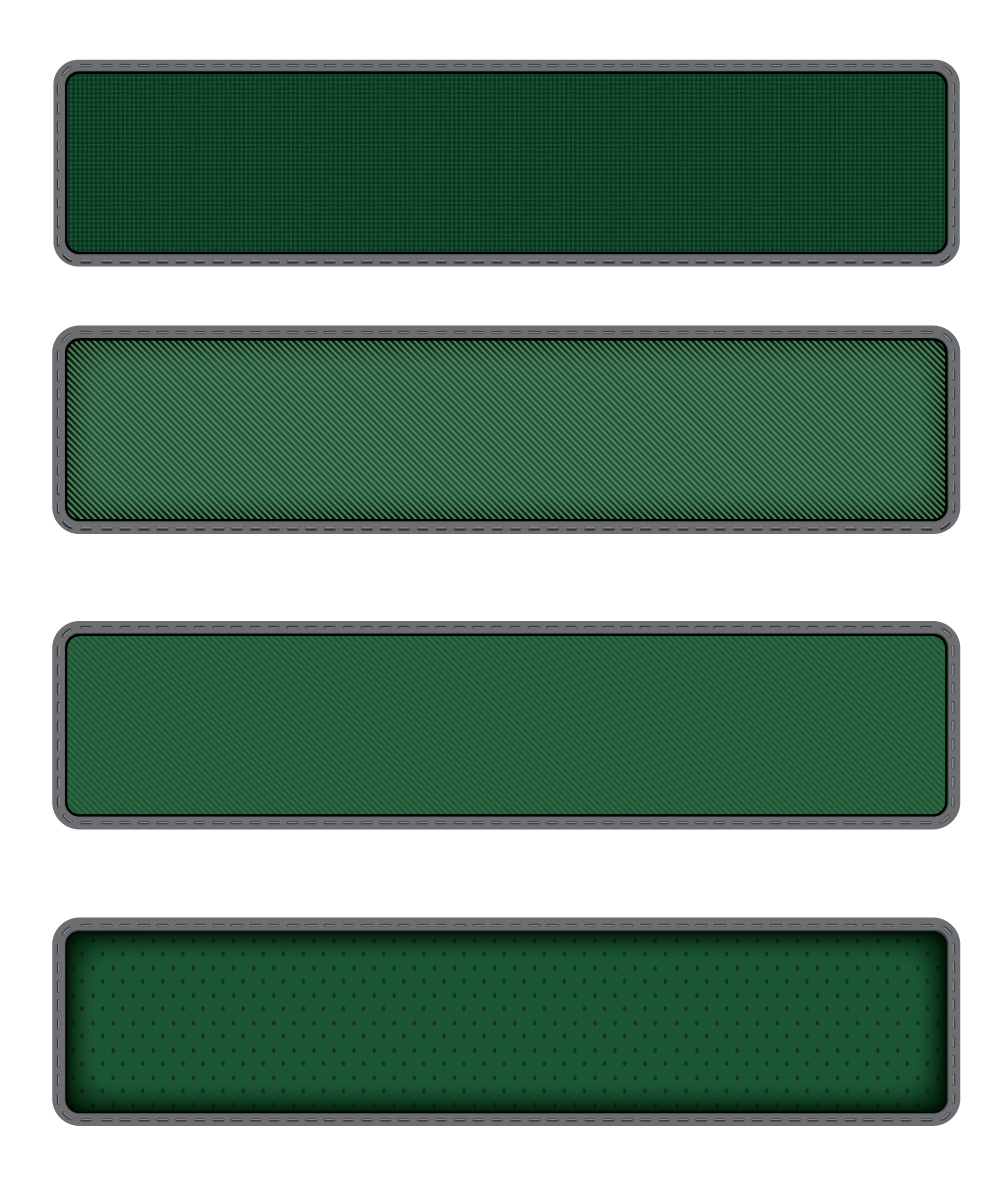
Here is rough idea of what I am trying to do. It is the grey edges that I wish to embroider!! Ugh!!
David

Get ready! An upgraded Adobe Community experience is coming in January.
Learn more
