The great thing with Illustrator is that there are different methods that can be used to obtain the same or similar results. Ton has given a great example, and Monika has a great point.
Here is an additional method:
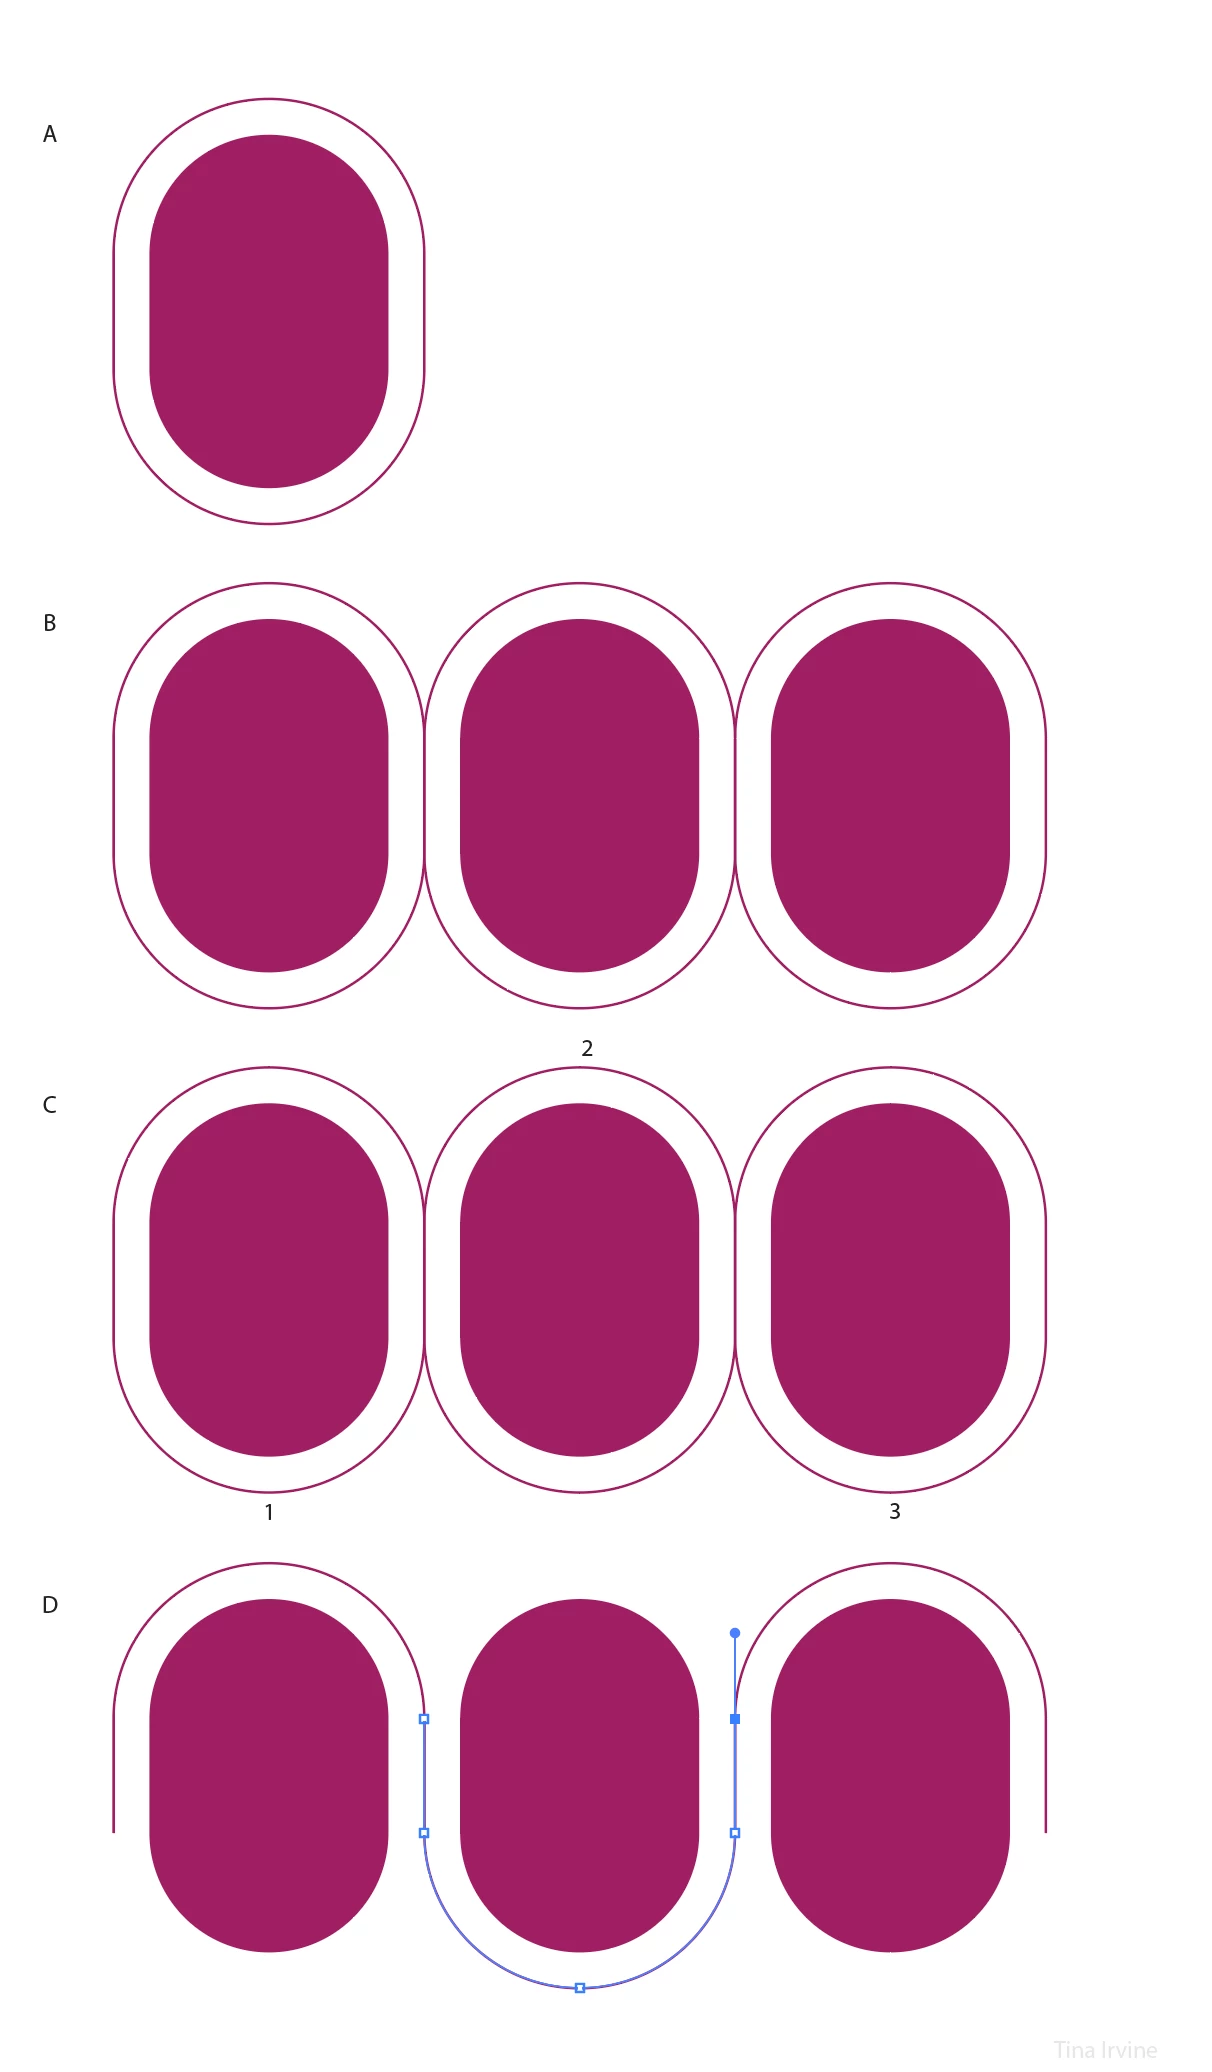
A - Create the capsule shape by rounding the corners of a rectangle. Next, select the capsule shape, choose Object > Path > Offset Path. Use "preview" to help you determine the space / distance you'd like the line to be from your shape. I made my spacing 0.25"
B - Select both the capsule and new path. Duplicate the two objects together, then hold shift and drag the two objects to the right, making sure the lines overlap perfectly. Use smart guides (apple + U on a Mac) to assist. Repeat as many times as needed.
C - Using the white arrow (direct selection tool), select and delete the path's (line) anchor points at locations 1, 2, and 3
D - You will end up with a couple overlapping lines. Remove excess anchor points and then join each path together: Object > Path > Join (apple + J on a Mac)
From here, you can stylize with a gradient.