Copy link to clipboard
Copied
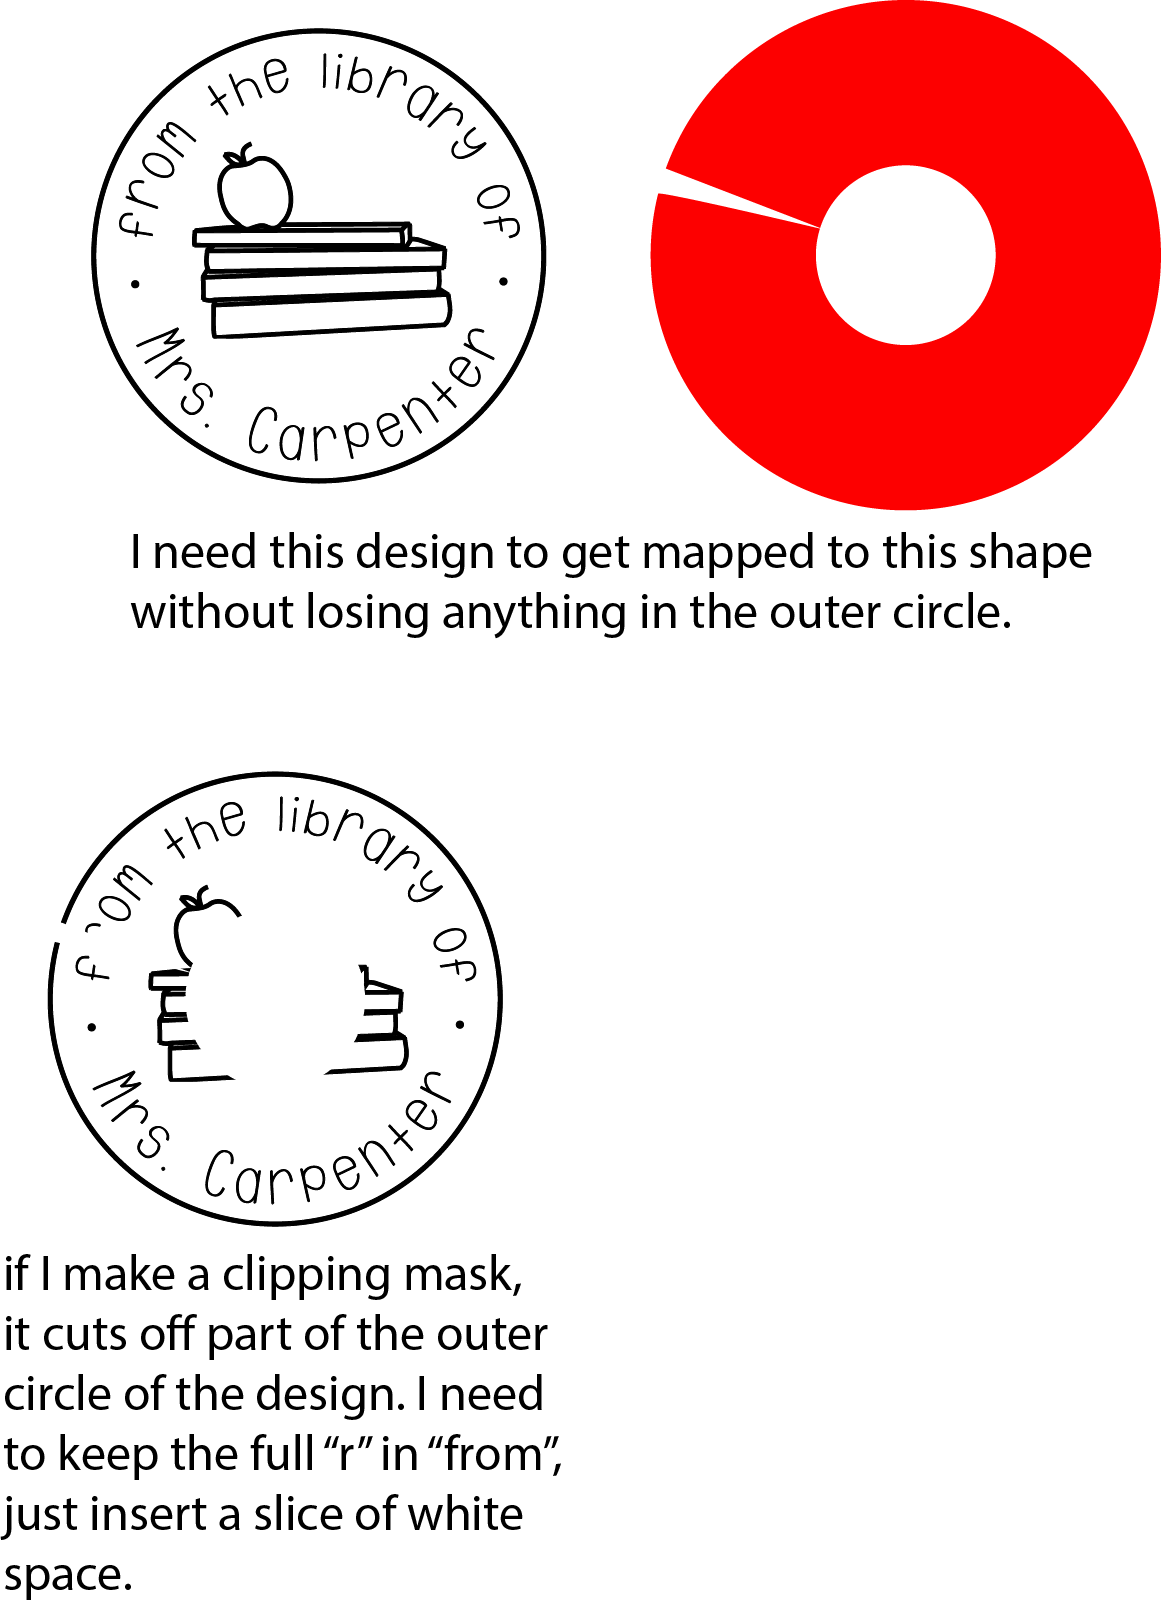
I need to insert a wedge of white space into a design I have. I don't know how to do this. If I make a clipping mask, it just cuts away that part of the design. I want to insert space so that I still have everything in my design, it just gets stretched, or pushed aside. I'm not really sure how to articulate this, see picture below. Thanks so much for reading, I would greatly appreciate any help!

 1 Correct answer
Thanks for all the answers, I just realized how simple this is. I just made two clipping masks, so I had a top and bottom part of the image and rotated one of them slightly, then made the die cut on my laser. Works perfectly. Thanks so much for helping!
Explore related tutorials & articles
Copy link to clipboard
Copied
If you make the mask and keep the "r" what happens to the books and apple? and if you do the opposite the r is gone. If you make one big mask everything in white disappears. Simpler maybe to just create a red circle, a white wedge and a smaller white circle behind the main design. Don't you think?
Copy link to clipboard
Copied
You will need to duplicate the image and mask each image individually to create a space. You will need to redesign this image to fit the die cut object you are creating. Currently the apple and books are landing right in the center void which cuts away. You are creating what is called a wrap where the image bridges the void and matches up when cut and glued.

Copy link to clipboard
Copied
Thanks for the responses! Maybe I need to explain myself a little better. I make stamps and the top of the stamp is beveled a little. I cut out a thin piece of wood that I engrave the image of the stamp on, and then attach it to the top of the stamp. I need to cut out the circular piece of the hole of handle of the stamp and the triangle piece so that the engraved image on top comes together (due to the bevel). I am hoping to figure out a way to stretch or change the image somehow in Illustrator, so that when I put the wood piece on top of the stamp it looks like the original image, and not like a chunk is cut out of it for the bevel. The teacher stamp is just an example, but I have others where there is a design and text around the whole circle, so I can't just find a blank space to remove the text from. In the attached example I have cut the little sliver out of the wood so it will fit on the beveled part, but then I am missing part of an "M" and "P". Thanks so much for your help!
Copy link to clipboard
Copied
did you try opacity mask?
Copy link to clipboard
Copied
yfp,
You may reconsider the bevel at the top, to avoid your having to put (much) more effort into the replication than to the stamp itself.
If you wish to have an accurate representation in the bevel version, you will have to make a complicated distortion.

Copy link to clipboard
Copied
Thanks, but I don't have any control over the bevel part, that's how I buy the stamp bases. Do you know how to do the complicated distortion? If I can figure it out maybe I can make an action so that it's easily repeatable. Thanks!

Copy link to clipboard
Copied
Thanks for all the answers, I just realized how simple this is. I just made two clipping masks, so I had a top and bottom part of the image and rotated one of them slightly, then made the die cut on my laser. Works perfectly. Thanks so much for helping!
Copy link to clipboard
Copied
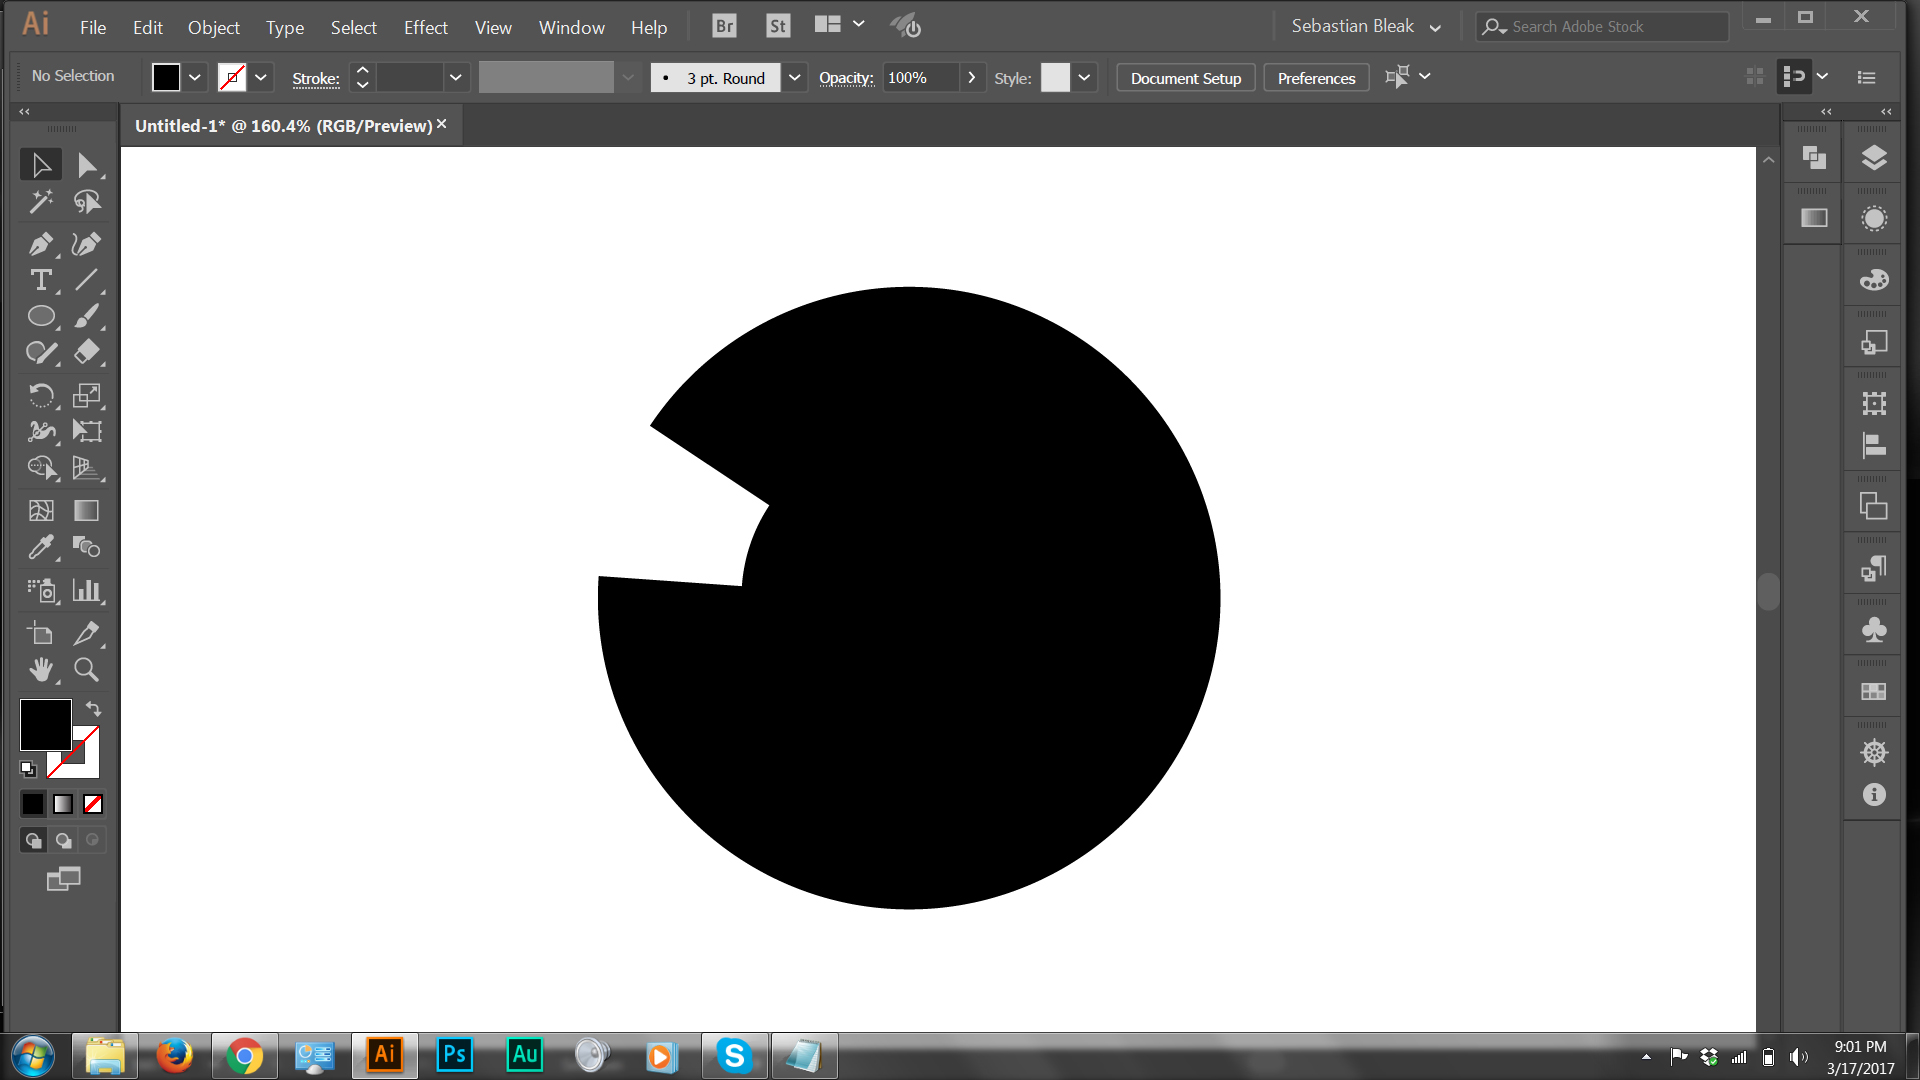
What about using a shape like this? Sorry if I'm understanding this wrong. Hope it helps ![]()


