Spirited_happiness5D41
Known Participant
August 9, 2019
Beantwortet

Marking Path in Quarters and Halves. Matching Fixed Length Angled Line with Perpendicular Line.

  • August 9, 2019
  • 2 Antworten
  • 893 Ansichten

Hey all,

Why is the Pen Tool angle different than the angle set with the Line tool?

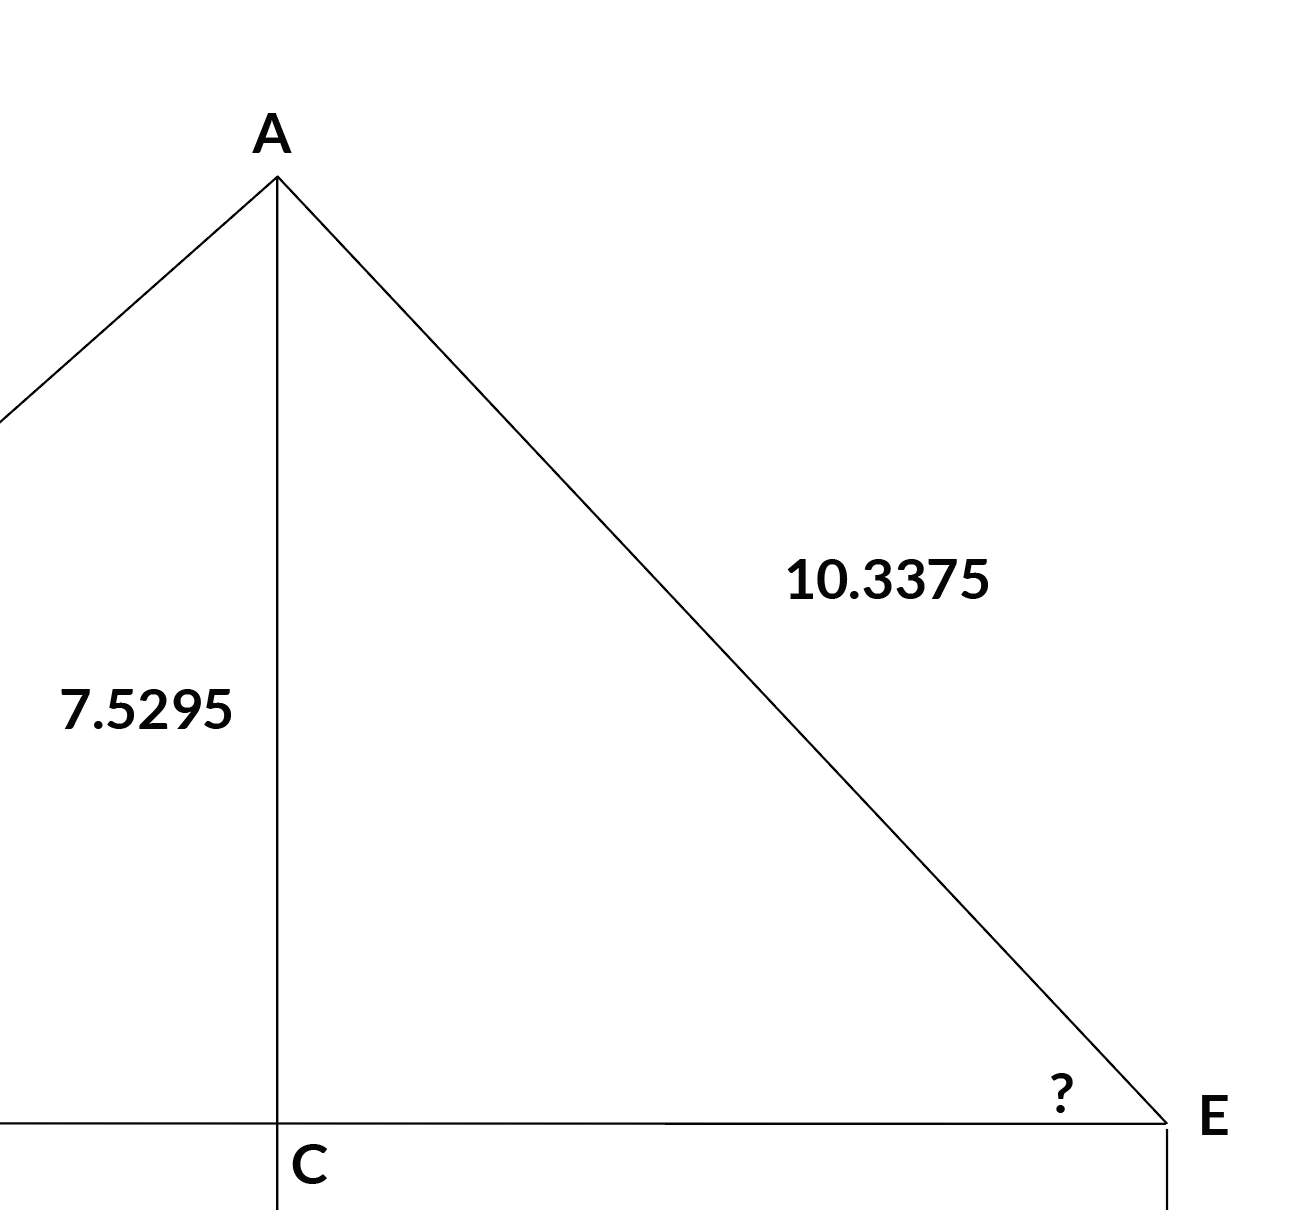
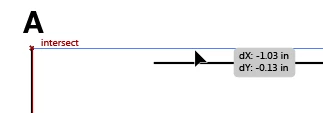
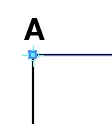
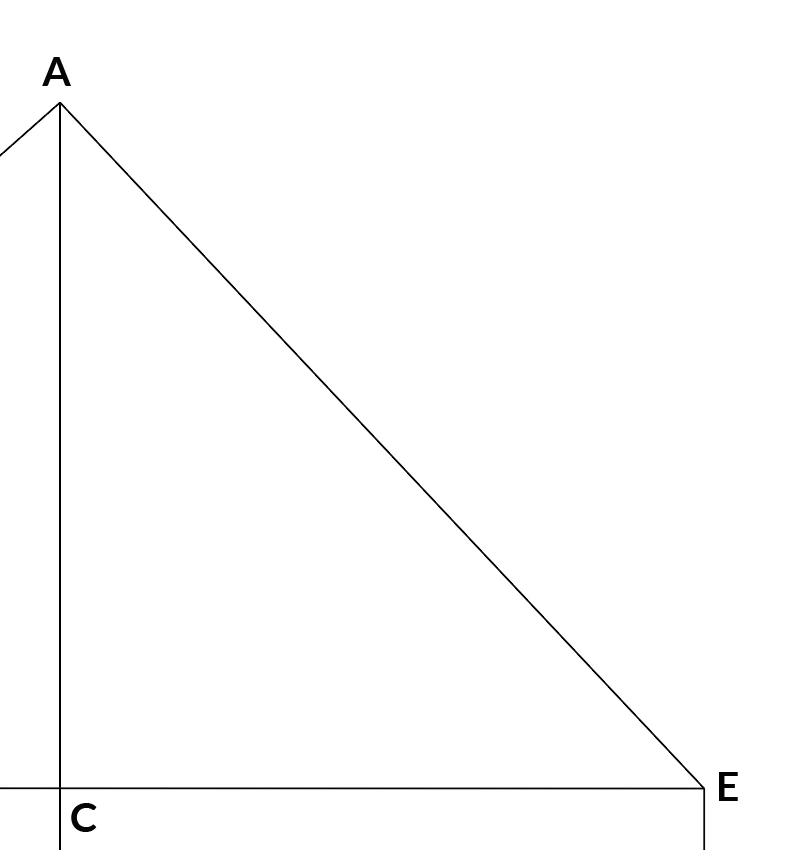
1) I connected A and E. Needed to be a specific length. Spent hours adjusting degrees so the end points would match each 90 degree line. I still didn't get them exactly. (Purple insect marker on only one point).

2) The angle stated is 221.5 Degrees (Transform Box)

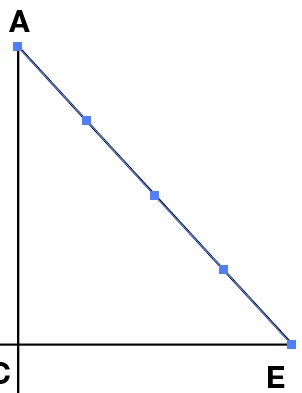
3) I need to divide this angled line into quarters with anchor points.

4) I have the length and divided it by 4, So, I can place this quarter line parallel to the line A and E and make anchor point marks.

5) I use the Line Tool to match the angle stated above. The angle does not match. I cannot get the angle to match.

Overall Problems

1. Setting the End Points of a slanted path (A and E) to match with two lines perpendicular lines.

2. There has to be an easier way to mark anchor points of  a path at an angle into halves and quarters, etc.  For straight lines as well. Besides  creating a new line and comparing it the old line and then making a mark off of that.

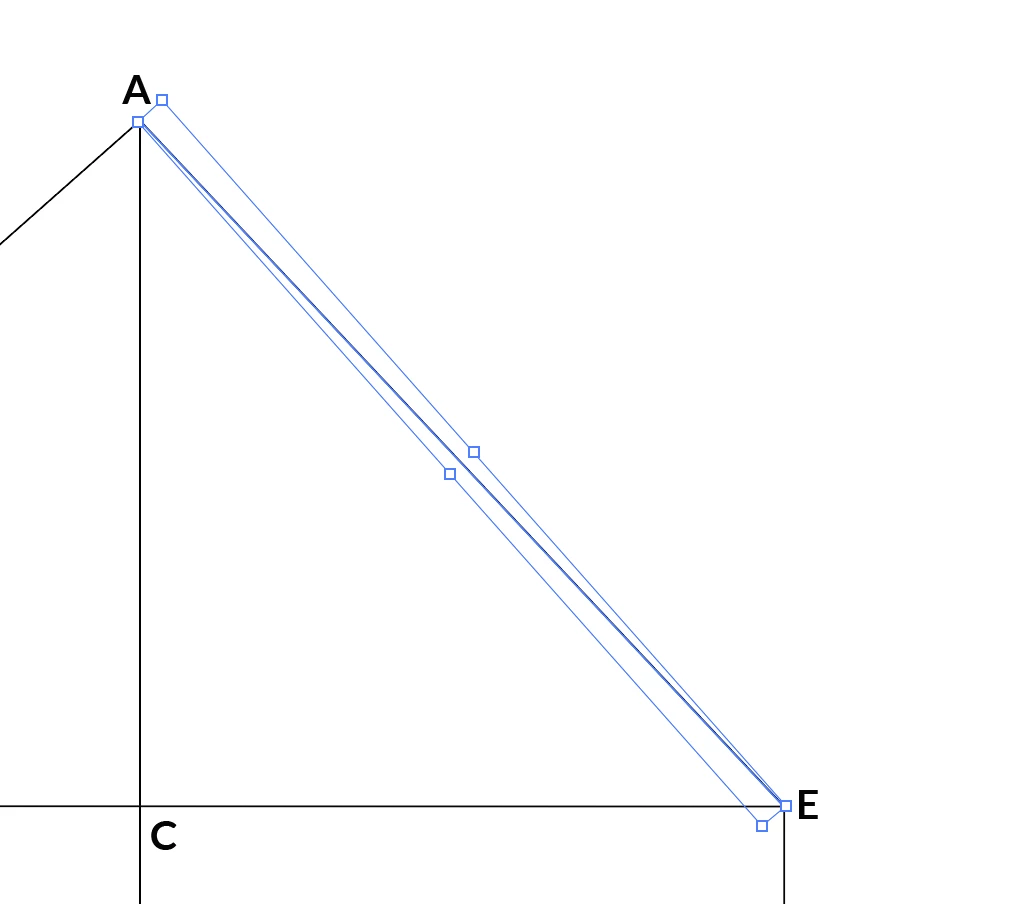
This is what it looks like when I select the line, I hate it when it looks like this because the angle reference is all messed up because it is not aligned with the blue box.

Only a line made with line tool is accurate in terms of degrees.

Thanks!

    Dieses Thema wurde für Antworten geschlossen.
    Beste Antwort von John Mensinger

    I guess I'm still not getting how these angles work.

    The angle I got that is closest, but not quite is 133.2 degrees. Is there ever a way to get an exact match?

    Here are the measurements in inches. Two known lengths, but unknown angle. Lengths obtained from Document Info. The angle in the triangle is acute. Not sure how to calculate it based on the angle of the line at 133.2.

    But again 133.2 was obtained by adjusting 0.1 degree increments then repositioning at point A. Repeat like 10x times. Still doesn't match up perfectly.


    Honestly, I'm not sure I understand your objectives, or how they've led you to this cumbersome wrestling match, but here's another take on it that will hopefully simplify things for you.

    Okay, you know the required length of the A-E line, so again, use the line tool to draw that out:

    With Smart Guides on, snap the left-most point of the line to the existing point A:

    With the line still selected, tap the R key to activate the rotate tool, then hover over point A until Smart Guides display "anchor," and click to set the axis of rotation. The Rotate tool will set down a crosshair there.

    Now click/drag downward to rotate the line until it intersects with E:

    Now you can use the double application of Add Anchor Points again:

    2 Antworten

    Jacob Bugge
    Community Expert
    Community Expert
    August 9, 2019

    Brah,

    When you need a specific length of the line AE, you cannot start out with fixed positions of A and E.

    You can have an infinite number of lines with the desired length between the perpendicular lines, so you will need to determine either one fixed end (Anchor) point or a fixed angle, and the (simple easy) way to do depends on your choice.

    John Mensinger
    Community Expert
    Community Expert
    August 9, 2019

    Well since you already went through all that to find the length and angle, here's what you can do now...

    1. Choose the Line tool and holding Shift, draw a horizontal line of the prescribed length:
    2. Choose Object > Path > Add Anchor Points:
    3. Repeat Step 2:
    4. With the line still selected, enter 331.5° in the Transform panel's angle field (your angle was from vertical, so since we started horizontal, I added another 90°):
    5. With Snap to Point (and Smart Guides), turned on swap in your new line:

    Spirited_happiness5D41
    Known Participant
    August 9, 2019

    This the line I am getting with 331.5 degrees. It won't touch two points.

    I should have mentioned that the length of Line C,E and be shortened and lengthen to match the end point. But obviously this degree won't reach the line at all. I was changing degrees by 0.1 back and forth and looks like I need to do that again. I match the line A,E to point A first because that is fixed.

    That add anchor point is nice

    John Mensinger
    Community Expert
    Community Expert
    August 9, 2019

    I guess I'm still not getting how these angles work.

    The angle I got that is closest, but not quite is 133.2 degrees. Is there ever a way to get an exact match?

    Here are the measurements in inches. Two known lengths, but unknown angle. Lengths obtained from Document Info. The angle in the triangle is acute. Not sure how to calculate it based on the angle of the line at 133.2.

    But again 133.2 was obtained by adjusting 0.1 degree increments then repositioning at point A. Repeat like 10x times. Still doesn't match up perfectly.


    Honestly, I'm not sure I understand your objectives, or how they've led you to this cumbersome wrestling match, but here's another take on it that will hopefully simplify things for you.

    Okay, you know the required length of the A-E line, so again, use the line tool to draw that out:

    With Smart Guides on, snap the left-most point of the line to the existing point A:

    With the line still selected, tap the R key to activate the rotate tool, then hover over point A until Smart Guides display "anchor," and click to set the axis of rotation. The Rotate tool will set down a crosshair there.

    Now click/drag downward to rotate the line until it intersects with E:

    Now you can use the double application of Add Anchor Points again: