Exit
  • Global community
    • Language:
      • Deutsch
      • English
      • Español
      • Français
      • Português
  • 日本語コミュニティ
  • 한국 커뮤니티
0

Need help to color color wheel with 36 squares

New Here ,
Nov 02, 2018 Nov 02, 2018

I need to make color wheel with 36 squares in illustrator. Wheel is redy, but how do i pick colors and mix them?

it needs to look something like this. thanks

IMG_20181024_085955.jpg

874
Translate
Report
Community guidelines
Be kind and respectful, give credit to the original source of content, and search for duplicates before posting. Learn more
community guidelines
Adobe
Community Expert ,
Nov 02, 2018 Nov 02, 2018

To fill the artwork with color you could use live paint.

To mix colors you could use the blend function

Or Edit > Edit colors > Blend Front->Back (or the other ones)

Or mix color with the color panel.

Translate
Report
Community guidelines
Be kind and respectful, give credit to the original source of content, and search for duplicates before posting. Learn more
community guidelines
Participant ,
Nov 02, 2018 Nov 02, 2018

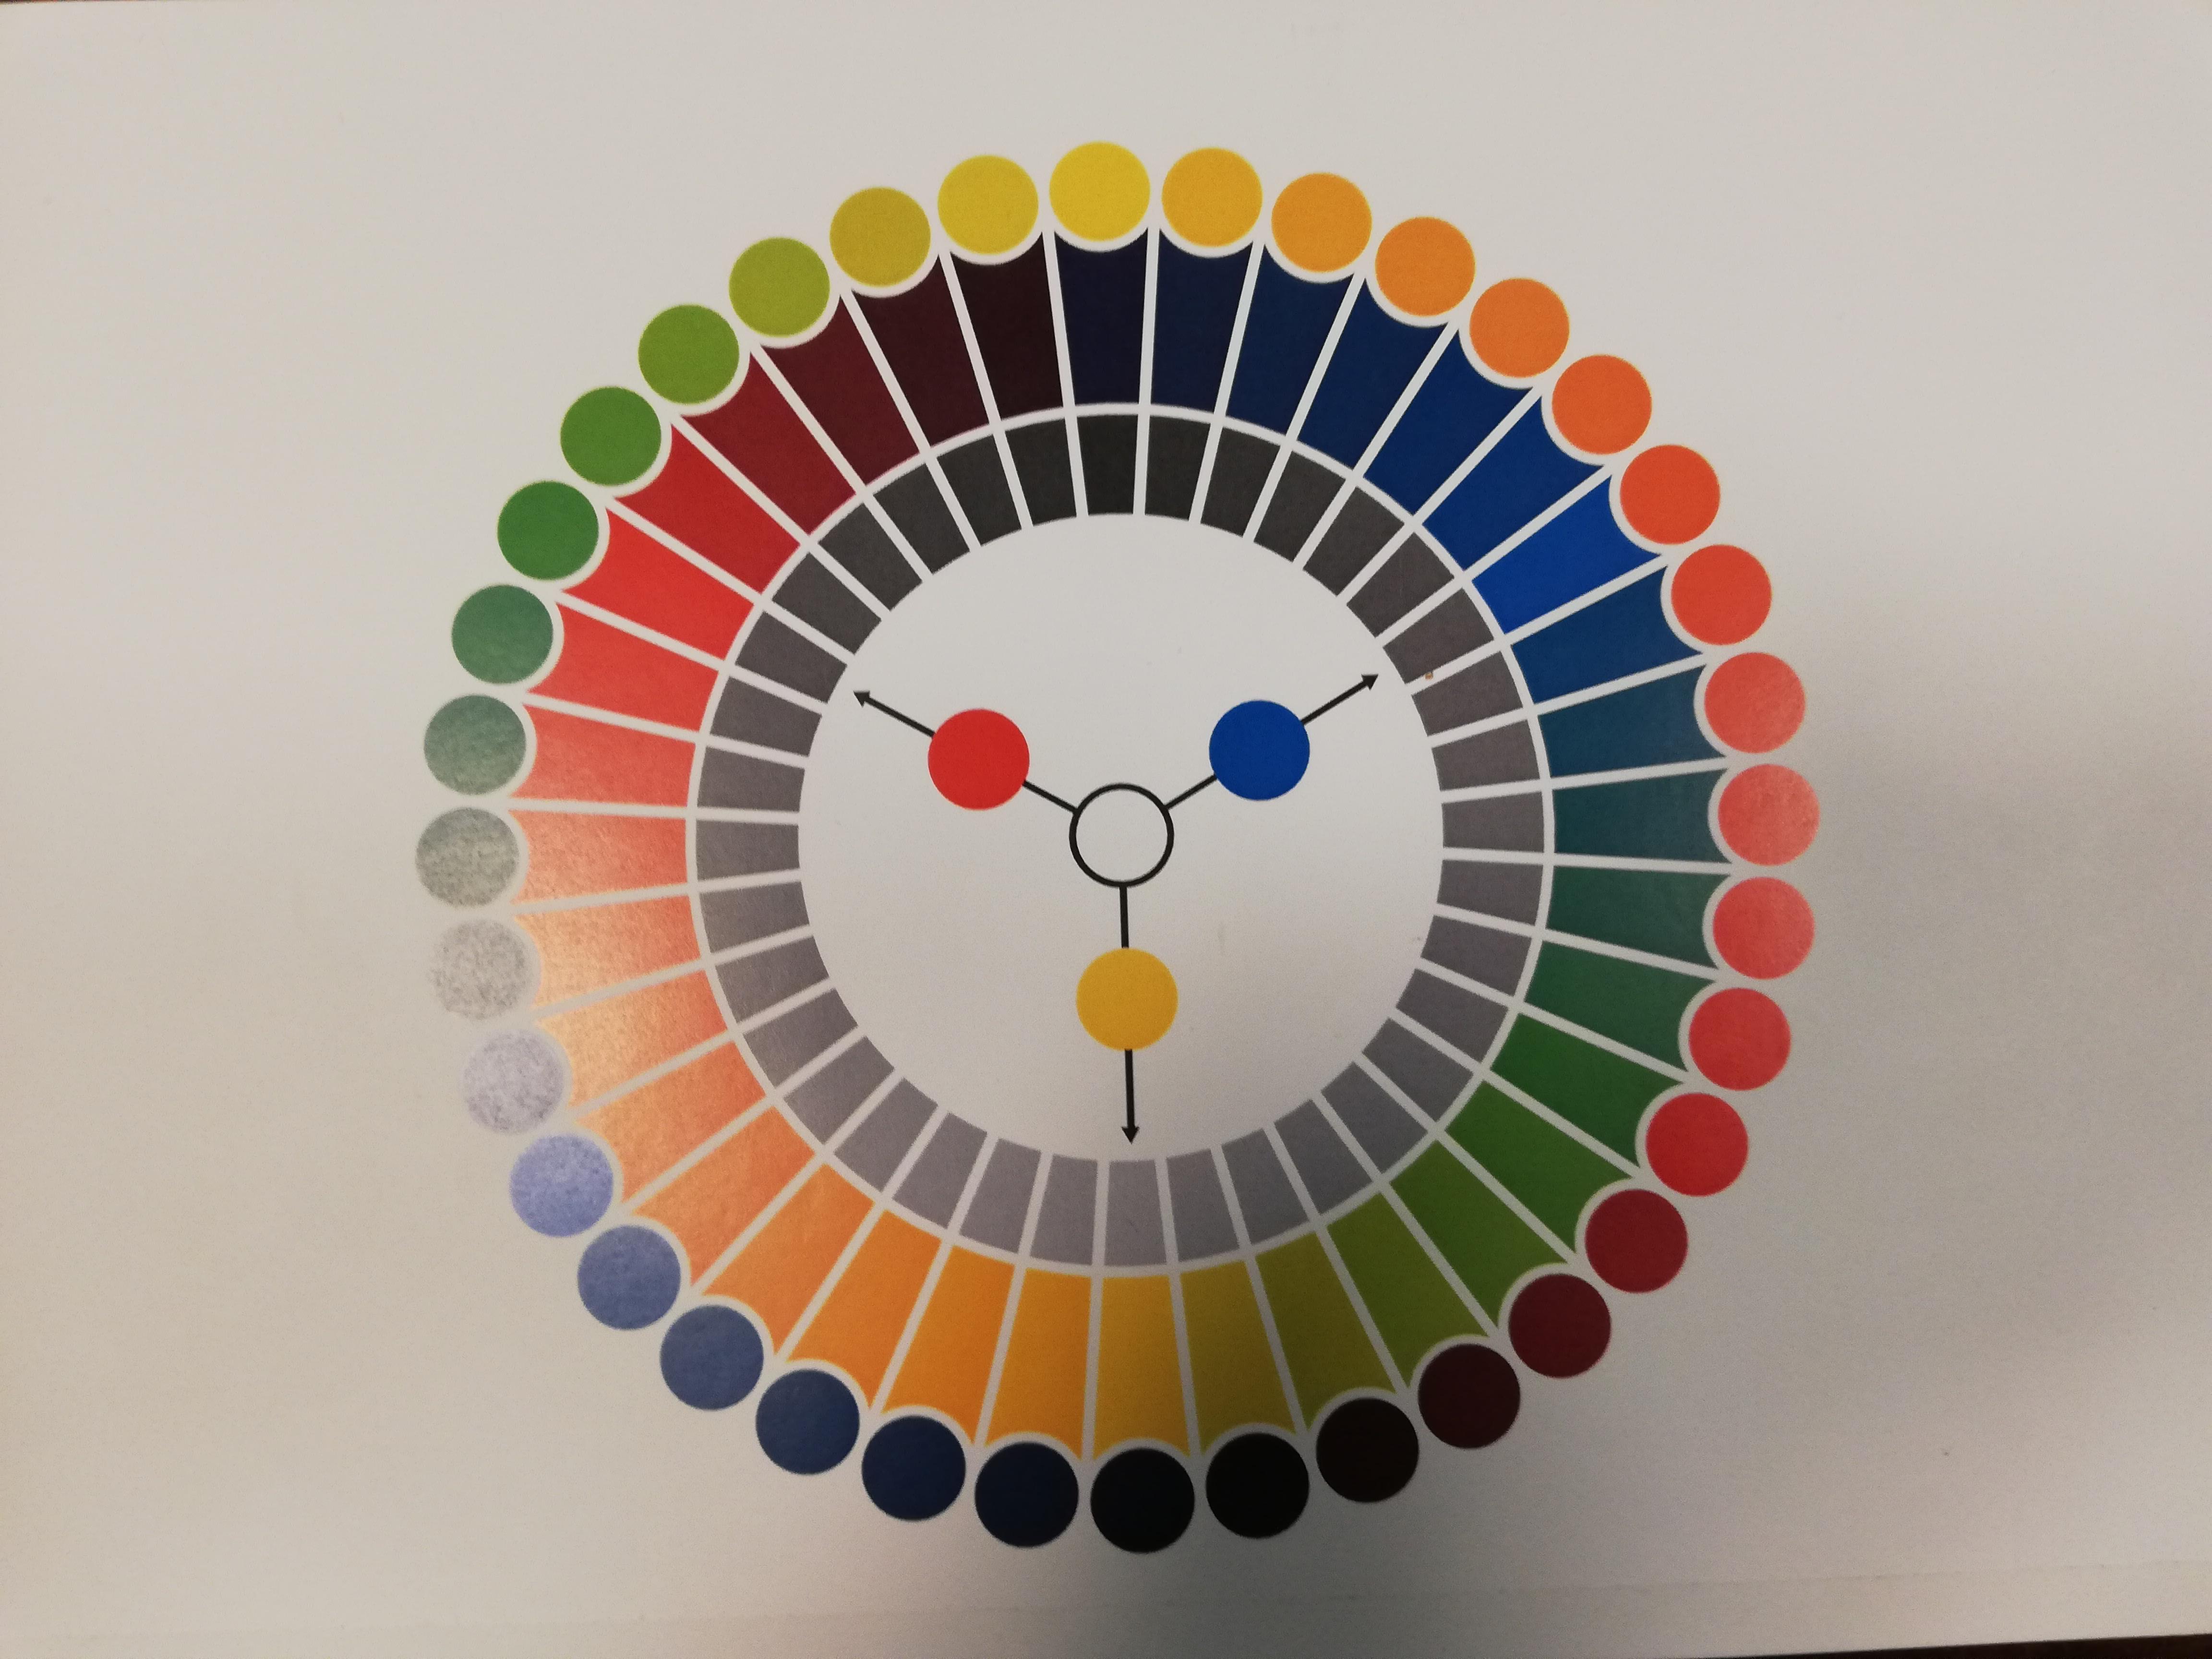
I recently made a color wheel in Illustrator myself (though a less complicated one).  I chose to go through the RBG values and set them accordingly.  Likewise, you could also do this with CMYK.  You still have to account for that additive vs substractive color distinction.  But you are able to work with actual numbers to mix your colors. 

Alternatively, you could try playing with transparency to truly blend two colors.  But I think that for what you're making here, working with the numerical values is going to be more straightforward.

Translate
Report
Community guidelines
Be kind and respectful, give credit to the original source of content, and search for duplicates before posting. Learn more
community guidelines
Community Expert ,
Nov 02, 2018 Nov 02, 2018
LATEST
  1. Start with a red square, a yellow square, a blue square and a second red square.
  2. Go to Object menu > Blend Options
  3. Set the Spacing to "Specified Steps" and make it 11 steps
  4. Use the Blend tool to click on the center of each of the squares, one at a time, from left to right.
  5. Select the Blend object along with a circle that you've drawn
  6. And go to Object > Blend > Replace Spine, which will use the circle as the new Spine
  7. Cut the top anchor point of the Spine with the scissors tool (C) to make the squares blend all the way around the circle. The first and last red square will overlap leaving you with a total of 36 square.

See screen shots below.

Hope this helps!

Screen Shot 2018-11-02 at 8.35.29 PM.png

Screen Shot 2018-11-02 at 8.35.53 PM.png

Translate
Report
Community guidelines
Be kind and respectful, give credit to the original source of content, and search for duplicates before posting. Learn more
community guidelines