Participant
May 9, 2021
Question

Placing shapes on an arc, while keeping it editable

  • May 9, 2021
  • 3 replies
  • 996 views

Bit of a newb and my Google-Fu has thus far failed me.  So apologies in advance.

I have a row of dots, progressively spaced apart. 

I want to be able to adjust these, as on an arc

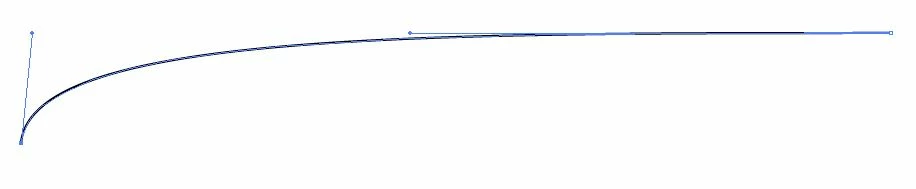
I need to be able to copy/paste this several times, while making small adjustments to the handles with every copy.  Is this doable?  Can I apply the row of dots to the arc, while keeping the arc adjustable?  thank you

This topic has been closed for replies.

3 replies

Jacob Bugge
Community Expert
Community Expert
May 9, 2021

default1,


As I (mis)understand it, you can:


1) Create one dot, then hold Alt/Option and ShiftClickDrag (a copy) to the right so you have two;

2) Select both and Object>Blend>Blend Options, setting Spacing to Speicified steps with a number equalling the total number (which seems to be 27) less 2 (with 27 it will be 25);

3) Object>Blend>Make;

4) ShiftClick the path or ClickDrag over both Blend and path to select both and Object>Blend>Replace Spine;


To create different paths with different spacings of dots, work on copies and:


4) Deselect (just Click an empty spot), then Click somewhere on the spine/path between the dots with the Direct Selection Tool, then ClickDrag the relevant Handle(s) to adjust; you can also ClickDrag the Anchor Points.


In this way you can see the changes in both path shape and dot spacings straight away.


Ctrl/Cmd+Z is your friend, to Undo and then redo until you have it.


Participant
May 10, 2021

Jacob - thank you that worked!  I feel like I came close to getting it working, but couldn't figure how to get the progressive spacing.


Jeff - I admit I did come across your video.  Maybe I was a bit too bleary-eyed to appreciate the tutorial.  I promise to take another look.


Edgrimly - That may actually work better for my project.  I'll have to look for tutorials on making Art brushes.


thank you again -dave

Jacob Bugge
Community Expert
Community Expert
May 10, 2021

For my part you are welcome, Dave.


As mentioned, I (mis)understood the task to include adjustable spacing of the dots customized to/by each path, where the Blend way is extraordinarily suited.


If instead you wish to have the same (proportional) progressive spacing across different paths, an Art Brush will come close to be the solution, with the reservation that it will give you distorted/uncircular dots, increasing with curvature.


But if you must, you can get the horizontal progressive spacing needed for the Art Brush, it can be created by using the Blend way as a first step, and then turning the curved row of dots horizontal simply by aligning the other dots horizontally to the first dot; the right horizontal progression may require a few attempts where Undoing is also your friend.


Apart from everything else, the spacing shown in your first image(s) is only really progressive at the left end, ending with a (near) constant distance between dots in most of the right end, quite different from the progression obtained by the Transform Effect with its ever increasing increase in the distance between dots (or the opposite).


Jeff Witchel, ACI
Community Expert
Community Expert
May 9, 2021

You may want to consider the Transform Effect.

Here's a video tutorial l produced that should help: http://www.jeffwitchel.net/2016/06/creating-spiraling-dots-in-illustrator/

I get into the Effect about 3 minutes into the video. Just adjust the Rotate setting to make it more Arc-like instead of a Spiral.

Participating Frequently
May 9, 2021

Make an art brush from the dots and stroke the path with it. Duplicate the path and change it however you wish.