Copy link to clipboard
Copied
Hi guys!
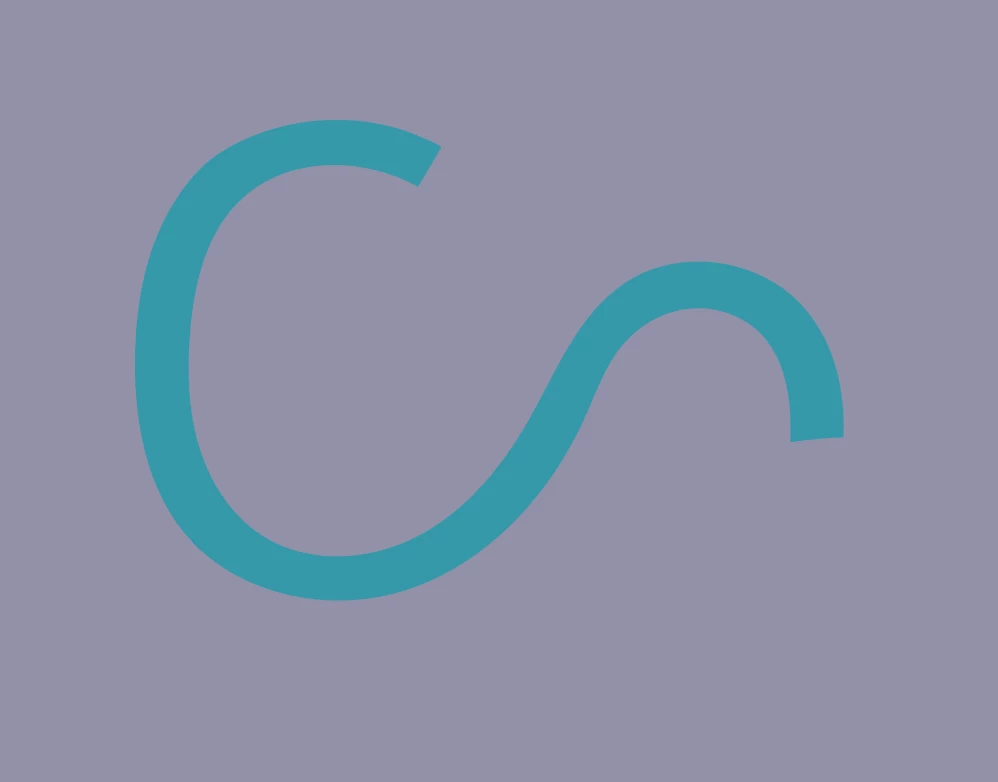
I really need your help. I am currently making a logo and I made an object, but its to thick and I need to make it thinner but I don't know how!! I've been searching on Google, YouTube, and many other places but I didn't find anything.
Here is the picture, I need to make the thickness to 18px.
 I really hope someone can help me out!!
2 Correct answers
If it is a single path, adjust the stroke width.
If it is a contour, apply a negative Effect > Path > Offset Path
And choose Object > Expand Appearance when you are satified with the result.
m,
If it is a filled path, presumably you wish to have the same length as if it were a stroked path, and for that you will need to do something like the following. If the straight end segments are perpendicular to the ends of the curved sides as they seem, you can do as follows:
1) Object>Blend>Blend Options, set Spacing to Specified Step with 1 step (that will prepare the right blend);
2) Copy the closed path and save the original path elsewhere or lock/hide it (always keep a copy of artwor
...Explore related tutorials & articles
Copy link to clipboard
Copied
If it is a single path, adjust the stroke width.
If it is a contour, apply a negative Effect > Path > Offset Path
And choose Object > Expand Appearance when you are satified with the result.
Copy link to clipboard
Copied
Thank you in 2023!
Copy link to clipboard
Copied
m,
If it is a filled path, presumably you wish to have the same length as if it were a stroked path, and for that you will need to do something like the following. If the straight end segments are perpendicular to the ends of the curved sides as they seem, you can do as follows:
1) Object>Blend>Blend Options, set Spacing to Specified Step with 1 step (that will prepare the right blend);
2) Copy the closed path and save the original path elsewhere or lock/hide it (always keep a copy of artwork you are going to destroy);
3) With the Direct Selection Tool Click, for each end path segment first deselect by Clicking an empty spot and then press Delete; that will give you two paths forming the curved halves;
4) Select everything and switch from Fill to Stroke in the Toolbox (that will give you stroked paths (and you can see what you are doing));
5) First deselect by Clicking an empty spot and then with the Pen Tool Click one end Anchor Point of one of the paths if they are apart, otherwise just click one end Anchor Point (it will be the path on top), in order to reverse its direction, you may have to redo at the other end, see below;
6) Select everything and Object>Blend>Make;
9) Object>Blend>Expand, then Ctrl/Cmd+Shift+G to Ungroup, then hide or delete both the original paths (that will give you the stroked path midway between the paths), then set the Stroke Weight as desired (you may use variable width).
Copy link to clipboard
Copied
Or just redraw it.