Exit
  • Global community
    • Language:
      • Deutsch
      • English
      • Español
      • Français
      • Português
  • 日本語コミュニティ
  • 한국 커뮤니티
0

Simple scaling method

New Here ,
Oct 29, 2018 Oct 29, 2018

Hi everybody,

I'm new on this forum. I have a question about Illustrator.

-> I have to modify the size of a map screen shot so that the size scale written on it (in meter) fits the size of my document in millimeters.

On the image below, the red line is 50mm, and I have to manually shrink the map image so that the scale given by google (in white) fits the size of the red line.

The shrinking process is quite groping along, is there a easier/simpler/neater way to make it?

Thanks for your reading

1540806611348.jpg

514
Translate
Report
Community guidelines
Be kind and respectful, give credit to the original source of content, and search for duplicates before posting. Learn more
community guidelines
Adobe
LEGEND ,
Oct 29, 2018 Oct 29, 2018
  1. Delete your red line.
  2. Draw another vertical line, tracing as much of the white scale in the image as you want to be scaled to 50mm.
  3. With that line selected, look at its Height field, select and copy the value (which will be given in mm, assuming you have mm set as your current unit of measure).
  4. Select the image.
  5. DoubleClick the Scale Tool to open its dialog.
  6. In the Uniform field, enter "50/" and paste after it the value you copied.
  7. Click outside the Uniform field to commit it so it will do the division.
  8. Convert the resulting value to a percentage (move its decimal two positions rightward).
  9. Click OK.

JET

Translate
Report
Community guidelines
Be kind and respectful, give credit to the original source of content, and search for duplicates before posting. Learn more
community guidelines
Participant ,
Oct 29, 2018 Oct 29, 2018

Another method:

1) Draw a line that corresponds to the line length of the scale.

2) Draw the line that will be the new scale. In your case it will be 50 mm

3) Divide this smaller line by the larger line (50mm / x, whereas x is larger line length).

4) Move the decimal point two places to the right. This will give you the exact percentage you will need to scale the image for the new scale to match.

Translate
Report
Community guidelines
Be kind and respectful, give credit to the original source of content, and search for duplicates before posting. Learn more
community guidelines
Community Expert ,
Oct 29, 2018 Oct 29, 2018

fol,

A third way, without calculations, presuming you have drawn the red 50 mm line (otherwise draw instead of move in 2)), starting as the previous suggestions:

1) Draw a line on top of the Google scale;

2) Move the red 50 mm line to the top of the Google scale line (or draw it there) so the two lines have coinciding top Anchor Point;

3) Select 1) and switch to the Scale Tool, then Click at the top Anchor Point, then ShiftClickDrag the bottom Anchor Point up to hit the bottom Anchor Point of the red line (the cursor will change colour), this will scale the line to 50 mm from whatever it is;

4) Select the map and Object>Transform>Scale, then copy the Non-Uniform Vertical % value to be the Uniform % value and press OK or Enter.

Using calculations, as in the previous suggestion, you can set the % scale in one go by using the value 5000 (= 100*50) for the value of 50.

Translate
Report
Community guidelines
Be kind and respectful, give credit to the original source of content, and search for duplicates before posting. Learn more
community guidelines
New Here ,
Aug 24, 2025 Aug 24, 2025

Can you measure and determine for me the scale of this map if it respond to yours?

Translate
Report
Community guidelines
Be kind and respectful, give credit to the original source of content, and search for duplicates before posting. Learn more
community guidelines
Community Expert ,
Aug 26, 2025 Aug 26, 2025
LATEST

smart Skyline,


Presuming you wish to enlarge the map, you can do it like the third way described above without calculations as follows, Smart Guides being your friends telling you when you are within snapping distance.


It is recommended to keep backups of each step to fall back on.


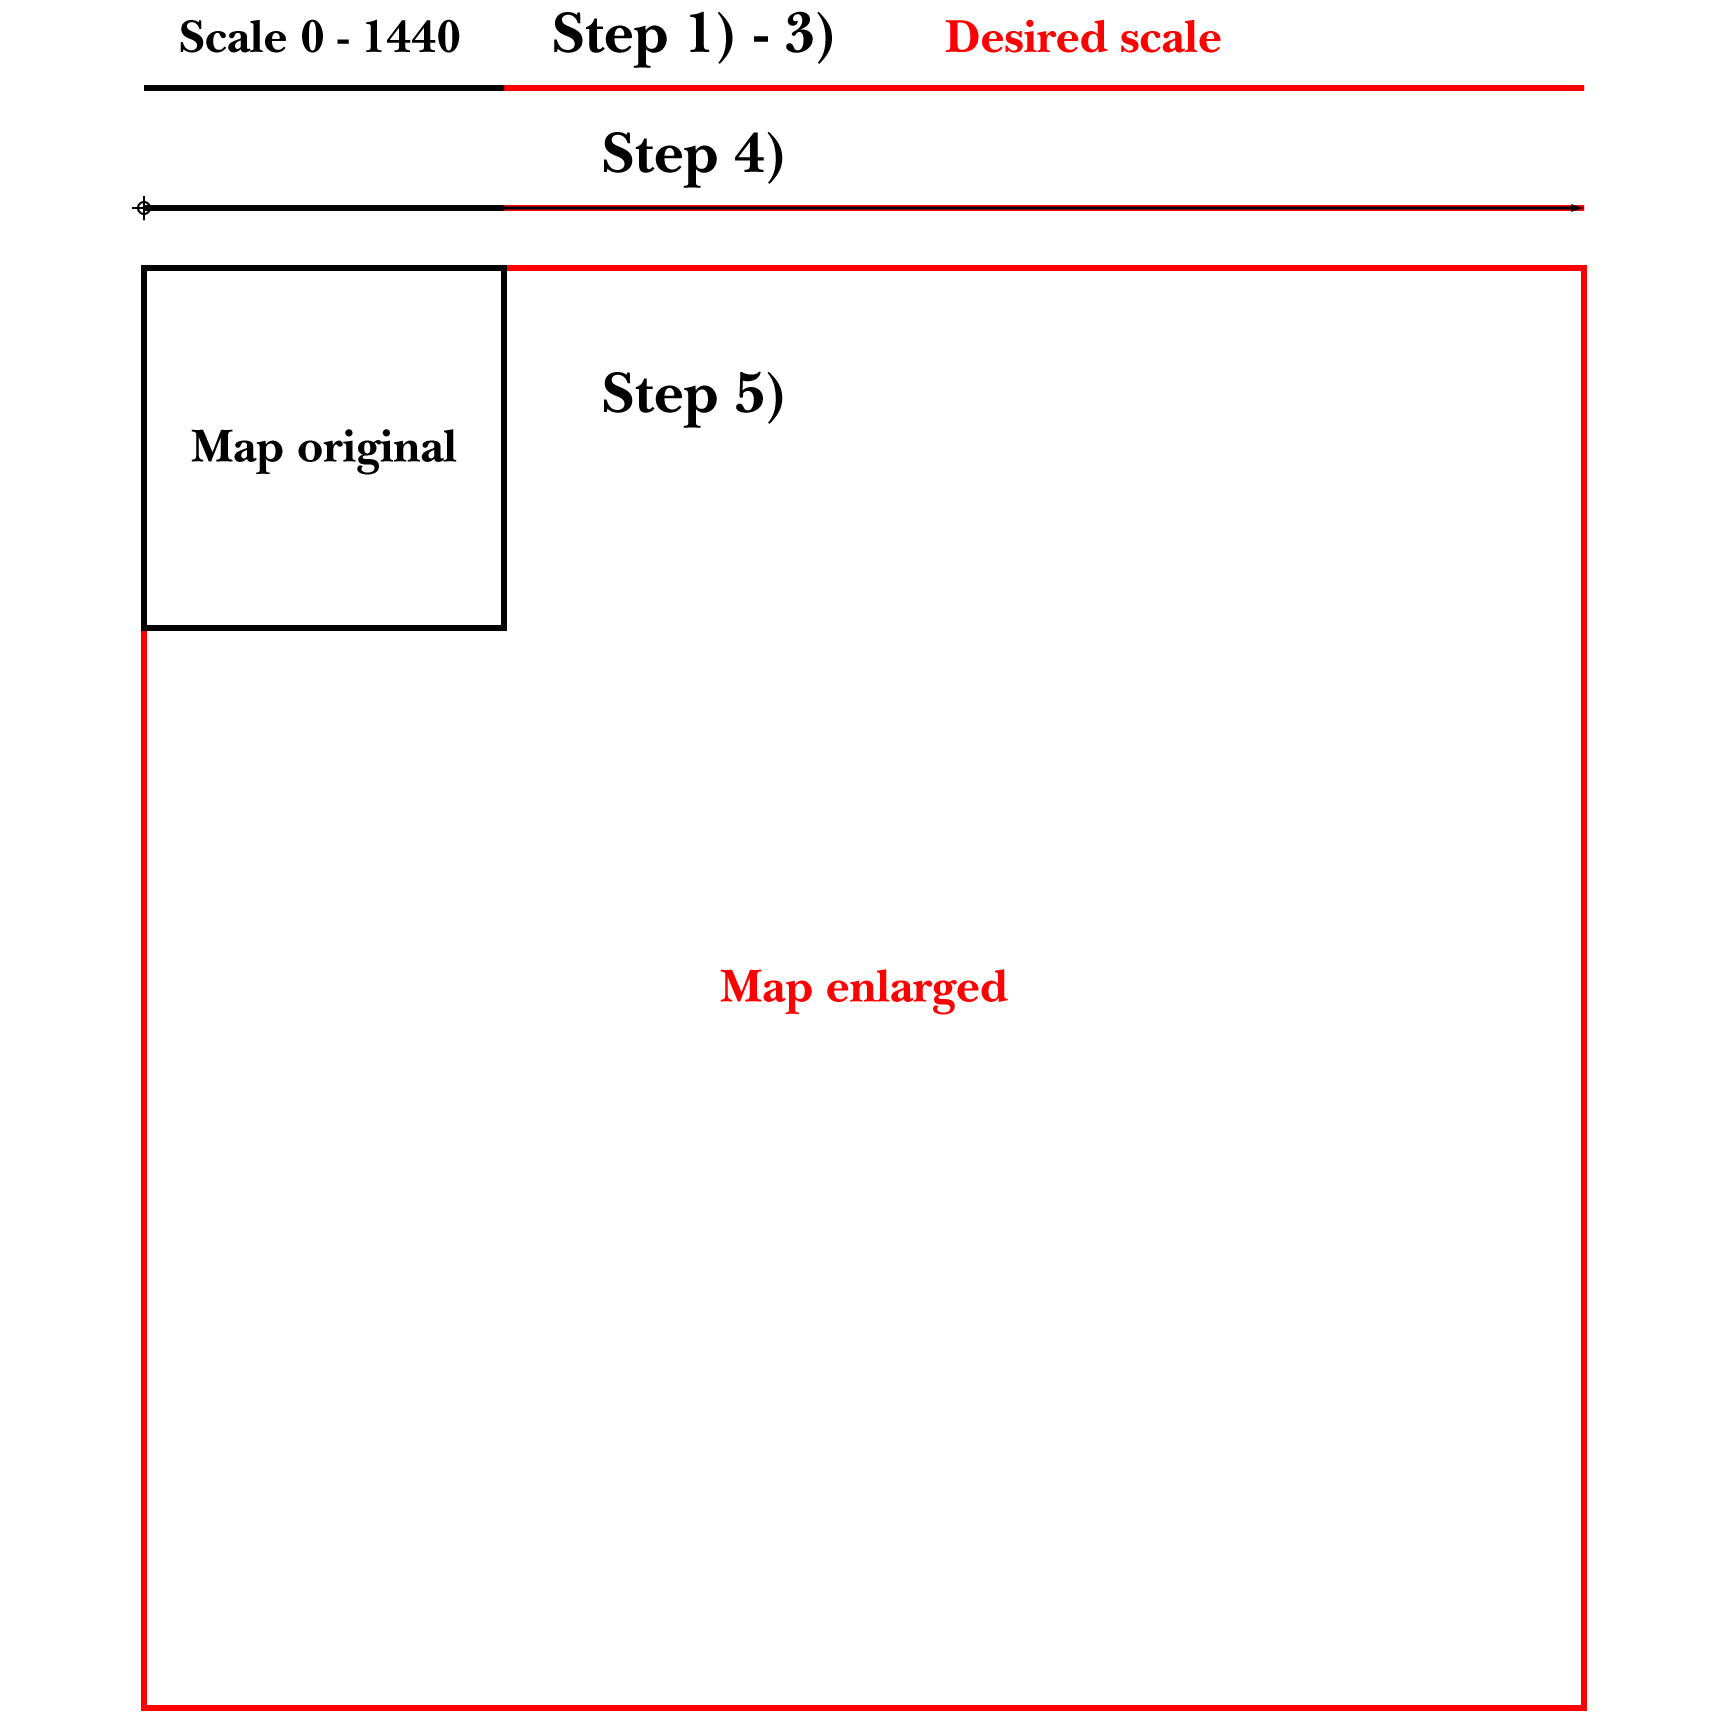
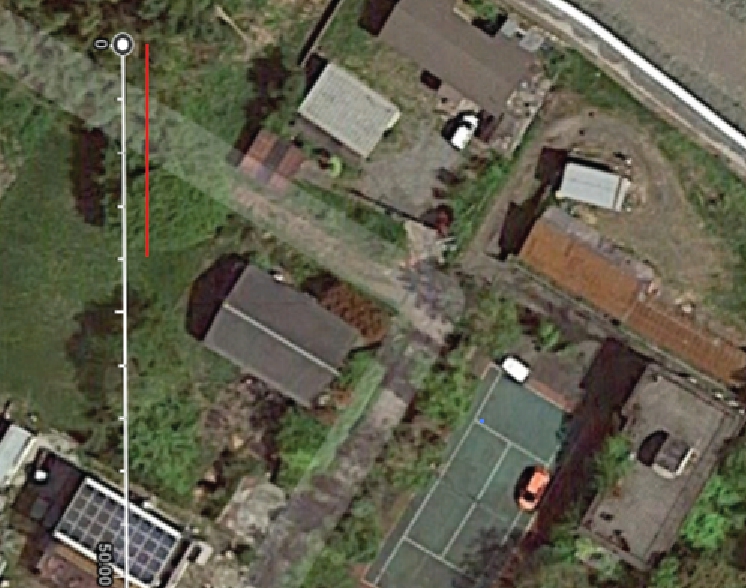
1) Zoom in so that the scale from 0 to 1440 km fills much of the screen, then with the Line Segment Tool ShiftClickDrag at the bottom of the scale from 0 to 1440 (this is how much 1440 km corresponds to in your chosen unit);

2) Choose how many units you wish the 1440 km to correspond to (presuming this is a larger number);

3) Select the line from 1), then Ctrl/Cmd+C+B (hold Ctrl/Cmd and press C then press B) to create a copy behind it, then click the leftmost Reference Point in the Transform palette, then click the value in the W box and change it to the number of units you chose in 2), then change the colour to red; now you can see the rightmost part of the red line exending past the original one from 1);

4) Click to select the line from 1) and switch to the Scale Tool, then Click at the left end Anchor Point to set it as the key point, then ClickDrag the right end Anchor Point along the extended red line (Smart Guides will say path) until you are within snapping distance of the end of the red line (Smart Guides will say anchor); now you have set the scale you need for the next step;

5) Select the map, then open the Object dropdown: Object>Transform>Scale, then click the Non-Uniform Horizontal scale value (in %) and Ctrl/Cmd+C to copy it, then ClickDrag over the Uniform Scale (in %) and Ctrl/Cmd+V to replace it by the new scale and click OK; this will scale the map up to the desired size. You can ClickDrag the 0 - 1440 km scale to check.


I have included sketches below to give an impression, following the steps.


If something goes wrong, please show screenshots of the steps as described below, and explain.


Unknown to most, it is quite easy to directly show images in posts, hence the following general suggestion:


Please show images by using the Insert Photos button (looks like moon over mountains) for each at the top of the reply box which makes everything appear right there in your post together with your text, rather than he more conspicuous Drag&drop attachment which requires helpers to open a new tab for each image and wait for its showing, then go back and forth; and if they just click it and wait for its showing and press the X to get back to the text, the image is gone so they have to open it again and wait to see it again.


Click to get closer, Click again to get closer still

Translate
Report
Community guidelines
Be kind and respectful, give credit to the original source of content, and search for duplicates before posting. Learn more
community guidelines