Answered
spine in blend tool for outlines
hey
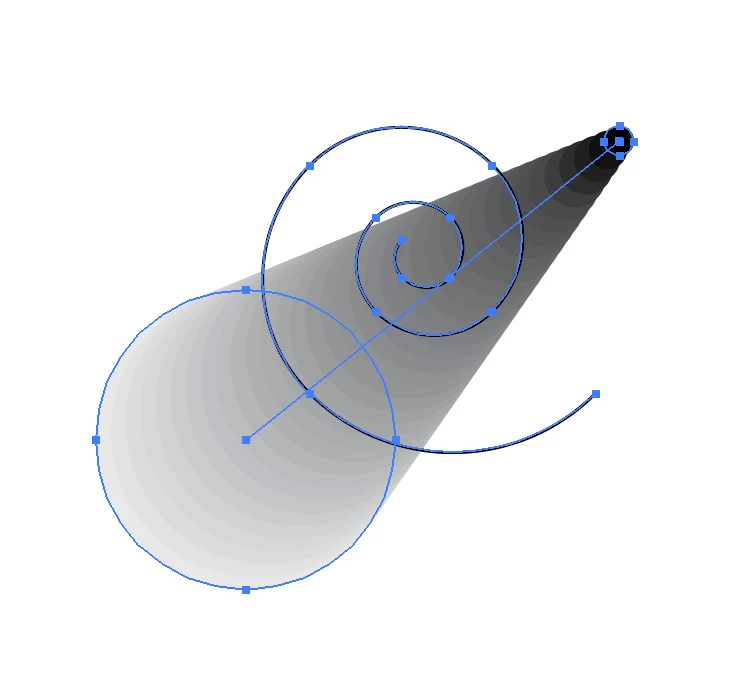
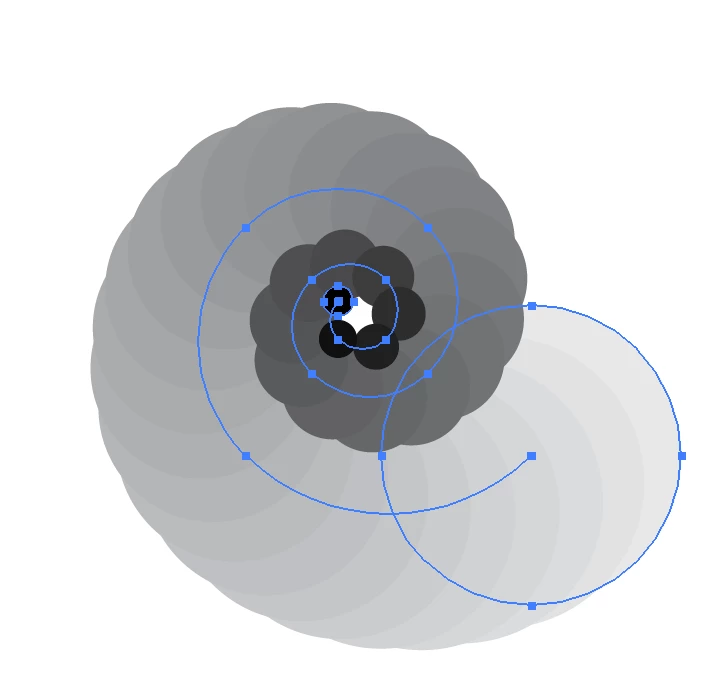
I blended two lines in illustrator (with no fills only strokes), and i do not see the spine, i want to have a spine as usual because i want to change its angle and apply the align to path option in the blend options, but now i am screwed.
(i noticed that if i expand the lines, than i get a spine, but that is not a good solution, because the blend steps become thick and widen throughout the blend steps, and that is not what i want, i want steps of lines with no fills).
so how can i have a spine when blending two outlines?
any help will be much appreciated