Participant
September 24, 2018
Answered

Urgent: Trace, Copy to new art board and resize?

  • September 24, 2018
  • 4 replies
  • 558 views

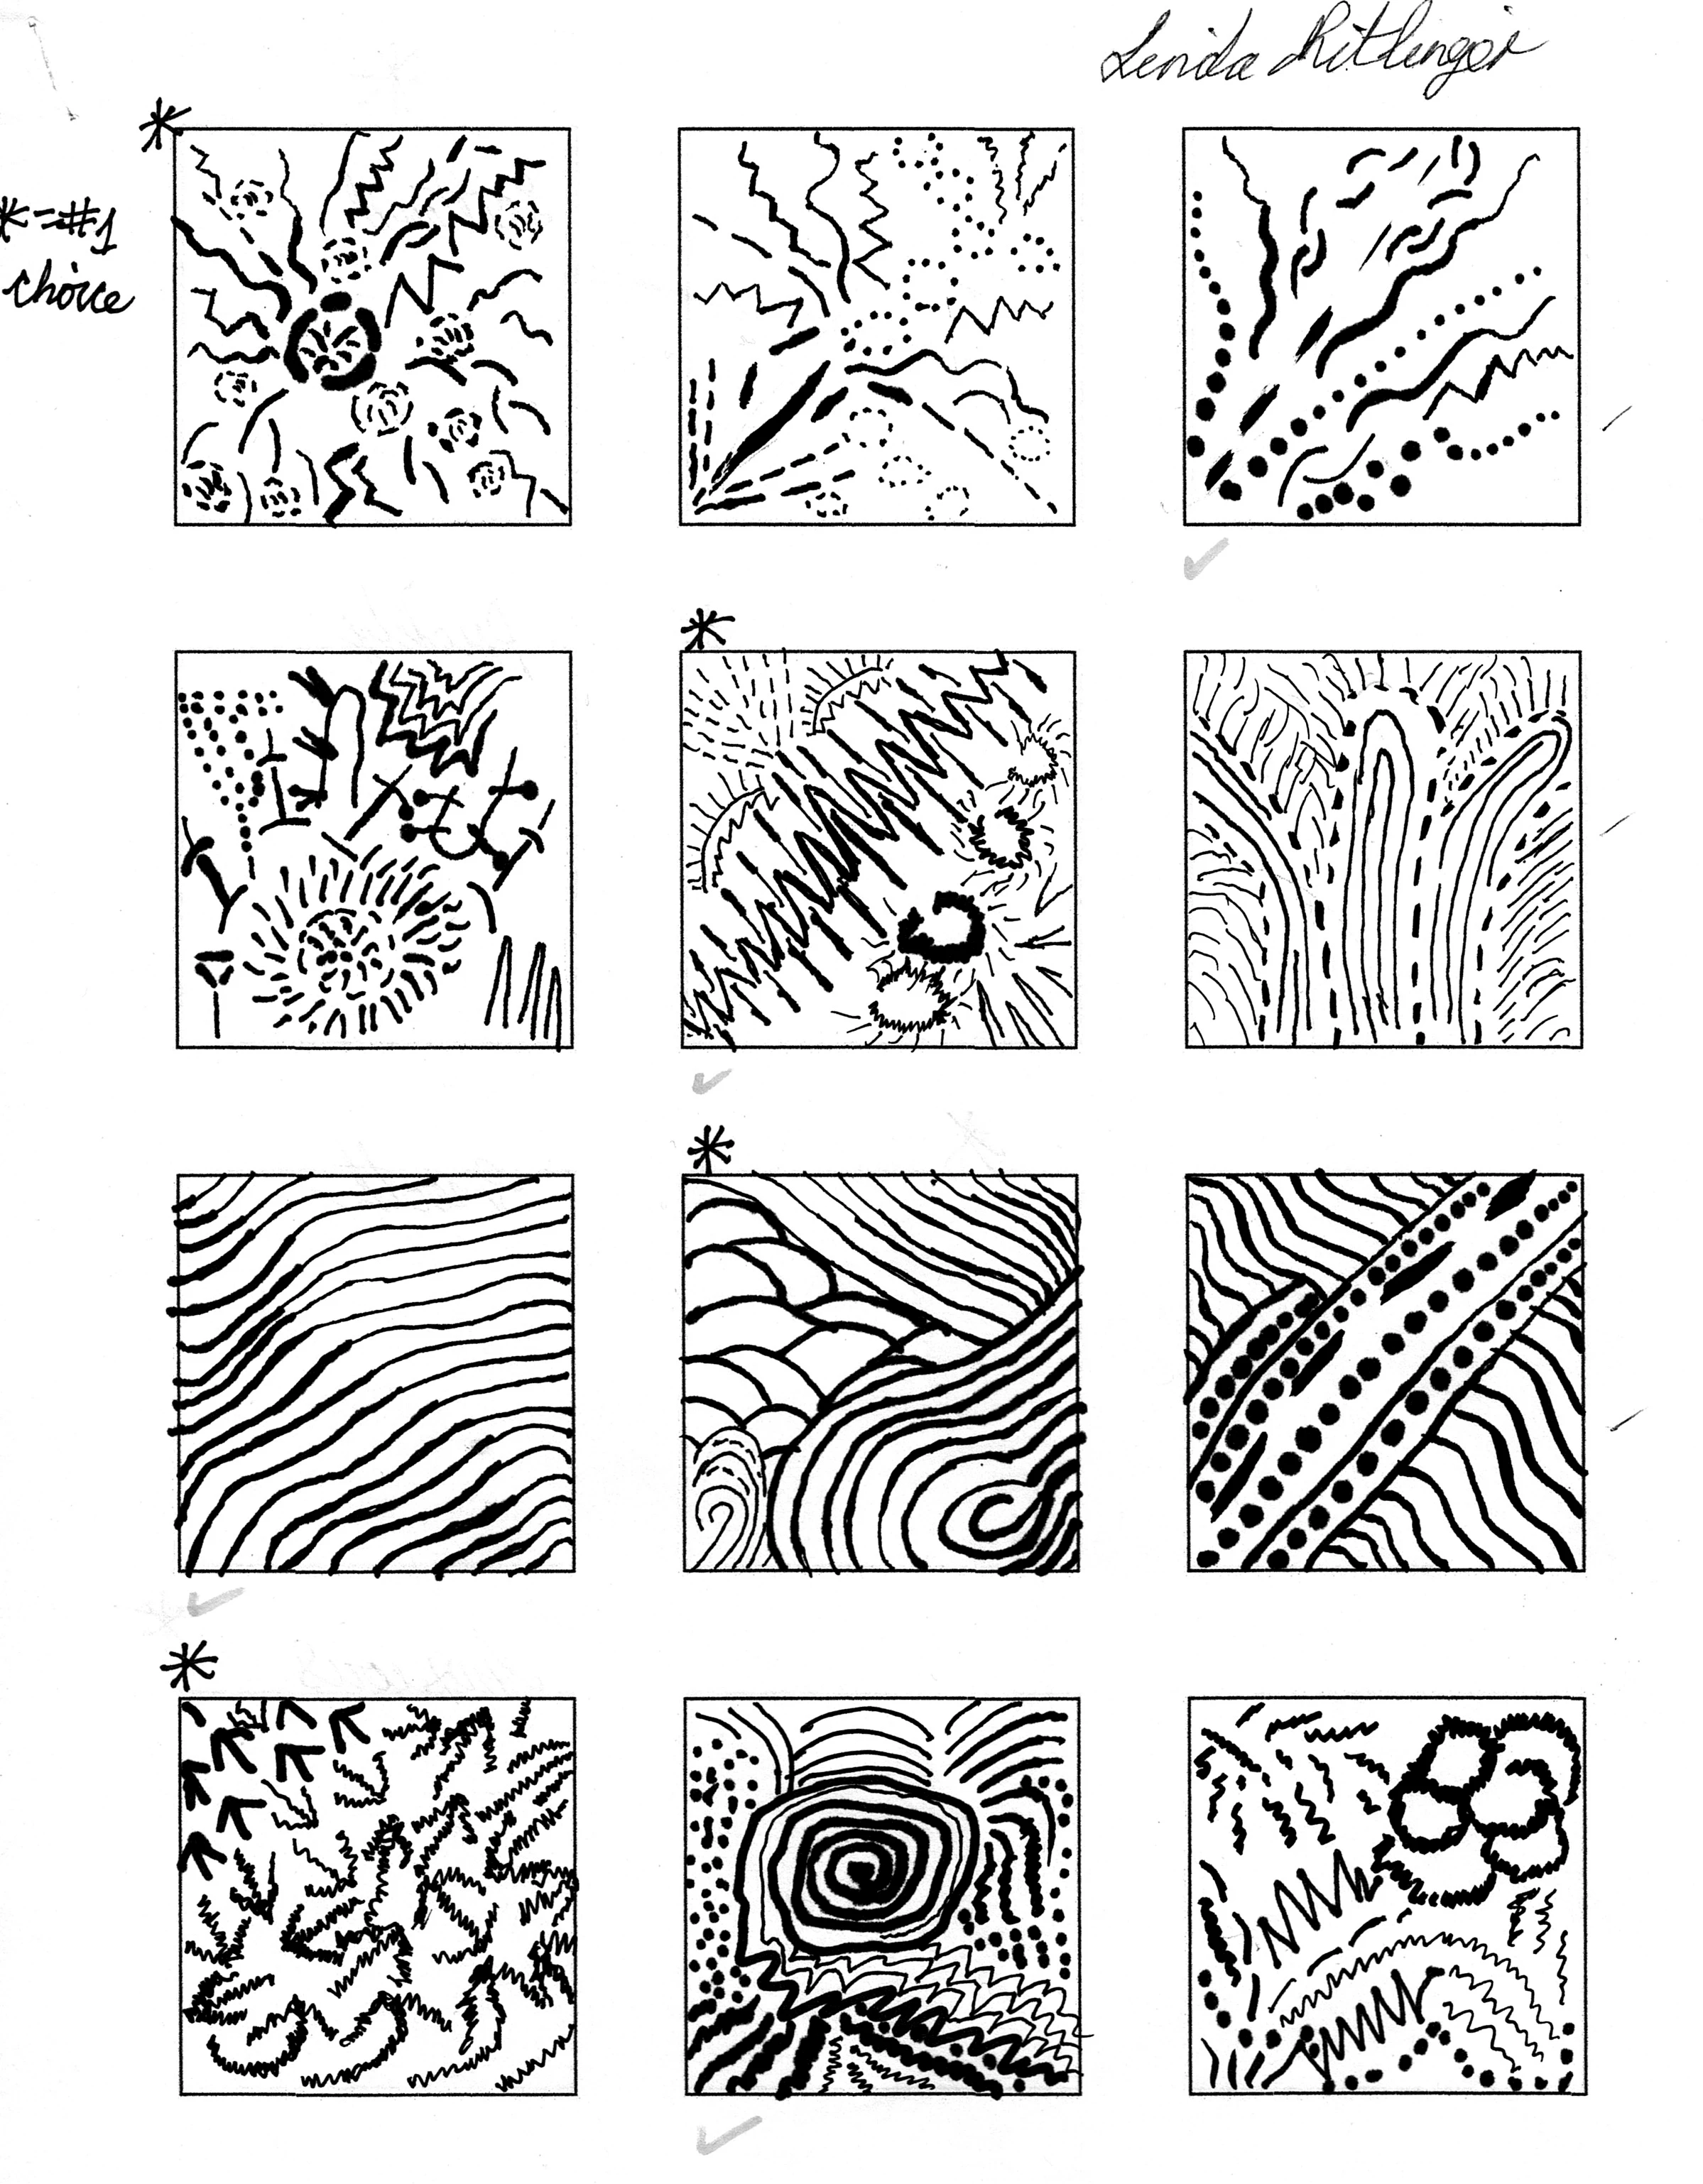
I have eight 2" squares of artwork on an 8x11 artboard. I have to retrace my artwork which I can do, then I have to copy each individual square from the main layer, copy, and replace on a new 3.5 artboard and print for presentation and cutting out to mount on a black backboard?  My problem comes when I go to copy and paste? Past attempts have left me with a square and no artwork inside of it to paste to the new 3.5 artboard, or the quality when repasted sucks. I need the step by step instructions please as to how I acheive this and it's due tomorrow? 9/24/18!? I have fought with this and fought with this and still haven't been able to figure it out. Thanks for any help you can offer, Linda.

This topic has been closed for replies.
Correct answer Myra Ferguson

If you're printing each one to cut out and mount, I'm not sure why you're separating each one onto different artboards unless it's for the crop marks. But you shouldn't need crop marks since your boxes are stroked it's easy to see the edges where you should cut. So I would recommend scaling the art, making a 2nd artboard of the same size, printing them on 2 pages, and cutting them out. Here are the steps:

  1. Set strokes to also scale in case that's part of how you made your artwork by going to  Edit > Preferences > General... to make sure Scale Strokes & Effects is selected.
  2. Scale your artwork from 2" to 3.5" by double-clicking on the Scale tool and entering 150%.
  3. Make a 2nd artboard by going to the artboard panel (it should be another tab in the Layer group or go to Window > Artboards), and click the New Artboard icon at the bottom of the panel.
  4. Divide your 12 boxes into 2 groups of 6 and put the other six onto the new artboard.
  5. If your artboards are in portrait mode and your group of boxes is horizontal, either
    • change the artboards to landscape by clicking on the artboard icon on the very right of each artboard layer in the Artboards panel and changing the orientation in the Artboard Options dialog
    • or select the group of 6 boxes and rotate them 90 degrees.
  6. Print the artboards by going to File > Print and make sure Artboards all is selected (it should be by default).
  7. Cut out the boxes.

I hope that helps and good luck with your project!

4 replies

Myra Ferguson
Community Expert
Myra FergusonCommunity ExpertCorrect answer
Community Expert
September 24, 2018

If you're printing each one to cut out and mount, I'm not sure why you're separating each one onto different artboards unless it's for the crop marks. But you shouldn't need crop marks since your boxes are stroked it's easy to see the edges where you should cut. So I would recommend scaling the art, making a 2nd artboard of the same size, printing them on 2 pages, and cutting them out. Here are the steps:

  1. Set strokes to also scale in case that's part of how you made your artwork by going to  Edit > Preferences > General... to make sure Scale Strokes & Effects is selected.
  2. Scale your artwork from 2" to 3.5" by double-clicking on the Scale tool and entering 150%.
  3. Make a 2nd artboard by going to the artboard panel (it should be another tab in the Layer group or go to Window > Artboards), and click the New Artboard icon at the bottom of the panel.
  4. Divide your 12 boxes into 2 groups of 6 and put the other six onto the new artboard.
  5. If your artboards are in portrait mode and your group of boxes is horizontal, either
    • change the artboards to landscape by clicking on the artboard icon on the very right of each artboard layer in the Artboards panel and changing the orientation in the Artboard Options dialog
    • or select the group of 6 boxes and rotate them 90 degrees.
  6. Print the artboards by going to File > Print and make sure Artboards all is selected (it should be by default).
  7. Cut out the boxes.

I hope that helps and good luck with your project!

hammer0909
Community Expert
Community Expert
September 24, 2018

I would create a document with 12 artboards. Place this image and copy it to each artboard, then crop each image to the individual square for each artboard. Now run image trace on each one independently. Should be pretty quick and you'll be able to tweak the settings for each square.

melissapiccone
Community Expert
Community Expert
September 24, 2018

This artwork is pretty simple. You could try using the mobile app - Adobe Capture to convert each square to a vector graphic and save to your CC Libraries. Then you can pull out each graphic and place on it's own artboard in Illustrator. This would eliminate having to fuss with image trace.

Melissa Piccone | Adobe Trainer | Online Courses Author | Fine Artist
Jacob Bugge
Community Expert
Community Expert
September 24, 2018

Linda,

Presuming that you have raster artwork, you may very well get unsatisfactory results when you Image Trace (you may try out the settings to optimize result), or you may recreate as new vector artwork using the appropriate tools (including the Pen Tool and the Width Tool/custom brushes) with much effort and time consumption.

If you Image Trace, remember to Expand the Image Trace to work with it.

If you leave the raster artwork unchanged, the lowering in resolution is unavoidable.

All in all a difficult task.