Participant
December 17, 2021
Question

Wrapping numbers around circle but make numbers straight up

  • December 17, 2021
  • 3 replies
  • 1887 views

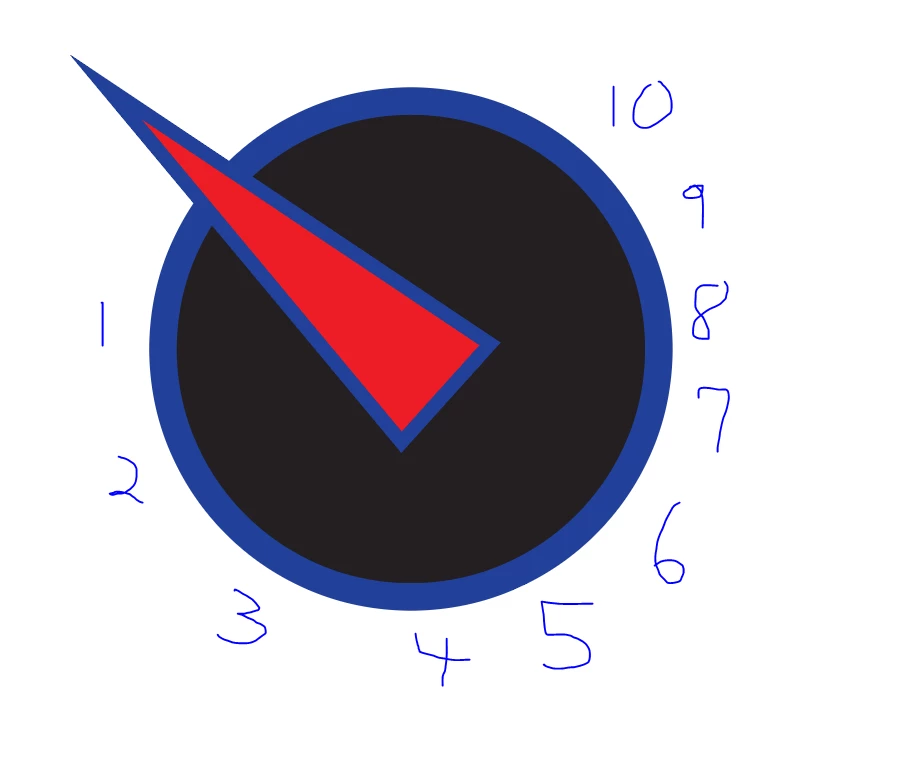
I am trying to wrap numbers around a circle, howver, I want the numbers to be straight up and down (not following curve). I know how to create a open path and put the numbers on the path, however, cannot seem to find a way to make the numbers straight. Want the numbers to follow the path, but want them to be straight up/down like photo

This topic has been closed for replies.

3 replies

kphotopage
Legend
December 19, 2021

James, Hi.


Here I first started by making a Symbol of type.

I created a horizonal Blend.

I then replaced spine with a cut circle.


Expand the Blend.


Break Link to Symbol

The text is still live, type in your numbers.


Side note, the reason for making a text symbol is because when you expand your Blend it won't outline your type!!!


K

Jacob Bugge
Community Expert
Community Expert
December 17, 2021

James,


If you wish to have the (cenres of the) numbers evenly distributed round af certain part of a(n outer invisible) circle, you can (keep copies of the artwork as you create it to fall back on):


1) Type the number 1 at the desired font/size with Paragraph>Align Center;

2) Object>Transform>Move a copy of the 1 to the right with a suitable X value (just so you can see what you are doing) and Y = 0, then repeat (Ctrl/Cmd+D to have all 10;

3) Change all the copies with the Type Tool to have the different numbers;


You can continue with live Type or Outline (or go on with both and choose later);


4) Object>Blend>Options, set Aloign to Page and Specified Steps to 1;

5) Select the numbers and Object>Blend>Make; the intermediate steps look funny or may seem to be missing, but that will pass;

6) Create the circle round the dial corresponding to the centres of the final numbers and cut it where you wish to have the centres of 1 and 10, then delete the unwanted part and select the remaining part and Object>Path>Add Anchor Points a sufficient number of times (you will know if you have too few);


Now you have all the parts you need (and a few too many);


7) Select both the Blend and the partial circle and Object>Blend>Replace Spine, then Object>Blend>Expand;


Now you have all the separate parts in a Group (of Groups or numbers and Groups);


😎 Delete all the funny/invisible intermediary parts of the Group; it can be easier to do it in the expanded layer in the Layers panel, otherwise hold Alt(Option and ShiftClick the unwanted ones to select them;


Now you ought to have all the number evenly distributed exactly where you wish to have them.


Monika Gause
Community Expert
Community Expert
December 17, 2021

Type on a path options > Stairstep