• Global community
    • Language:
      • Deutsch
      • English
      • Español
      • Français
      • Português
  • 日本語コミュニティ
    Dedicated community for Japanese speakers
  • 한국 커뮤니티
    Dedicated community for Korean speakers
Exit
0

Can't make clipping mask. A path used as a clipping mask must contain at least two connected anchor points.

Community Beginner ,
Jun 13, 2017 Jun 13, 2017

Copy link to clipboard

Copied

Hey all,

I have done a search to try and find this answer. I might be just thick but I can't seem to get this to work.

I use a range of Adobe programs, very strong in almost all of the suite BUT Illustrator. I could do this in a second within Photoshop but want to know how to do it in Illustrator.

I have attached some images below.

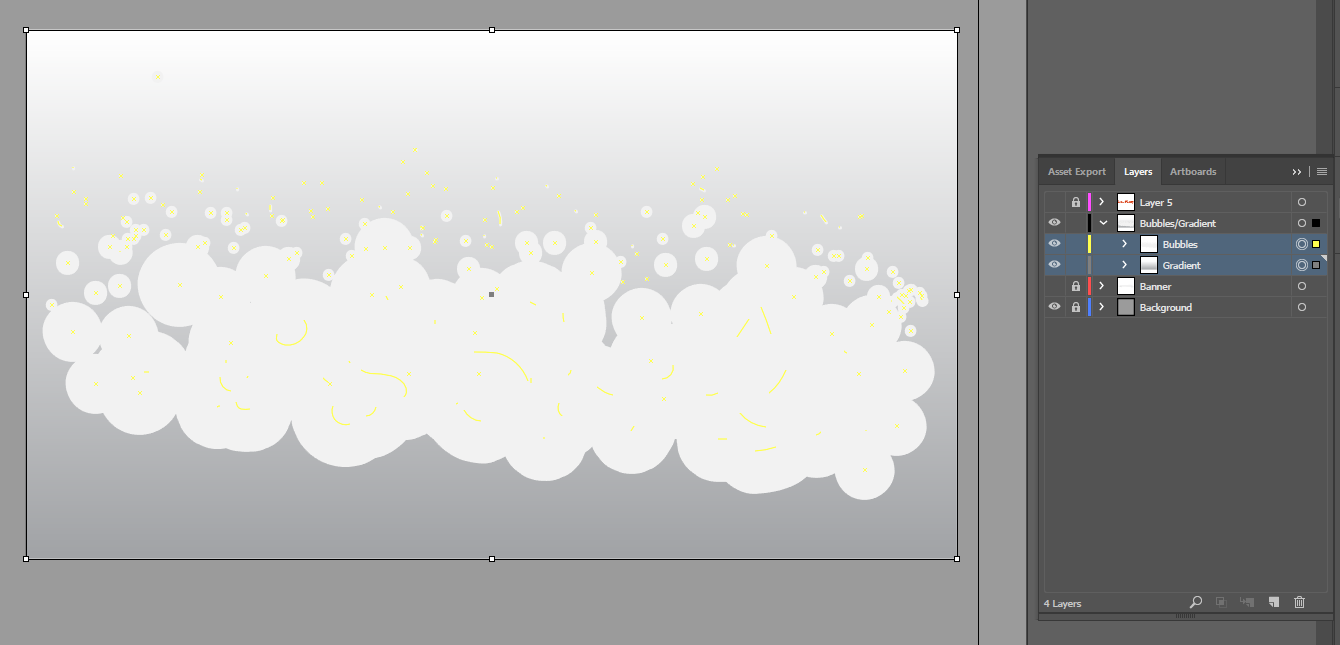
I have made some bubbles. I want the bubbles to be the clipping mask and I want the gradient to be inside the bubbles.

I have placed the two layers into one layer. I have selected both and gone to OBJECT > CLIPPING MASK > MAKE

I then get the following error:

"Can't make clipping mask. A path used as a clipping mask must contain at least two connected anchor points."

Thanks for your help.

Liam

ClippingMask01.PNG

ClippingMask02.PNG

Views

15.1K

Translate

Translate

Report

Report
Community guidelines
Be kind and respectful, give credit to the original source of content, and search for duplicates before posting. Learn more
community guidelines

correct answers 1 Correct answer

LEGEND , Jun 13, 2017 Jun 13, 2017

First, there's no need for a clipping path to fill the bubbles with a gradient. Just select the bubble shape and "fill" with a gradient.

Even if the bubbles are made up of multiple path they can be filled with a gradient that can be extended across the entire set of objects by using the Gradient Annotator. Hit "G" and click-n-drag across the object in the direction you want the gradient to go.

To answer your question, though, it would be helpful if the "Bubbles" and "Gradient" groups were also exp

...

Votes

Translate

Translate
Adobe
LEGEND ,
Jun 13, 2017 Jun 13, 2017

Copy link to clipboard

Copied

LATEST

First, there's no need for a clipping path to fill the bubbles with a gradient. Just select the bubble shape and "fill" with a gradient.

Even if the bubbles are made up of multiple path they can be filled with a gradient that can be extended across the entire set of objects by using the Gradient Annotator. Hit "G" and click-n-drag across the object in the direction you want the gradient to go.

To answer your question, though, it would be helpful if the "Bubbles" and "Gradient" groups were also expanded in the Layers Panel. Are they both vectors? Assuming they are, make sure the "Bubbles" paths making up the bubbles is converted to a compound path. To act as a clipping path Illustrator expects it to be a "single" path. By making it a "Compound Path" AI sees it as only one path. Next, Select the gradient and Compound path and choose click "Cmd/Cntl+8". You will then see the gradient in the bubbles shape.

Votes

Translate

Translate

Report

Report
Community guidelines
Be kind and respectful, give credit to the original source of content, and search for duplicates before posting. Learn more
community guidelines