Inspiring
July 22, 2019
Question

Dripping Text effect in Illustrator

  • July 22, 2019
  • 5 replies
  • 3951 views

Hi All,

Still learning Illustrator and appreciate your help so far. I am trying to do the dripping text effect using Pathfinder.

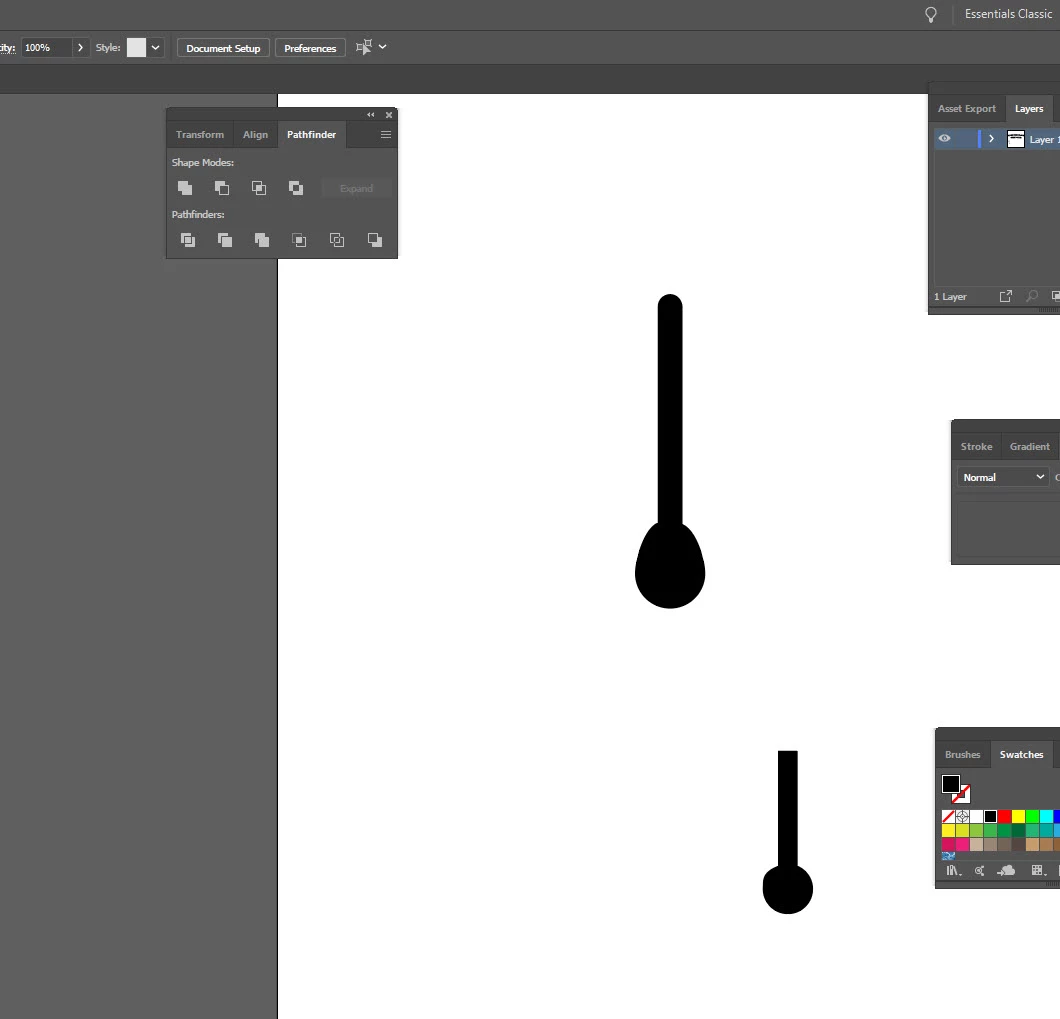
I am ok at this step:

But I get stuck trying to squeeze the objects to get the actual drip like effect as seen here:

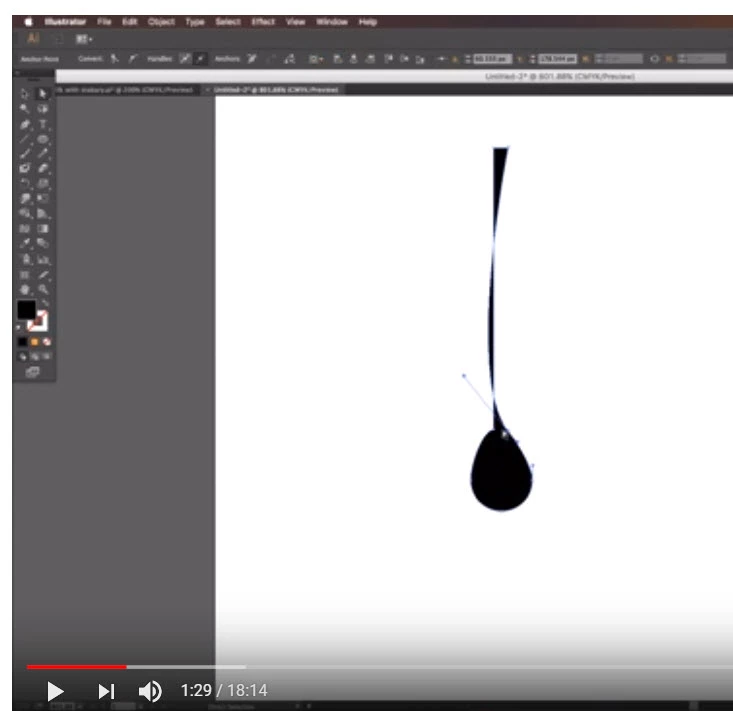
Forgive my ignorance as it seems to be pretty basic stuff using the anchors, but I am having difficulty.

Thanks in advance!

{Renamed by MOD}

    This topic has been closed for replies.

    5 replies

    Participating Frequently
    July 23, 2019

    Google water drop or rain drop. Find a pic you like, drag it to your desktop (don't worry, you are not stealing art, only using as a reference) and place it into your Illustrator document. Then trace the shape and delete the original image.

    When you work stylistically, you still want the realist shapes to be immediately identifiable.

    Srishti Bali
    Community Manager
    Community Manager
    July 23, 2019

    Hi there,

    Thanks for reaching out. In addition to the other suggestions shared above, please check out this video tutorial (Design Exercise no 19 - Dripping Text Effect in Illustrator - YouTube )as well.

    Let us know if that helps or if you need any further assistance.

    Regards,

    Srishti

    meganchi
    Legend
    July 22, 2019

    I would suggest drawing a straight line separately. Then create a circle shape and selecting the top point of the circle with your direct select arrow and moving it until it gives you the drop shape you need.

    Jacob Bugge
    Community Expert
    Community Expert
    July 22, 2019

    stwoods,

    As I (mis)understand it, Smart Guides being your friends, one way could be to:

    1) Create the stem as a stroked path with a Stroke Weight corresponding to the desired final width,

    2) Create a circle with the desired width of the dripping drop,

    3) ClickDrag the circle from 2) by its top Anchor Point to snap to the bottom of the stem from 1), a bit above the lower end,

    4) Click the circle top Anchor Point with the Convert Anchor Point Tool, then ShiftClickDrag it upwards with the Direct Selection Tool, and maybe make other changes such as ClickDragging the Handles of the other circle Anchor Points, to get the right overall shape,

    5) Select the stem path and Object>Path>Outline Stroke, then Pathfinder>Unite (or similar depending on version),

    Optionally:

    6) Direct Select the two corner Anchor Points and round them; regardless of your version you can use the free Round Any Corner script available here:

    http://park12.wakwak.com/~shp/lc/et/en_aics_script.html

    Monika Gause
    Community Expert
    Community Expert
    July 22, 2019