Copy link to clipboard
Copied
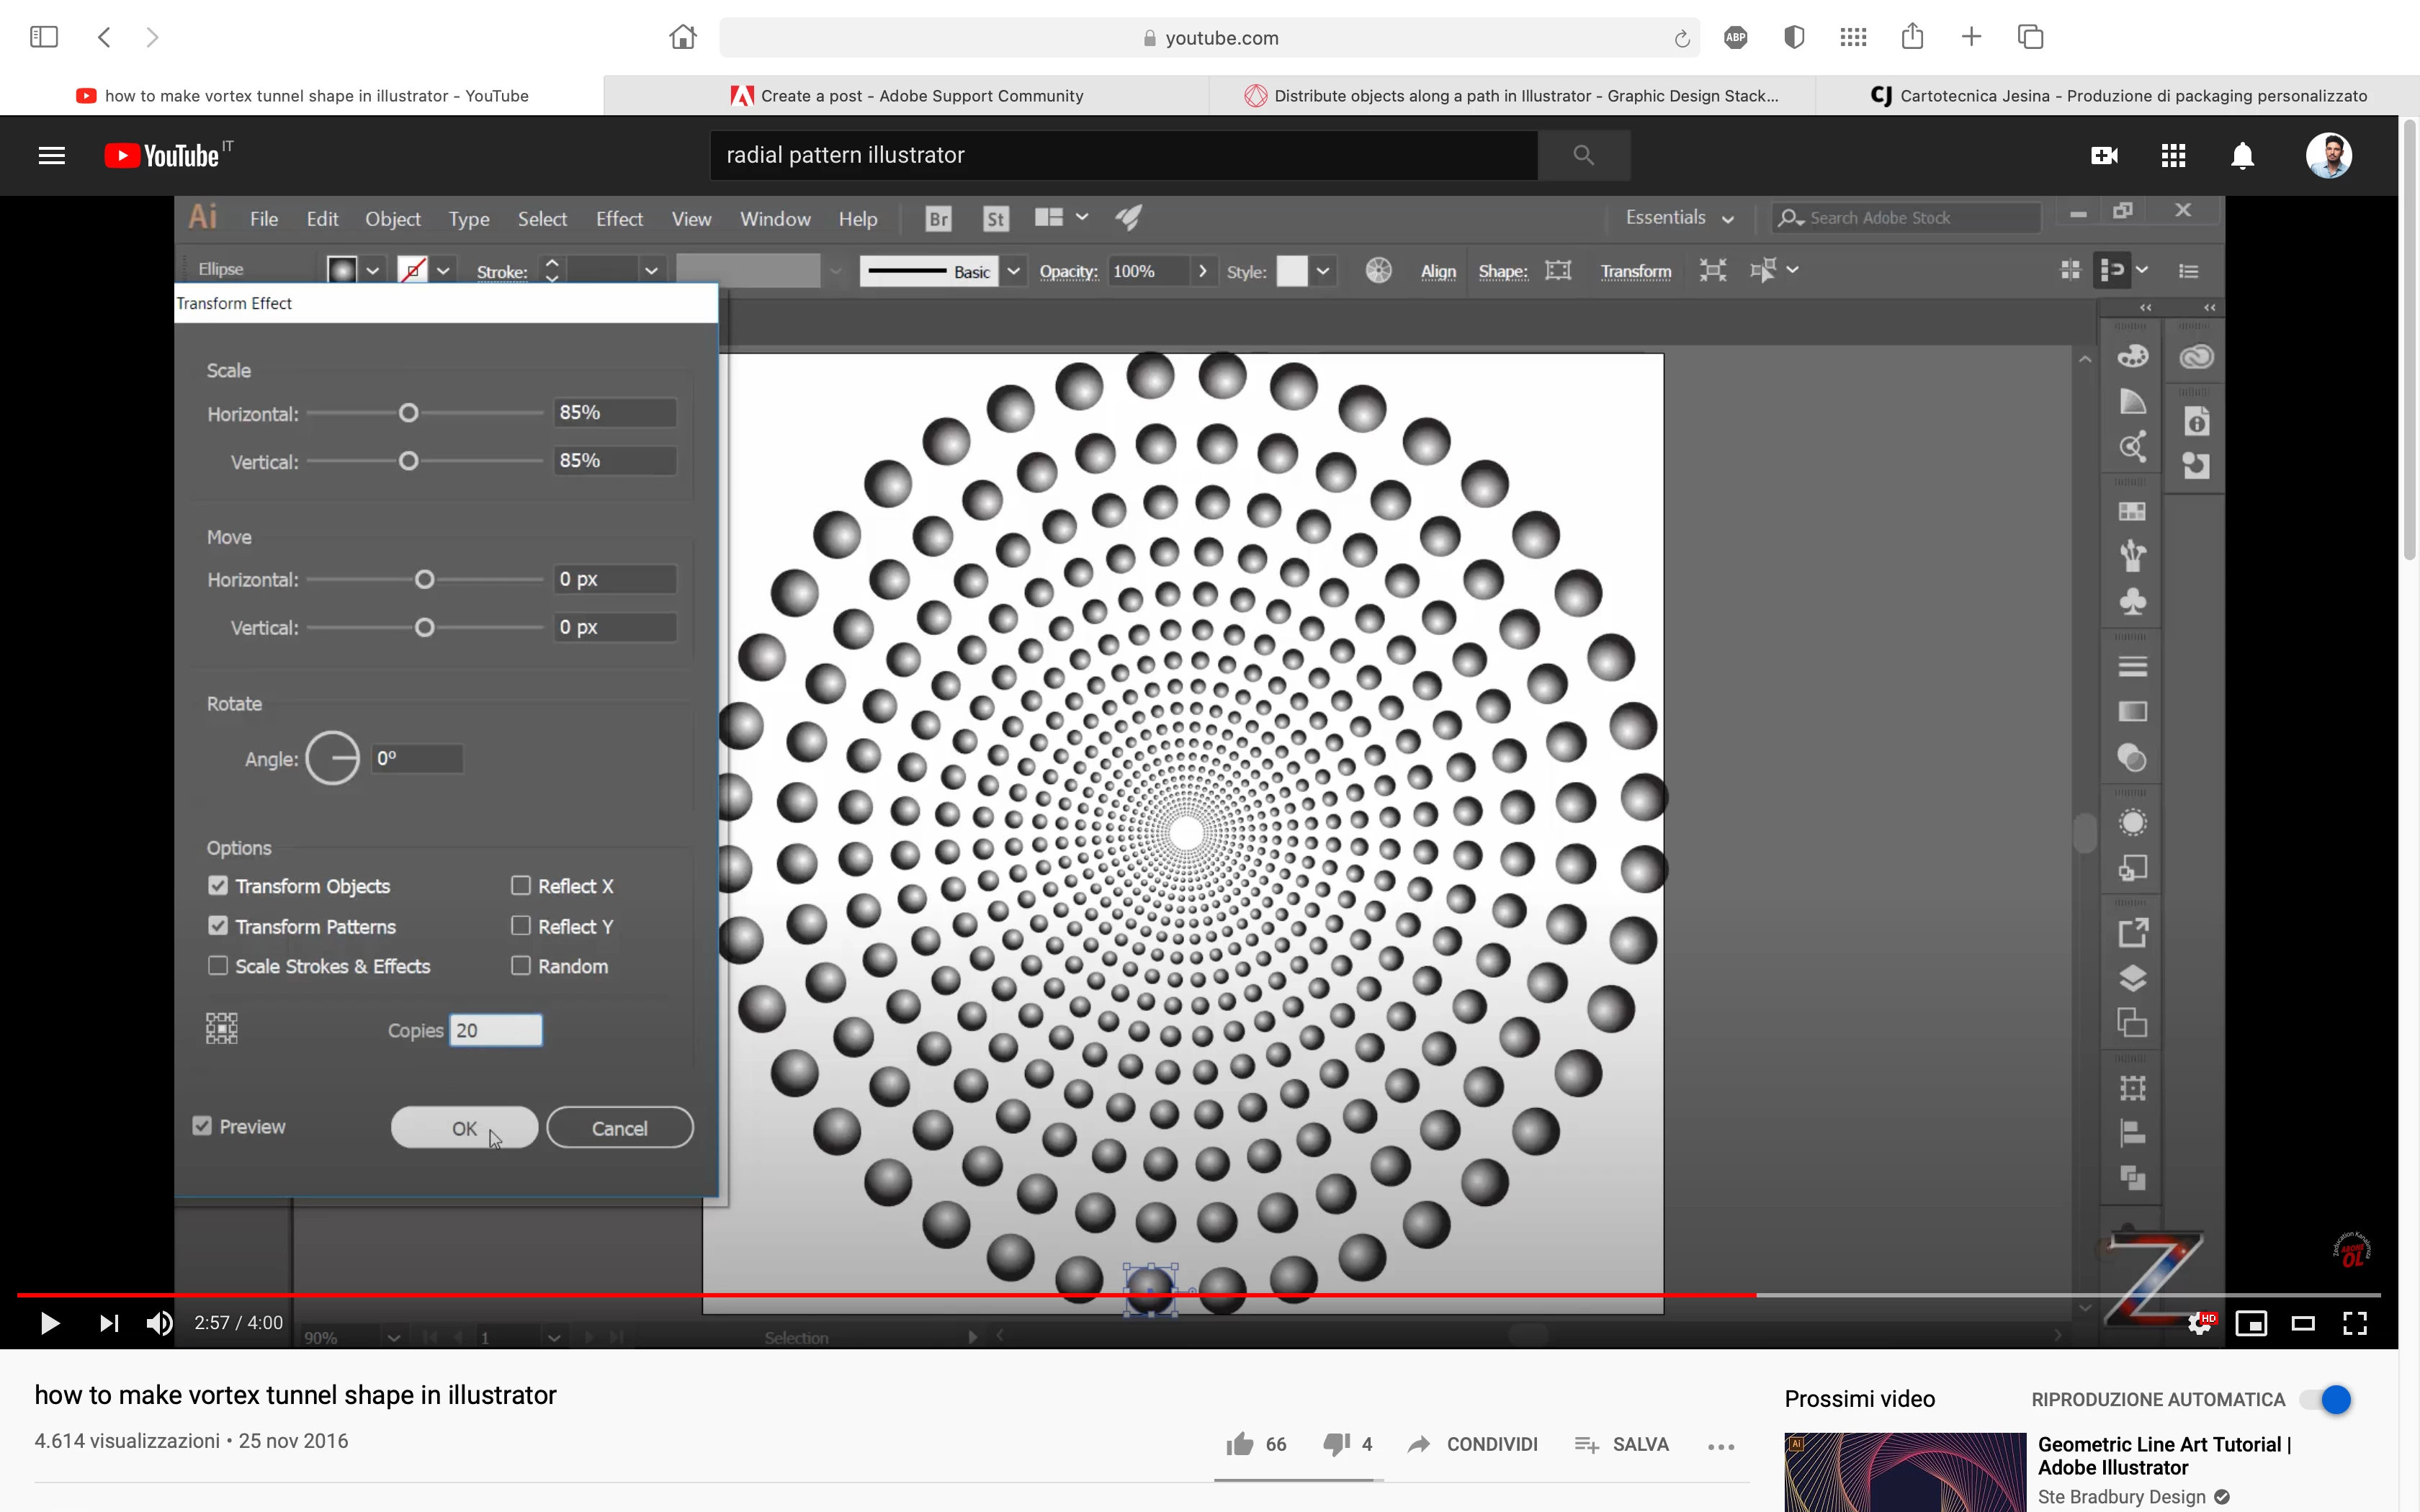
Hi guys, I've an issue: I have to apply a shape in a radial pattern keeping the same size of the shape itself.
as you can see in the image below, the blending tool allows to duplicate a shape, but as we moove towards the center, that shape will be smaller and smaller. Is there some way to keep the shape of the same size, reducing the number of shapes for each circle as we get closer to the center?
sorry for my very bad english
Copy link to clipboard
Copied
If I understand correctly, you want concentric circles of circle shapes that are all the same size and evenly spaced, but the number of circle shapes decreases as you get to the center. One way to do it is to make a Scatter Brush of a single circle and apply it to concentric circles with the same stroke weight. If you want to use the gradient fill, go to Effect > Rasterize in order to be able to make it a brush. I tested it with solid circles. It works, but the tricky part is adjusting the size and spacing so that you don't have overlapping dots. It was a little easier to adjust if I tried a similar concept with the Astute Graphics plugin AG Offset. With the plugin, I could adjust the spacing between the concentric circles more easily.
Copy link to clipboard
Copied
Hi Myra, thank you for the answer. "concentric circles of circle shapes that are all the same size and evenly spaced, but the number of circle shapes decreases as you get to the center." it's exactly what i'm looking for, but instead of using circle shapes, i've to make a pattern of arrow-shaped solids, (so even the orientation of the shape matters), as you can see in the image below:
i'm doing that manually by multiplying the shape along each concentric circle, is there any way to do that in less than 10 hours?
Thank you
Copy link to clipboard
Copied
You could try blends or scatter brushes but both would have to be adjusted individually for each path. For one of these figures it should be possible in under 10 hours.
Also: it would be an option to make it into a font and then use type on a path.
If Inkscape is an option ,you vould try it as well: https://graphicdesign.stackexchange.com/questions/103921/how-to-place-a-set-of-object-following-a-pa...
Copy link to clipboard
Copied
When you make your scatter brush, set the rotation relative to Path.
Copy link to clipboard
Copied
I'm guessing you've probably already completed this project, but as I've been working more with Astute Graphics plugins, I discovered a faster, more reliable, and easier to control solution. Use Phantasm.
(Here's what the Phantasm dialog looked like at step 9)