

- Home
- Illustrator
- Discussions
- setting up documents for printables 8x10 and 5x7
- setting up documents for printables 8x10 and 5x7

Copy link to clipboard
Copied
I feel like this should be common sense and I'm self taught so maybe just missing something but here is what i'm trying to do.
Create printables that i will then email to people. I want people to be able to either print at home on 8.5x11 (i will create 8x10 and 5x7 prints) or send to a place like snapfish/walgreens whatever to print on whatever size they want.
I will give people a pdf to print at home or a 300 dpi jpeg to send to a printshop.
I am looking for a template for an 8x10 print and a 5x7 print with crop marks and bleed and safe space and all of that, so when people print at home they can just cut out the right size and frame or do whatever.
Also when I save as a jpeg the file size seems to change and get weird.
I hope I am being clear. Can anyone offer any assistance.
RECAP:
I want to make an 8x10 print in illustrator that will export to pdf for printing on home computers on 8.5x11 paper and also take that same file and convert to 300 dpi jpeg so people can send wherever
Same with a 5x7.
Thank you so much. I swear I've looked everywhere and I just need a little help.
Amy


 1 Correct answer
Hi Amy,
ok so a few things here.
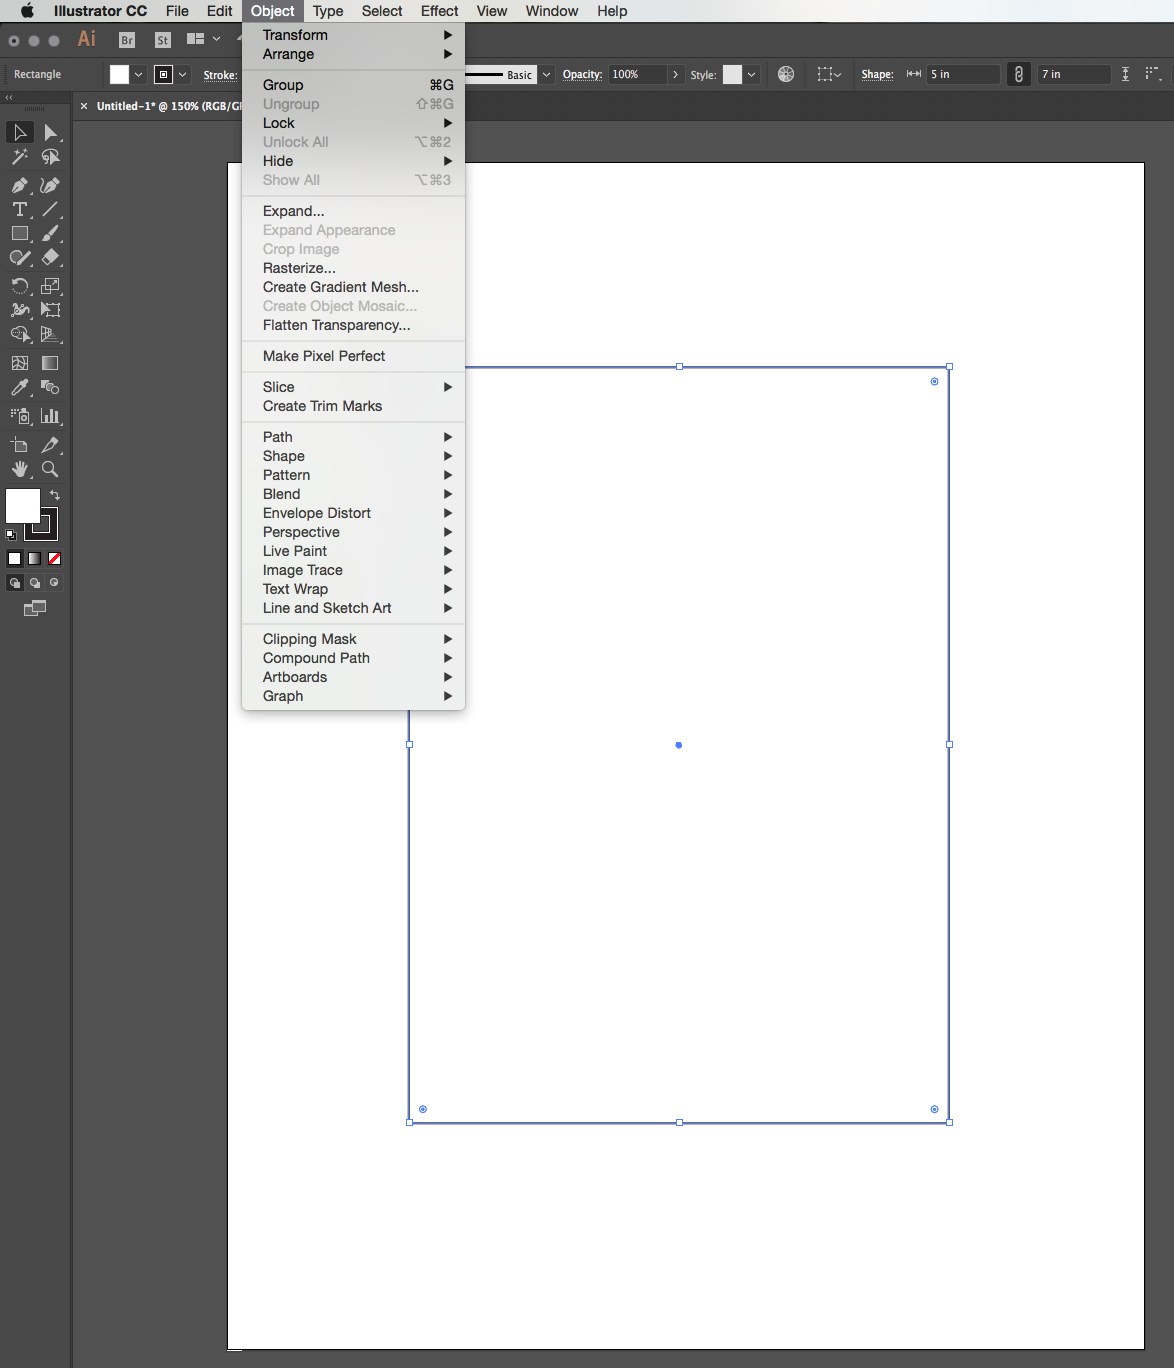
If you create a new document in Illustrator, make it 8.5x11 because that's the standard print size for people at home. Now draw a rectangle in the middle of the page the size you want it to be. If when you create this box you just click once instead of click and drag, you can enter the values of the box size. So here you would enter your 5x7 or 8x10, etc.
Now in Illustrator there's a feature called Create Trim Marks. This will create the outer cut lines over your p
...Explore related tutorials & articles
 6
Replies
6
6
Replies
6
Copy link to clipboard
Copied
Hi Amy,
ok so a few things here.
If you create a new document in Illustrator, make it 8.5x11 because that's the standard print size for people at home. Now draw a rectangle in the middle of the page the size you want it to be. If when you create this box you just click once instead of click and drag, you can enter the values of the box size. So here you would enter your 5x7 or 8x10, etc.
Now in Illustrator there's a feature called Create Trim Marks. This will create the outer cut lines over your photograph so they don't risk miscutting and leaving lines on their image when it's printed out. You can find that feature under Object and it looks like this when you've applied it to the selected box that you created. I would also consider putting this box on it's own layer, and putting your image on a layer beneath this one for ease of use. If you don't do that, then you just need to use the Arrange > Send To Back feature also found under Object in the menu.
Copy link to clipboard
Copied
Thank you that is actually a huge help. I wasn't sure about document size
8x10 or 8.5x11. What about the whole bleed situation and making sure the
print will fit in frame (8x10 or 5x7) do I have to make another rectangle
dmfor a safe zone?
Copy link to clipboard
Copied
If you make your primary cutting frame the size you want the print to be. Then the photo that is placed just needs to always be slightly larger than that frame so there is enough bleed to cut without risking a strange edge.
Personally I would set up cutting frames that are the size you want the photo because not all aspect ratios scale proportionately into one another. And even if they did scale proportionately, you would need to know the percentage increase/decrease to instruct the printer to use to make them fit correctly. Much more straight forward to just build it to the size you want and trim afterward. Just working 1:! ratio.
8.5x11 should contain most of what you need, although you'll probably lose trim marks on the 8x10 print. For that you may need to go up in paper size or print without trim marks and just cut by rulers after the print comes out.

Copy link to clipboard
Copied
"I will give people a pdf to print at home or a 300 dpi jpeg to send to a printshop."
Because you are using an open-loop workflow ( file can be printed using different printers ), it would be better to work with PDF. If you are printing photographic image files, then a Photoshop PDF @ 150ppi RGB would be great. Not necessary to save as JPG at 300ppi. If you are using Illustrator for page setup, place your image cropped ( no bleed ) inside the appropriate paper size. So, for 8x10 you'd Place the image on an 8.5x11 paper / document size. I always place a holding line on the document ( 8.5x11; 0% Fill, 0% Stroke > Locked ). Then, in Illustrator, Export the file as an RGB tiff. Next, use Photoshop to open the file > Save As Photoshop PDF. You will notice that the 8x10 image sized is centered inside an 8.5x11 document suitable for printing on most desktop printers.
Copy link to clipboard
Copied
Ok thank you, also helpful. Why do all the online printable shops sell jpegs then? I'm getting confused. So say one option is printing at home, the other option is sending to snapfish or a place like that. In that case they need jpegs right? How do I do that? I mean I know how to export to jpeg. But say I have an 8.5x11 document with an 8x10 box in there with crop marks etc that I'm doing in illustrator. I know how to send as pdf but can I just convert that to jpeg or do I need to actually make an 8x10 document and then convert to jpeg. If people will be sending it it. I feel like the other print shops sell 300 dpi jpegs. Maybe I'm missing something. So frustrated - amateur hour over here I know.
Copy link to clipboard
Copied
As an alternative, you could Export as 150ppiJPG/RGB using a high level of compression.
Sent from my iPhone

Find more inspiration, events, and resources on the new Adobe Community
Explore Now
 AdChoices