Answered
Shape dielines not connected
Hello!
I'm looking for some help as I'm not an Illustrator pro.
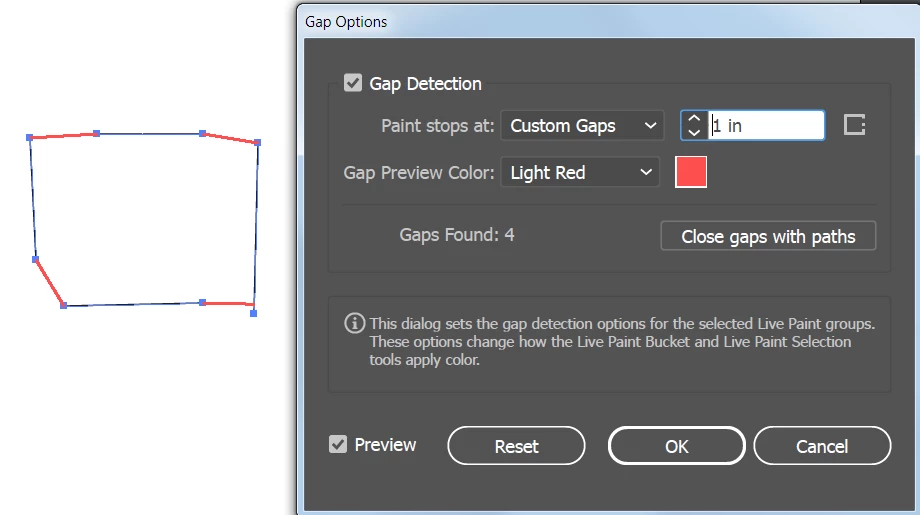
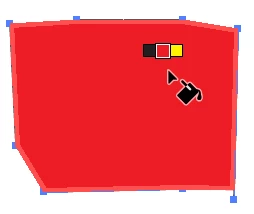
I received dielines for a heart shape and a star shape. I am trying to draw into these and apply patterns and finishes, however, none of the lines are connected so these are not connected shapes.
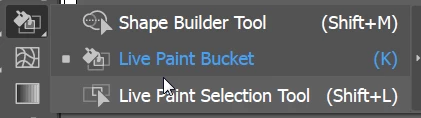
What is the easiest way to connect these to create shapes and apply pattern?
Thank you!!
B