Hi Sacha,
you were on the right track trying this by converting a text cell to a graphic cell.
But you'll need a couple of cells to get the right rounding, the smaller radius.
And you are restricted to a limit: the minimum width and height of a cell.
Could be a problem, if the radius is very small. So best set all insets of the cells at least in the header row to 0.
In steps:
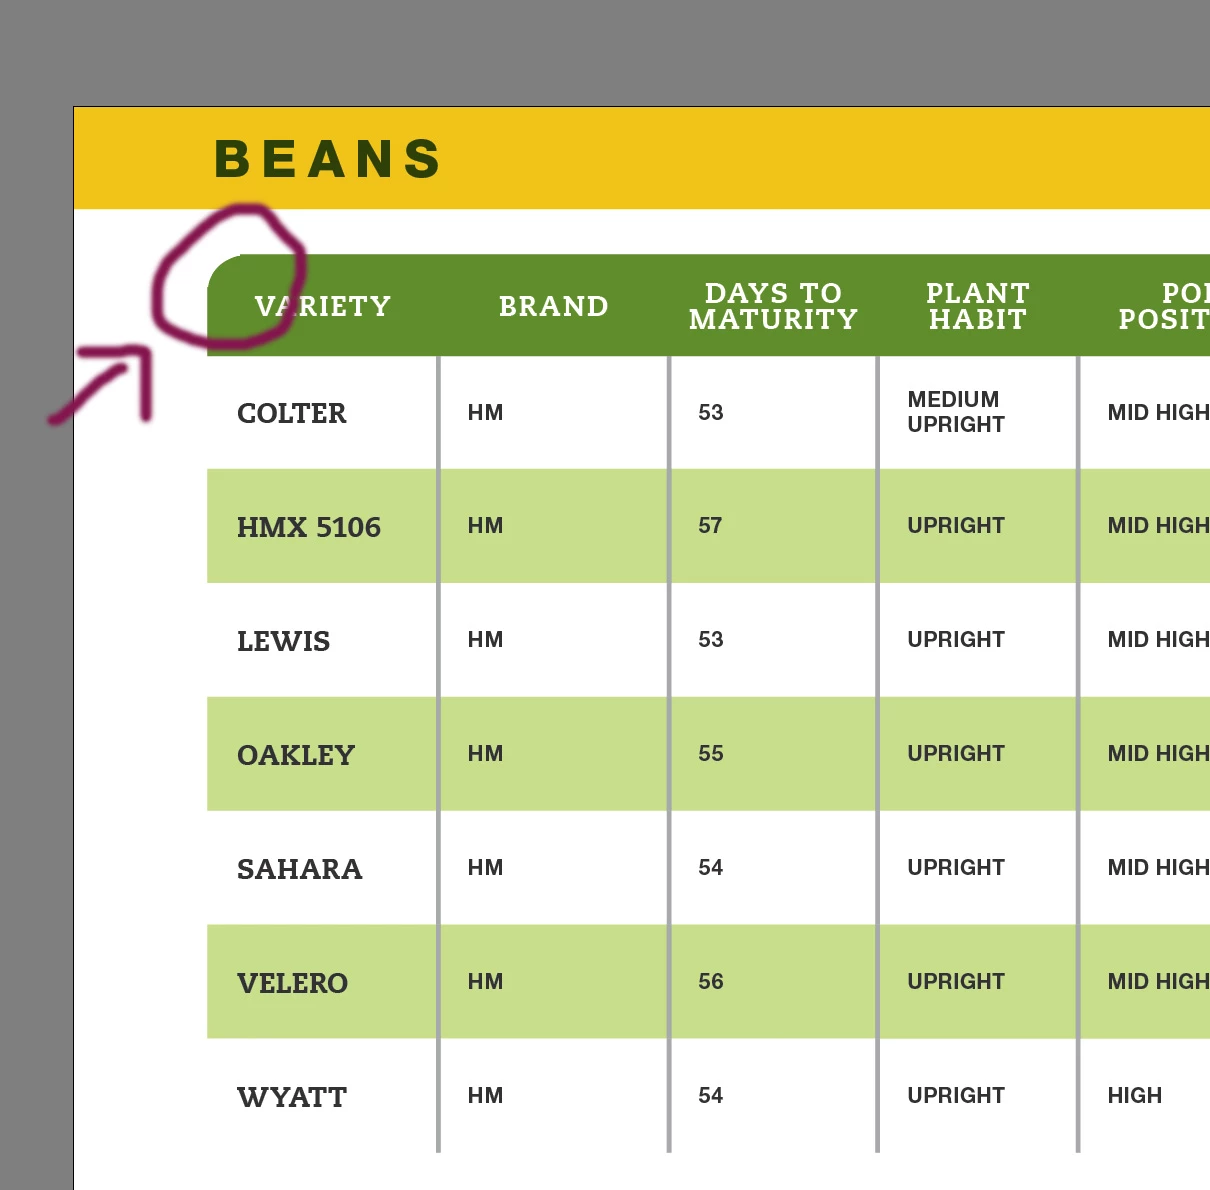
[1] Make the width of the side column the size of the radius.
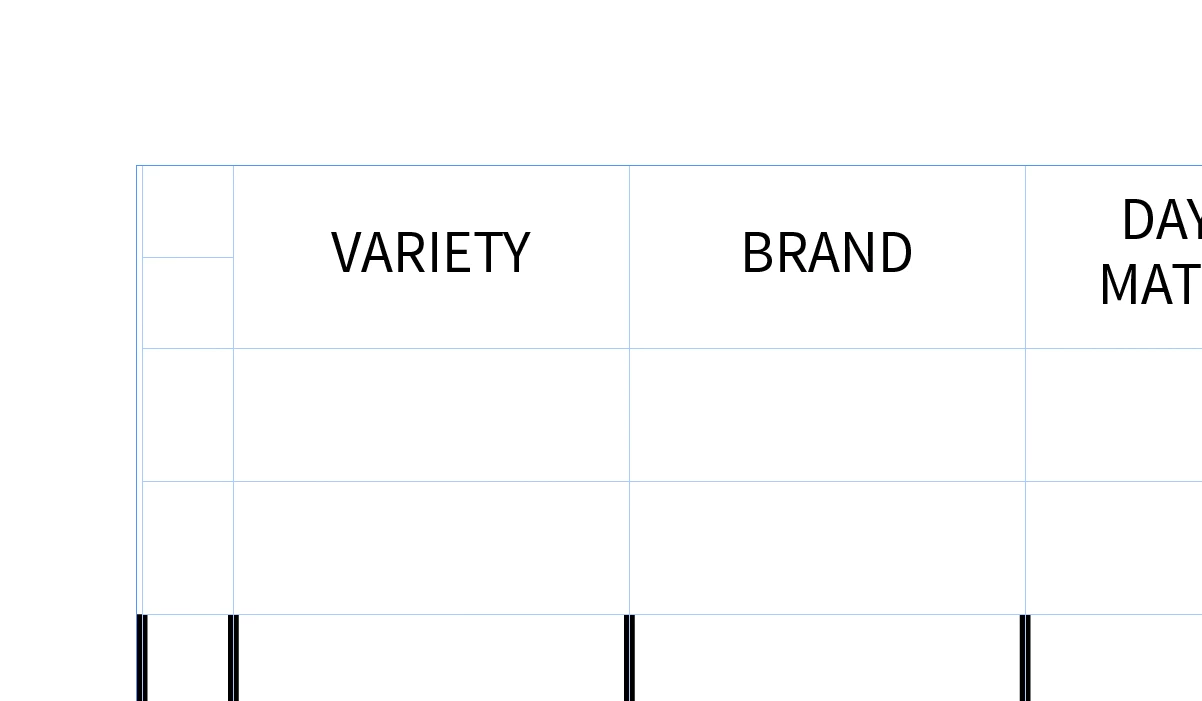
[2] Split a cell. Depending on your radius you'll have to do that more than once:
[3] Do a graphic cell out of the corner text cell:
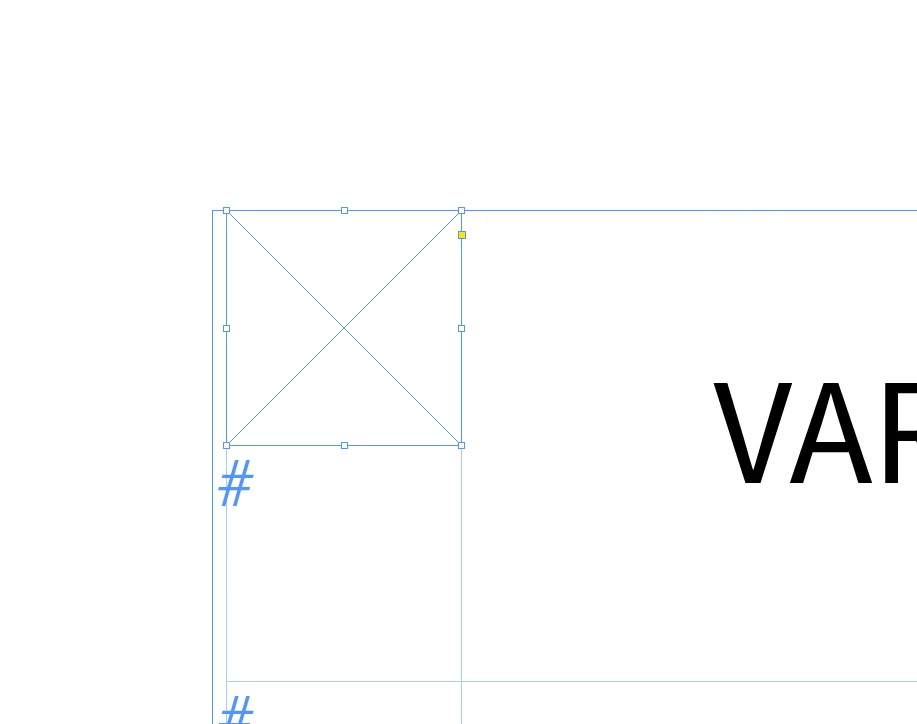
[4] Remove a path point:
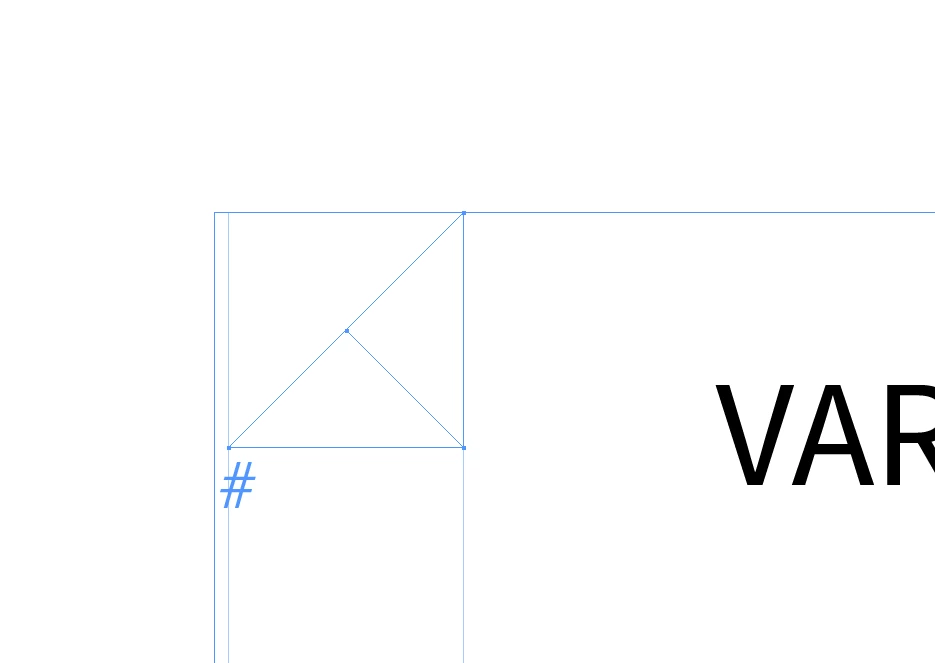
[5] Add a path point at the diagonal of the triangle.
Convert the path point to a symmetrical curve point, drag the path point towards the left upper edge and adjust the handles so that a quarter circle is done.

[6] Apply fill color.

You now could copy this corner cell over to the right corner cell and flip the object in the graphic cell.
FWIW:
There are some bugs* with InDesign's graphic cells:
1. If you copy a graphic cell where the container frame is transformed (flip, rotation, shear) the transformation is undone when pasted.
There is also a way to work with predefined shapes and bring them into graphic cells.
But this would require some complex steps:
1. Convert the rectangular shape in the graphic cell to a multistate object (MSO).
2. Position the predefined shape stacked on top of the MSO.
3. Align the predefined shape perfectly to the square in the active state.
4. Cut the predefined shape to the clipboard.
5. Add the predefined shape to the active state using the MSO panel's "star" icon.
6. Remove all states but the active one.
That would convert the active state to a group object in the graphic cell.
* But now several bugs with graphic cells will wait for you:
2. A group object in a graphic cell done like that will not survive an IDML roundtrip. Or an IDMS export. And that will also include using the table with an InDesign library file or with CC Libraries. So you are not done yet. You have to remove all objects in the group but the predefined one you added.
The next bug is waiting:
3. If you like to remove one of two objects in a group sitting in a graphic cell, this could not be done.
Not with the menu command. You can work the menu command. It's not grayed out, but the selected object is not removed if you do. You could also try the Layers panel, here you are facing the same problem.
Maybe you could workaround bug 3 and add a helper frame to the active state after step 5 and after the group is done remove at two unnecessary objects in one go.
Have to test that. Otherwise this little ExtendScript (JavaScript) script snippet will remove a selected object:
app.selection[0].remove();
Regards,
Uwe
// EDITED.