Copy link to clipboard
Copied
Here I thought text wrappying was becoming so advanced and sophistocated because it can find and follow the contours of placed images -- So smart! So cool! But when I make a vector graphic using InDesign's own shapes, let's say I group them together and then apply text wrap. . . womp, womp. It can only wrap to the bounding box, contour wrap is not an option. This seems like we've taken a step backwards. Any solutions out there? I had to ungroup all my lines and shapes and it seems like a disaster waiting to happen.
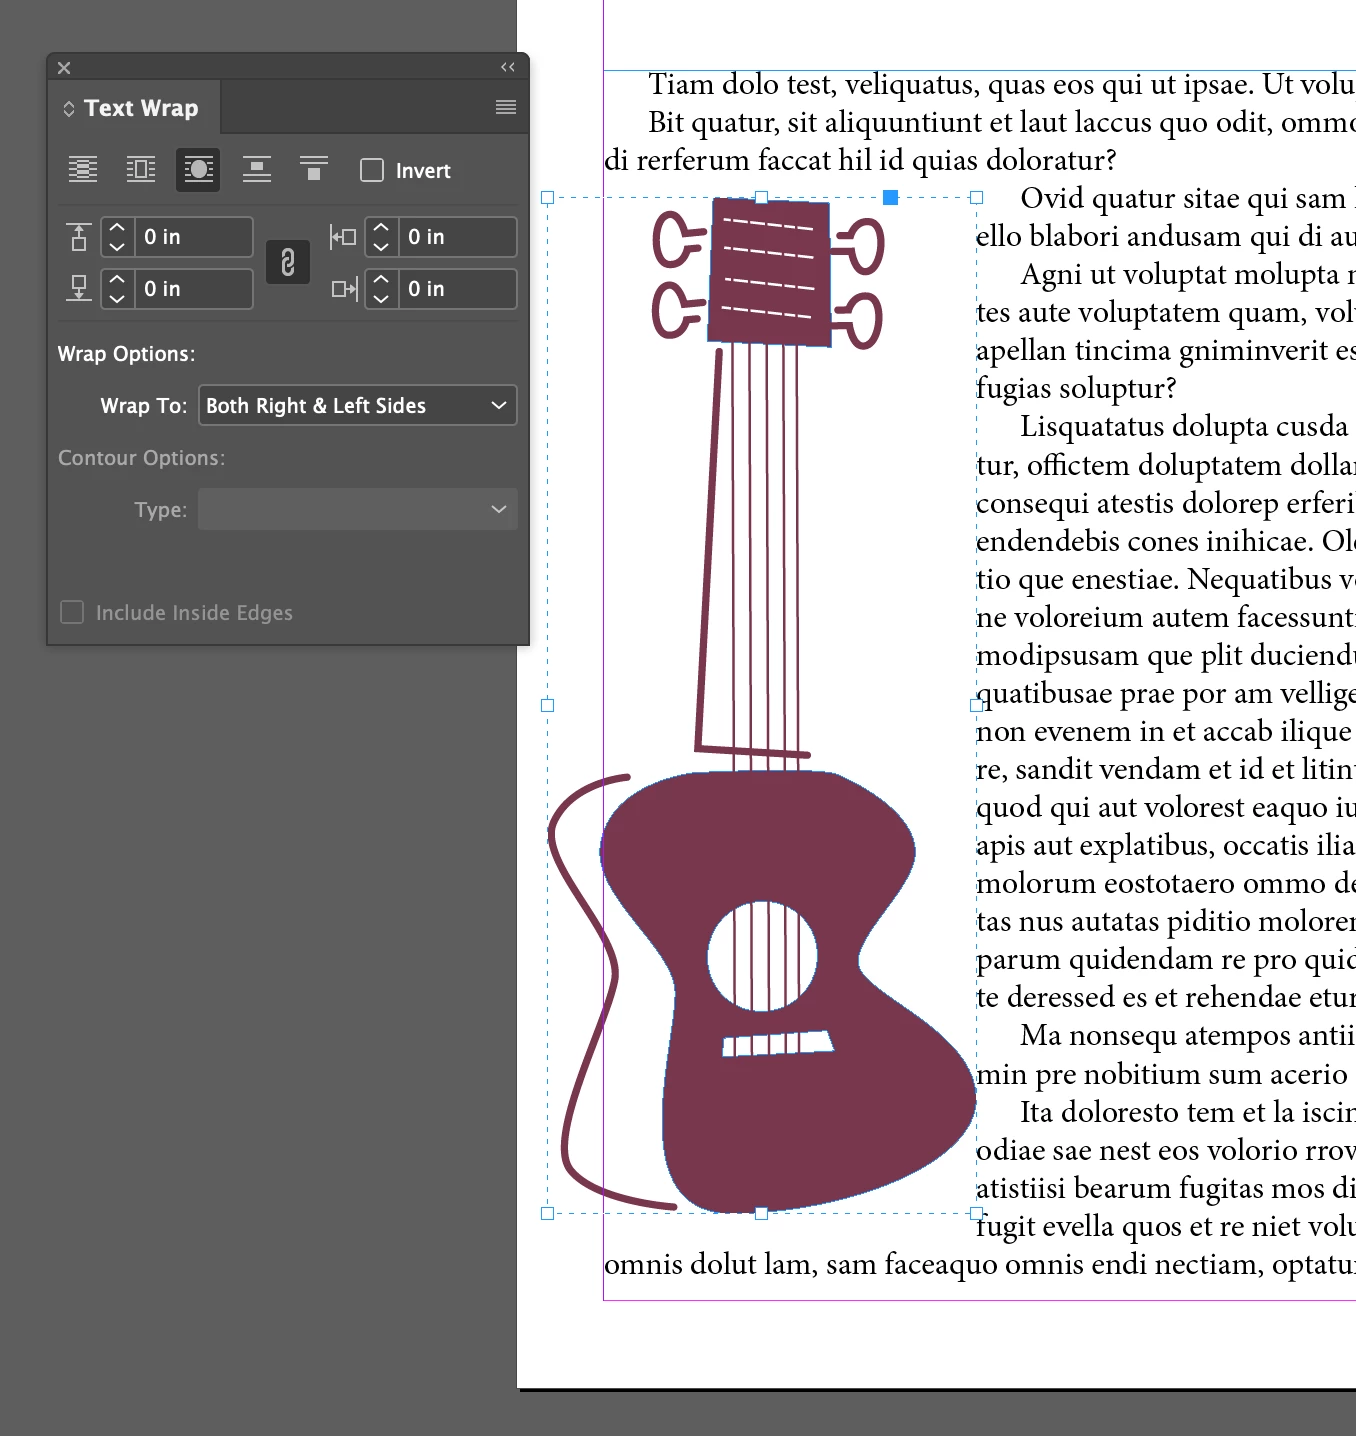
Simpler graphics with one or two shapes, can be ungrouped and the text wrap appied to both selected shapes. But this example above has too many open shapes and little lines to do that.
Another solution is to not text wrap the actual graphic but to make a dummy outline shape that will have no fill and no stroke and apply the text wrap to that. Seems silly but it works. To add insult to injury, if I make this dummy shape and go to alter it with the direct selection tool, I have the ability to change the contour of the wrap! (Picture below shows green stroke around dummy shape and then the dashed line is the contour of the text wrap actively being moved!)
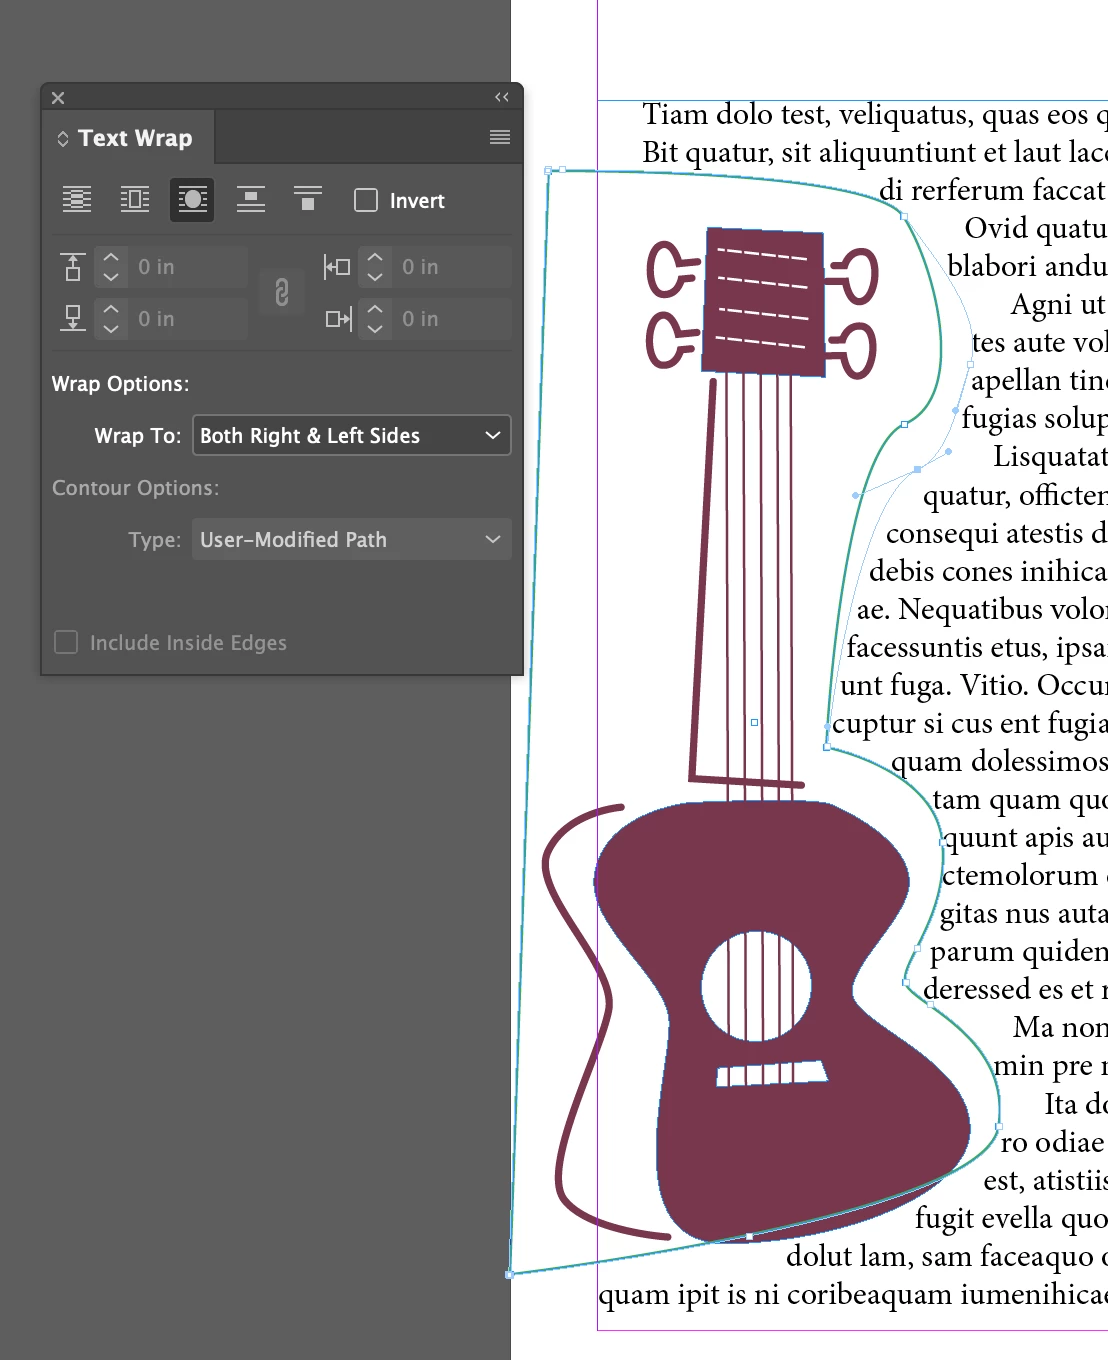
It would be very useful to do this on the original problem, but it is not available! Seems like this should be much easier.
Copy link to clipboard
Copied
Hi @jlaw22:
A simple solution might be just to draw in illustrator, and place the artwork in InDesign, and it would work as expected. It's the same drawing tools in both applications.
If you would like to stay in InDesign, in my experience, you get a different result if you group first and then add the text trap versus add the text wrap first and then group. Either way, you'll probably have to adjust the text wrap boundary with the direct selection tool.
~Barb
Copy link to clipboard
Copied
If those are shapes done by you in the InDesign - make a copy and combine all objects into a single shape - then use it beneath your group for a wrap.
... Good idea for a new "rule" for my ID-Tasker ...
Copy link to clipboard
Copied
Not eaxctly what I've suggested earlier - but even better - creates new object from TextWrap Path:
I've just re-used code from "Split Object Into Paths" rule.
On the left - one object made from combining two TextFrames - red fill - and on the right - two separate paths extracted from TextWrap:
Same as above - but TextWrap intersects - one single path as a result:
Copy link to clipboard
Copied
And this is a result when you do "positive" TextWrap and then "negative" TextWrap:
No need for complicated math to get an outline as an object ...
And just in case someone may find it inspiring ...
Copy link to clipboard
Copied
Just got an idea ... it won't be a big deal to use shape "A" as TextWrap for Object "B" ...
Copy link to clipboard
Copied
Before:
After:
The new TextWrap path(s) are center-aligned.