- Home
- InDesign
- Discussions
- Dividing a solid circle into pie shapes
- Dividing a solid circle into pie shapes
Dividing a solid circle into pie shapes
Copy link to clipboard
Copied
Hi,
I've googled everywhere about this but can't find a working answer yet. I want to divide a solid circle into 5 equal parts. All of the suggestions out there suggest I use the "paste in place" function. I create a circle. I draw a horizontal line that's equal to the radius of the circle. I align it to the right and centered vertically in the circle. Then, I do a "paste in place." This confuses me because I see a little flash as it duplicates the line. But, when I try to rotate that second line 72 degrees, nothing happens. I don't see where that second line is that I supposedly duplicated from the first. So, I end up just duplicating the line, rotating it appropriately and try to have it start at the same point as the first line. I do this for 5 lines, 72 degrees from each other.
360 degrees divided by 5 is 72. That's why I'm creating these lines 72 degrees from each other. And, I get my circle with 5 equal parts with these lines. But, they're just a bunch of lines. I want to use them to cut the circle into 5 pie shapes. I've tried compounding the paths, but, that doesn't work.
Thanks a lot for any help.
Peter
Copy link to clipboard
Copied
If you've got Adobe Illustrator, it would be easier to do it there and then import it into ID.
Copy link to clipboard
Copied
Thanks, Larry, but, I really am trying to do it in InDesign, if at all possible.
Copy link to clipboard
Copied
There's a useful piechart script available from Marc Autret at Indiscripts.
http://www.indiscripts.com/post/2010/06/claquos2-pie-chart-builder-for-indesign
It's a beta but it works very well. I'm not sure if a final version ever got released.
You could also look at purchasing the font FF Chartwell which uses glyphs to create piecharts.
Very reasonably priced and very cool. See it in action at
Copy link to clipboard
Copied
This is a beautiful script. It's sort of unbelievable, actually. This is perfect for me. I just created five slices, at 72 degrees each and it worked. Then, a little satin effect and I've got what I need. Thank you very much.
I looked at the Chartwell font info., too. I might invest in that.
Copy link to clipboard
Copied
You could also try this...
Select two of your lines - which I assume are meeting in the middle of your circle. Go to your Pathfinder palette and click 'Join Path', then click 'Close Path'. This will give you a segment of your pie. Repeat this for all your five segments, duplicating the lines as necessary.
Once you have got your five segments, colour them as required, group them and then paste inside the circle.
I should add - you should make your lines extend past the edge of the circle to make it simpler when closing the path. Easier than having to extend the shape afterwards!
If you wish to have the individual segments selectable, perhaps so you can offset one of them, you can take this method a step further.
Once you have the segments created, draw a box large enough to cover both the circle and the segments. Select your circle and bring it to the front. Punch the circle out of the box using the pathfinder tools. This now gives you a mask that you can use to curve the ends of your segments.
Using the pathfinder tools again, use the mask to round of the end of each segment individually. You will then end up with your 5 segments individually selectable/movable
Message was edited by: flaming1

Copy link to clipboard
Copied
Illustrator has a pie creater as well simple to use.
http://modernl.com/article/howto-make-pretty-pie-charts/
Is a discription how to use it
Copy link to clipboard
Copied
If you don't have Illustrator and you have to do it in InDesign, here's another way. I'm not saying it's better or worse than any other way, but it does work.
1. Start with a circle, and place guides at the center both vertically and horizontally.
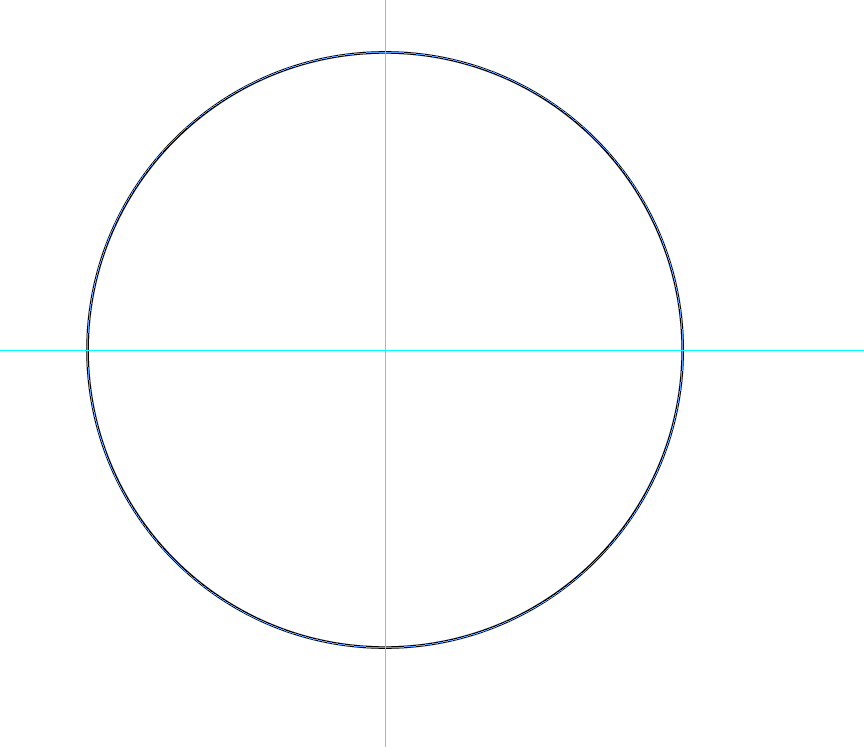
2. Make a straight line.
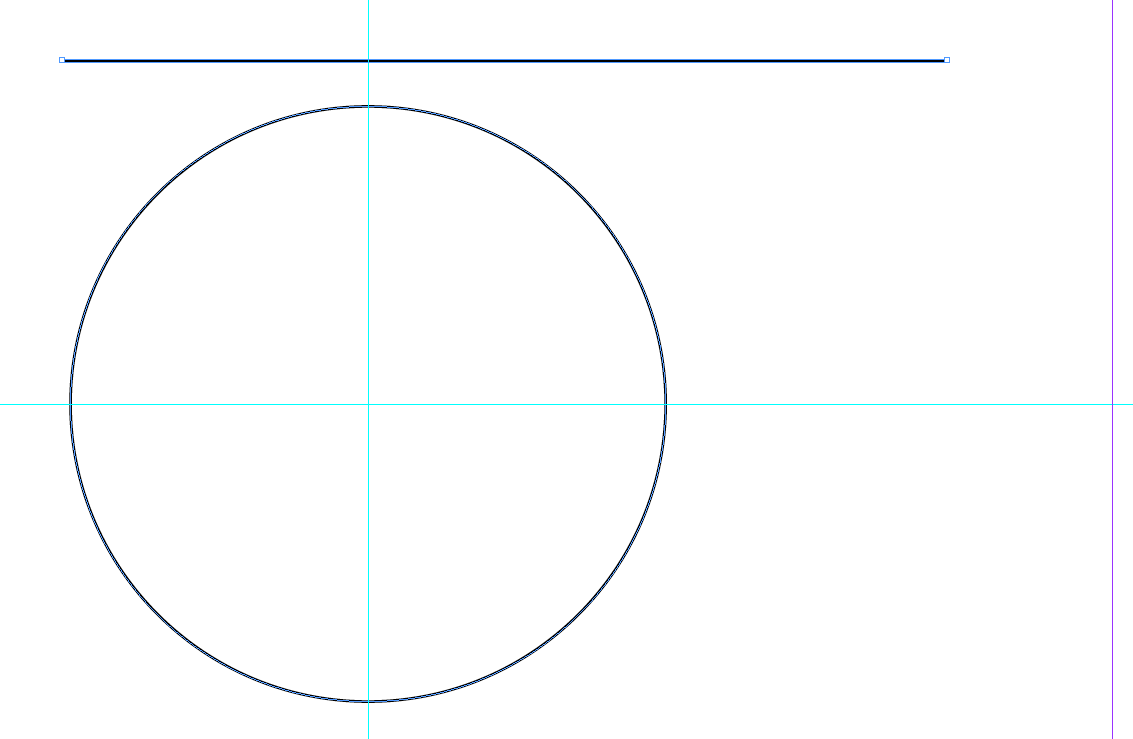
3. Rotate the line 72° from the left side, and hit the Copy button instead of the OK button.
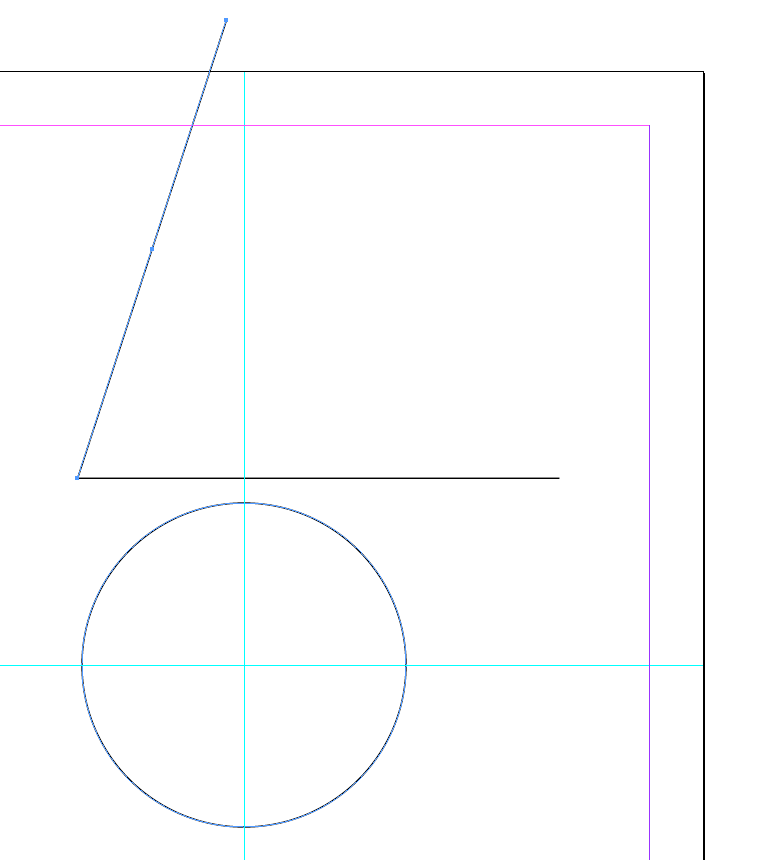
4. Join the angle at all three sides with the Join Path tool in the Pathfinder.
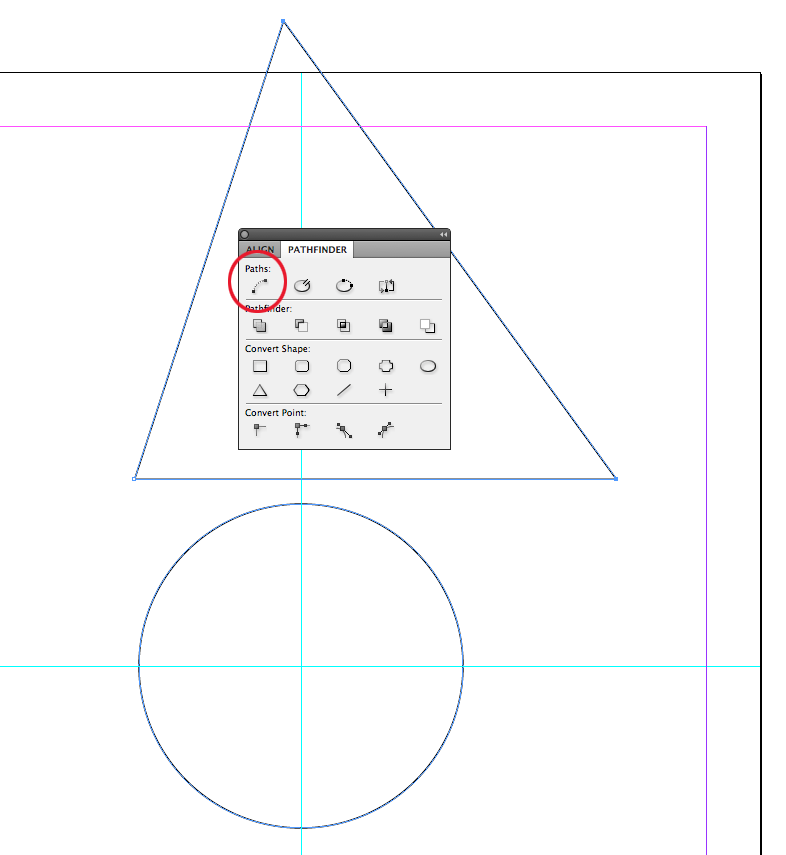
5. Snap the bottom left corner of the triangle into the intersection of the two guides in the center of the circle.
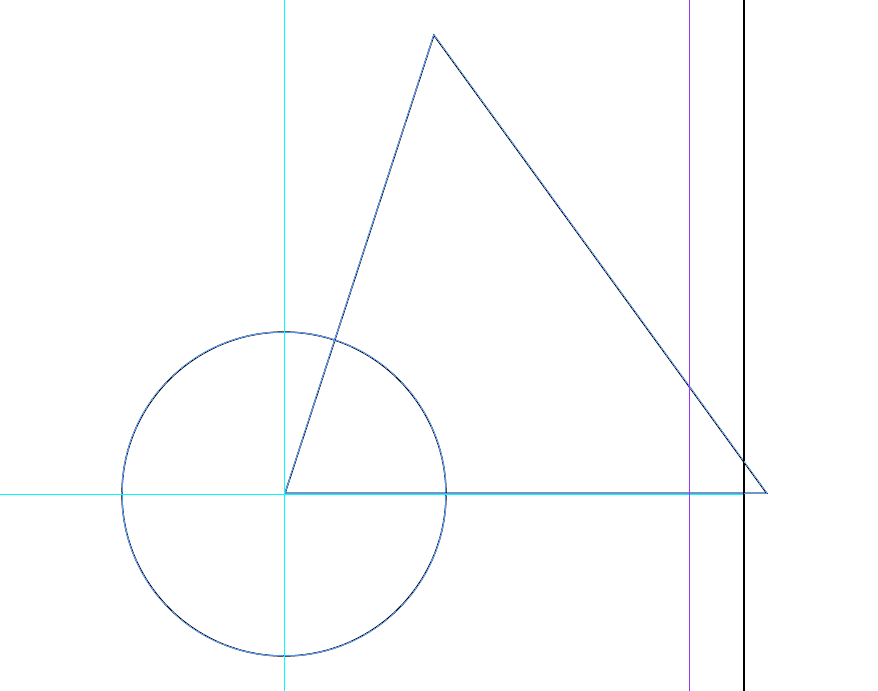
6. Select the circle and the triangle and use the Intersect tool in the Pathfinder. This will create a wedge with one rounded edge.
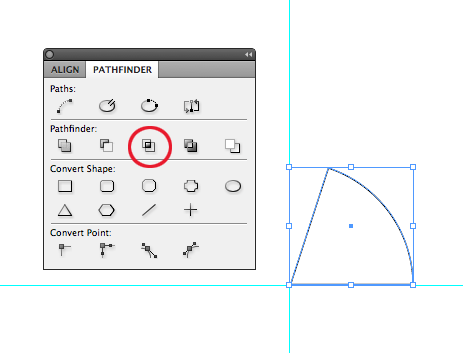
7. Use the Rotate tool to rotate a copy of the wedge 72°, with the rotation proxy set to the lower left corner where the guides intersect.
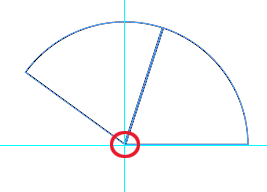
8. Repeat the rotation/copy for the other 3 segments with Object>Transform Again.
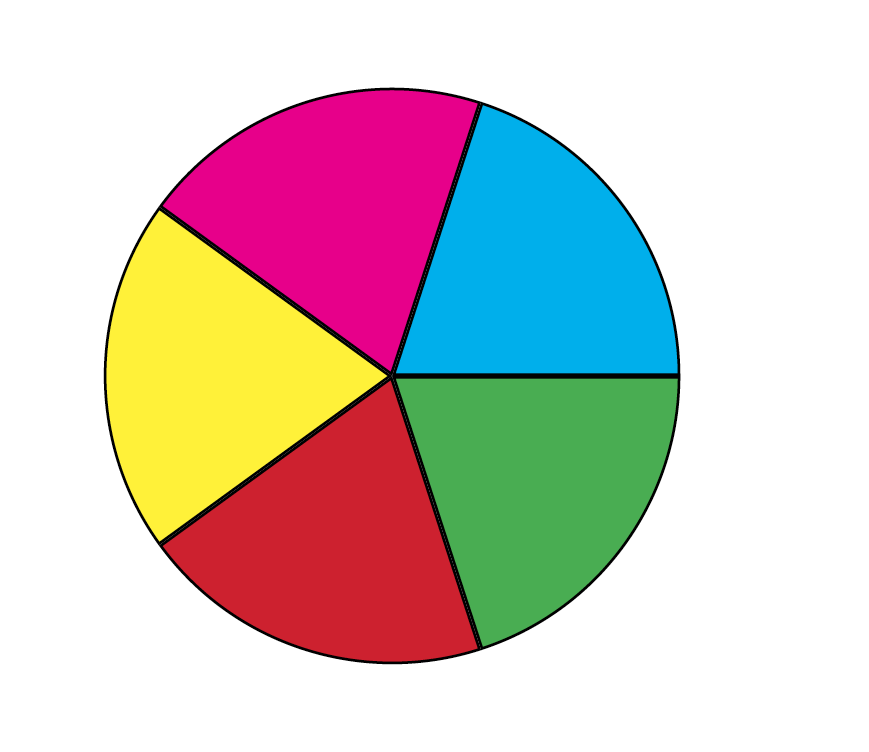
Copy link to clipboard
Copied
This looks great, but, it doesn't seem to work for me. I managed to make the triangle, but, not in the way you suggest. Pathfinder did nothing for me. There is no "join" for PathFinder. So, I just used Path/Join. After I placed it at the center of the circle, though, all of the PathFinder attributes are grayed out. I can't use them to slice the section out of the circle. Your finished product up there looks great to me, so, I'm open to more prodding.
Cheers,
Peter
Copy link to clipboard
Copied
Peter Britt Bailey wrote:
There is no "join" for PathFinder.
It's the one in the pallet that I circled in red. You have to select two points before you hit the button, so that it knows what to join.
Peter Britt Bailey wrote:
After I placed it at the center of the circle, though, all of the PathFinder attributes are grayed out.
Did you select the circle and the triangle beforehand, as I suggested?
Copy link to clipboard
Copied
Thanks to all of you. This forum can really help me at times. If I can clearly state my problem, inevitably, someone can help me. Thanks again!
Copy link to clipboard
Copied
OK, Michael. I'm doing better here. I managed to make the wedge, finally. But, when I copy-rotate it, the copy is way off of the same axis. How do you manage the "rotation proxy" to be the lower-left point?
Thanks.
Copy link to clipboard
Copied
Michael,
When I created the first line and tried to create a copied second line at 72 degrees from it, it made the second line, but, it wasn't in any relation to the first line. I had to manually place the second line's endpoint in synch with the first line. The same with the pie wedges as I just described above. I had to manually place each wedge after it was created. How do you make sure that when you create a second rotated object, that it remains in relation to the first object???
Thanks.
Copy link to clipboard
Copied
I got it!! I just had to change the reference point from top right to bottom left. I had to pull up the transform panel to see the anchor reference points. Incredible. This is a beautiful way to do this, Michael. And, actually, quite simple. Thank you very much.
Copy link to clipboard
Copied
Interesting alternative Michael. Really just the same solution as I gave though, but working from 'left to right' rather than from 'right to left'. Well explained with the step-by-step pics though.
It goes to show that Indesign users would rather come up with a solution in Indesign than use Illustrator for this!
Copy link to clipboard
Copied
Peter, I'm glad you got it sorted out.
flaming1, I'm not so sure that it's better to do this in InDesign, rather than in Illustrator (where it's much easier and faster), but it's always nice to know for those who don't have Illustrator.
Copy link to clipboard
Copied
Michael, your solution is quite elegant and fairly simple to do, and suits those of us who prefer working in Indesign.
The ONLY advantage Illustrator has over Indesign is the initial input of the data. Once the data has been entered, any advantage in speed or otherwise is gone.
So for a lot of us it is better purely because we can avoid Illustrator and all it's ugliness!
I've always found that Indesign's vector drawing capabilities are more intuitive and easy to use than Illustrator. I frequently find that I can create complex vector artwork just as easily in Indesign.
Copy link to clipboard
Copied
Illustrator's not so bad. I think the advantage it has is that Illustrator's Pathfinder has a Divide function, so it let's you skip a few steps. I know this isn't the Illustrator forum, but I can lay it out for you:
1. Start the same way, with a circle and some guides.
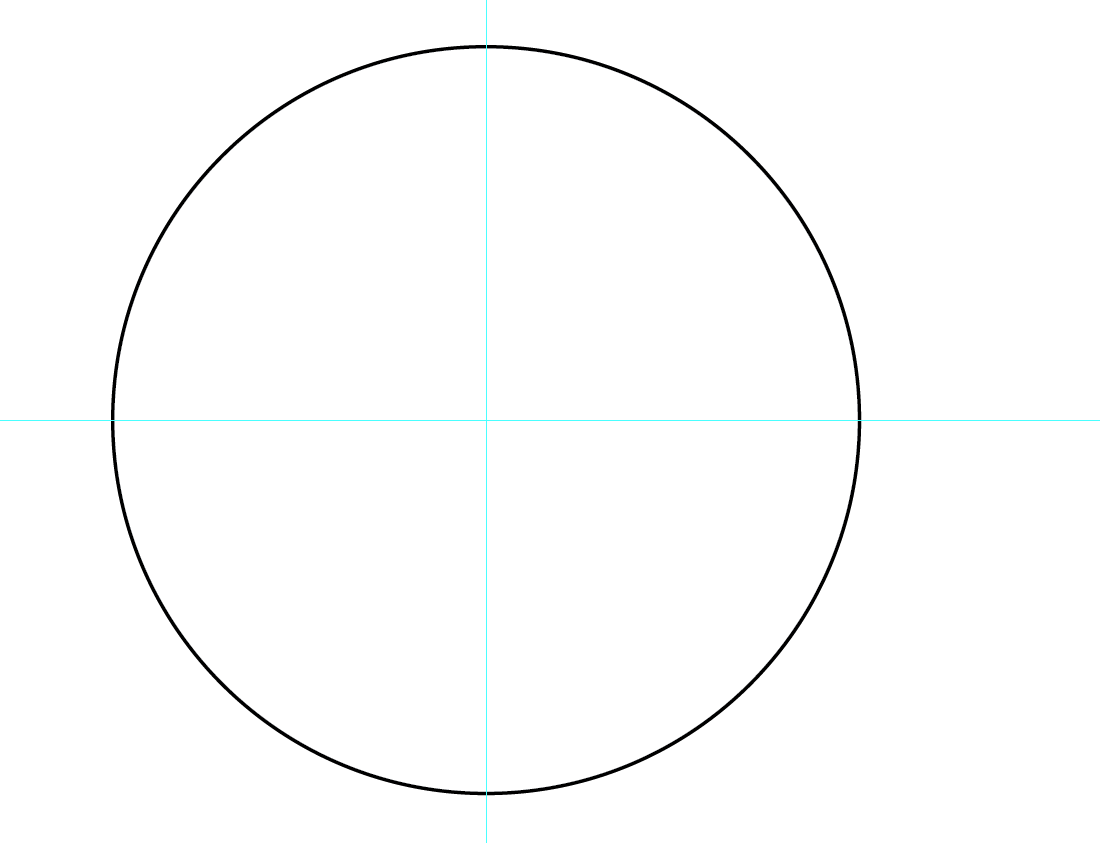
2. Make a line (same as InDesign).
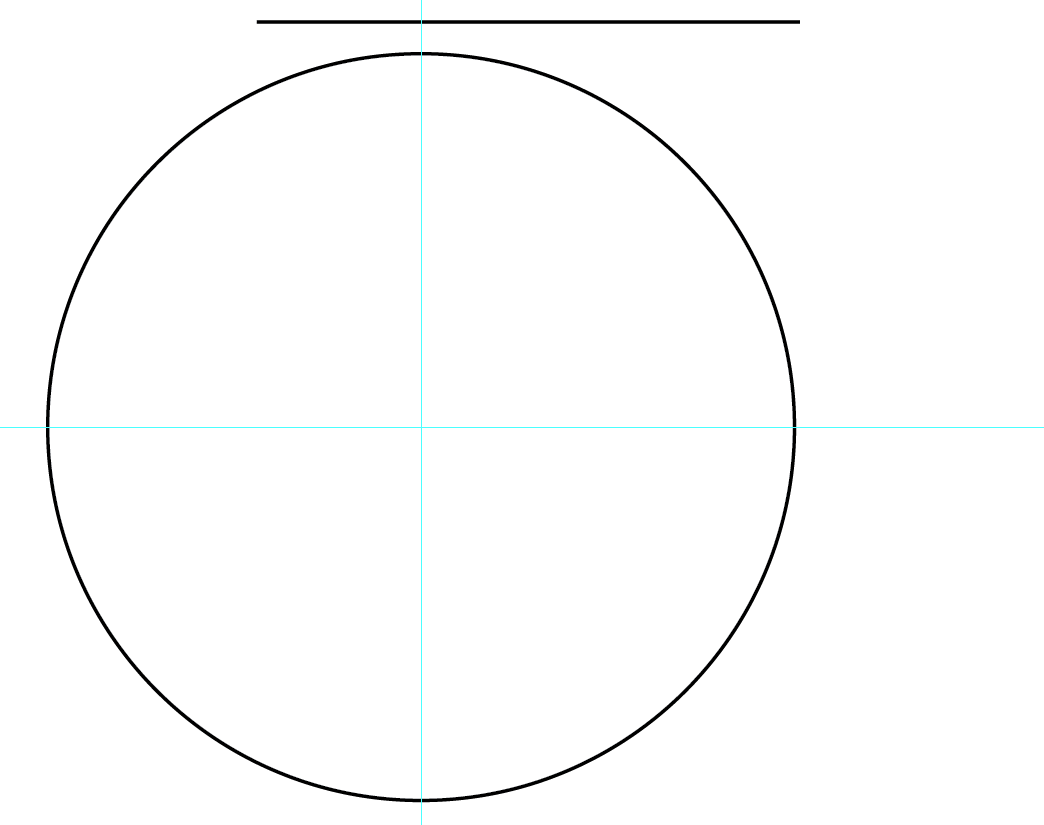
3. Snap the line to the center of the guides (no need to make the triangle).
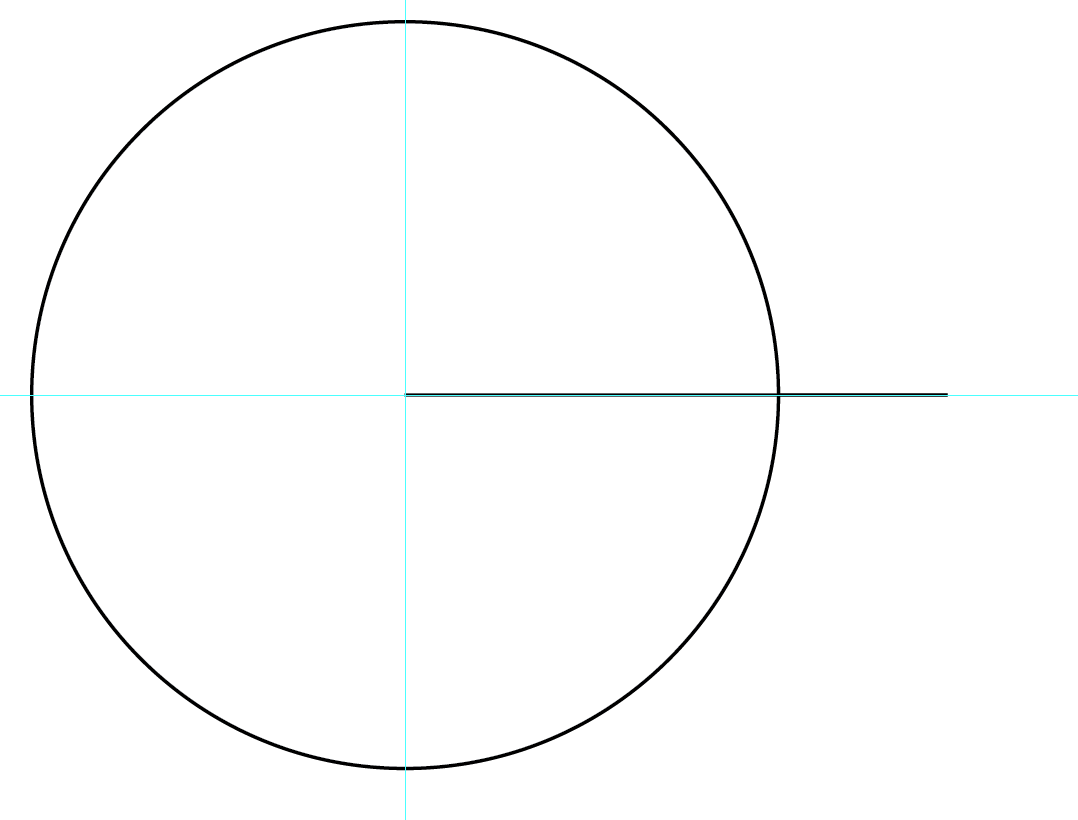
4. Rotate the line 72° from the center (you do this in InDesign as well, but you don't have to join the lines).
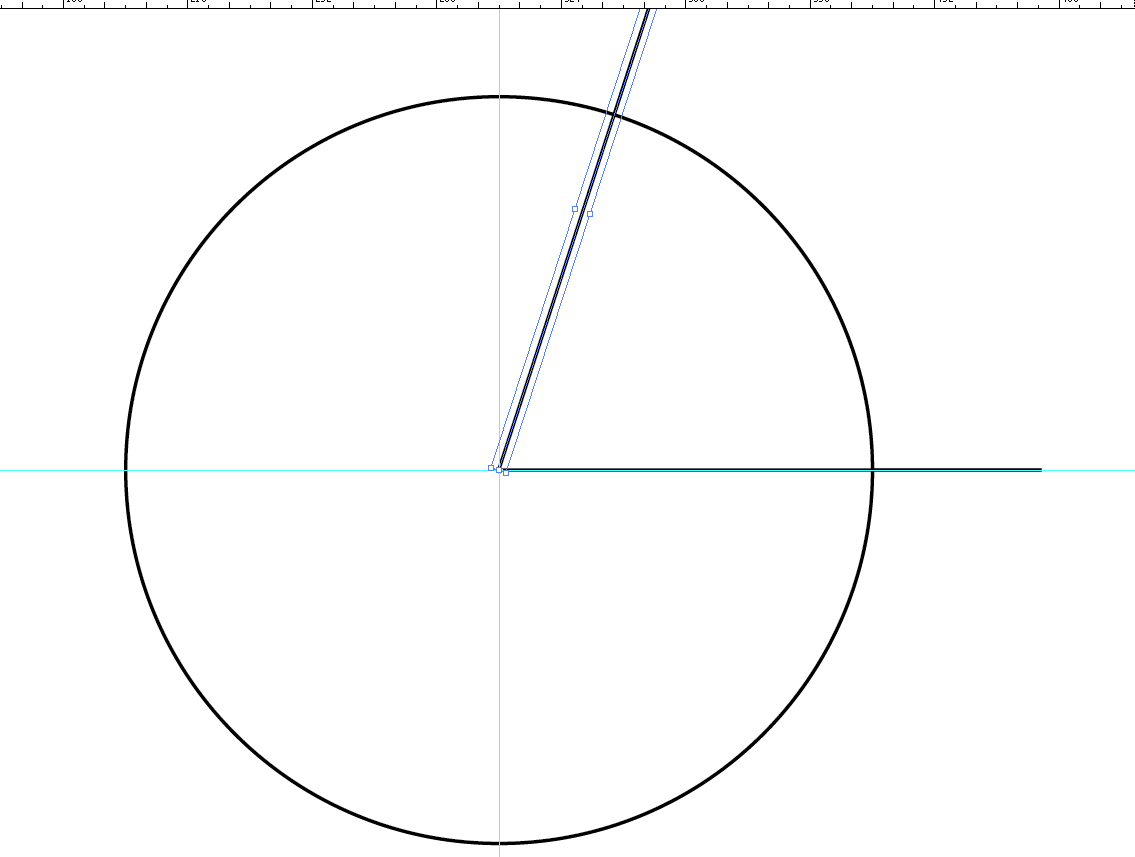
5. Repeat the Rotate/Copy with Object>Transform Again (Command D) 3 more times.

6. Here's the difference. You can select the circle and the 5 lines by dragging a marquee, and just hit the Divide button in the Pathfinder (circled in red).
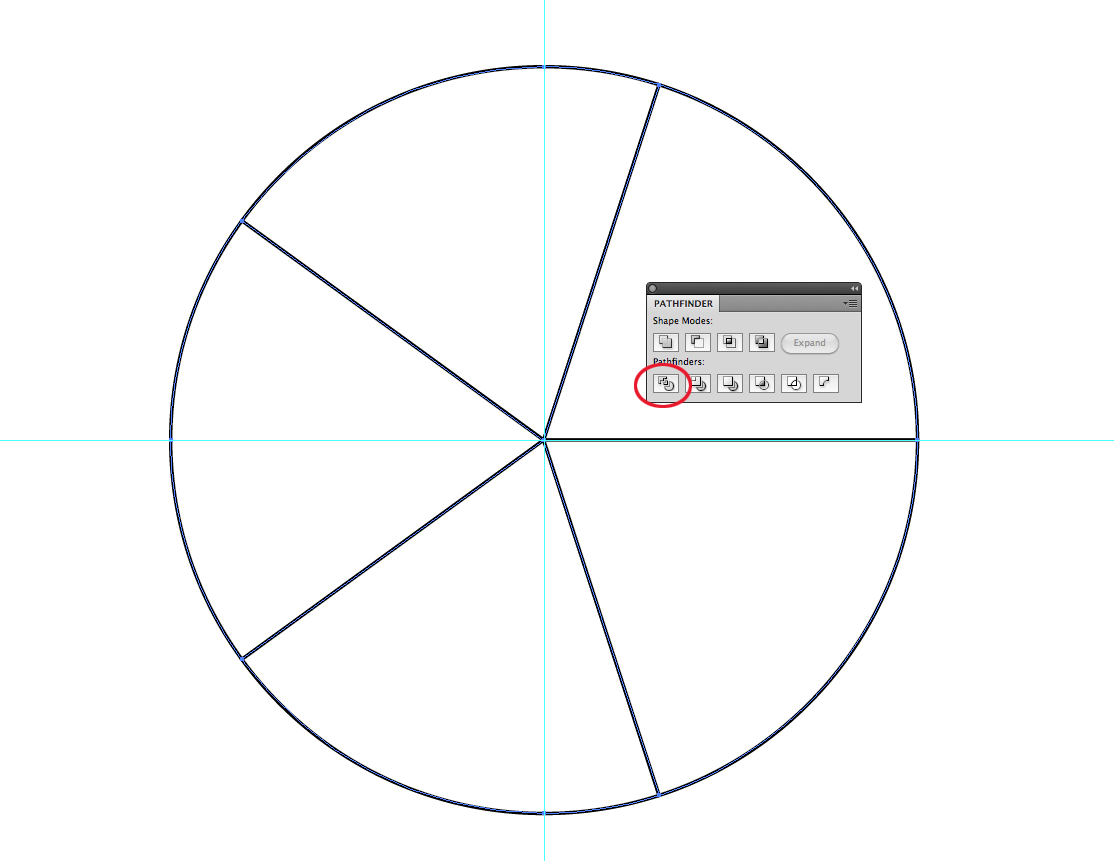
7. From there, you can fill the segments with color, and if you need to pull one out, you have to ungroup first, but you probably want all of the segments anyway.
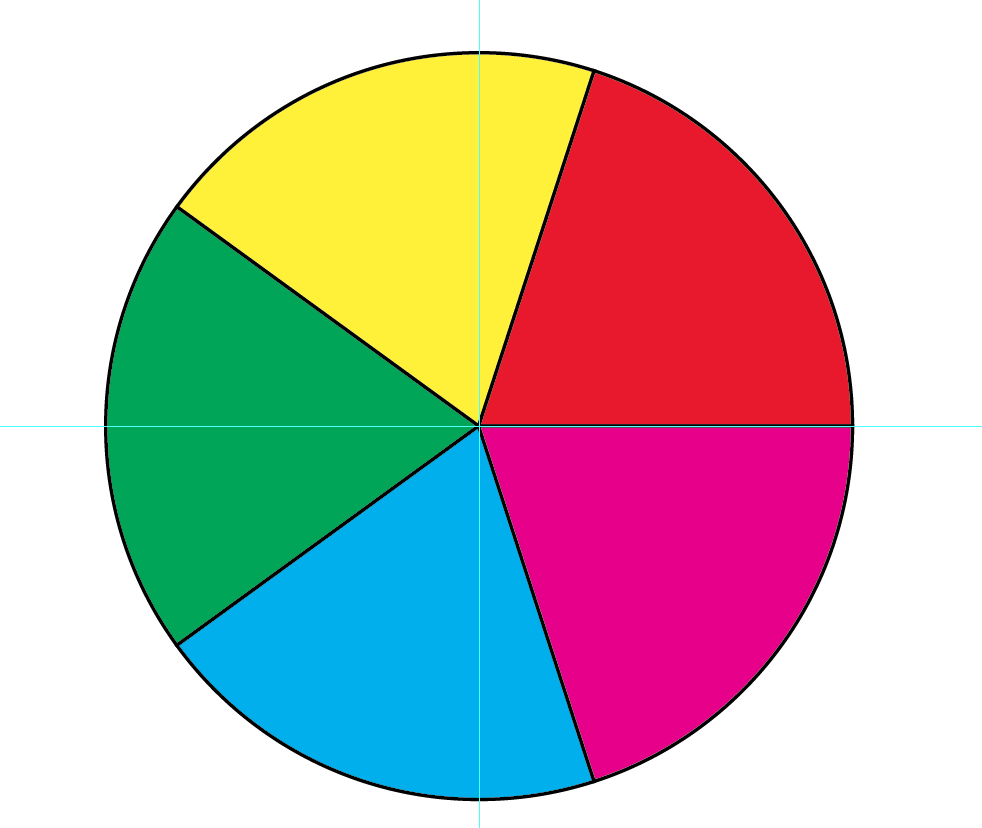
It's not significantly easier, but the Divide button is pretty useful. By the way, this object may be placed into InDesign like a graphic, but since it isn't all that complex, you can copy/paste it, and it will function like an object made directly in InDesign, including the ability to edit the object. Not too shabby, eh?
Copy link to clipboard
Copied
Well, i'll just thank both of you guys. Flaming, you showed me that incredible script, and, I believe that would work best in situations where my pie isn't divided evenly. And, yes, your little tutorial was probably as relevant to me as Michael's, but, I have to admit, all the cool screenshots and stuff from Michael caught my eye first. ( -;
Cheers,
Peter
Copy link to clipboard
Copied
Thanks Peter. Michael explained it much better than I did and yes, the screenshots definitely help!
Michael - thanks for taking the time to explain that Illustrator method too. I hadn't come across the the 'divide' function before.
Copy link to clipboard
Copied
Thanks, but, I don't have Illustrator at present.
Copy link to clipboard
Copied
Copy link to clipboard
Copied
use the Illustrator Pie Chart tool.
Insert and create as many slices as you need, equal parts or any combination adding up to 100.
Select the paths and copy on a new layer and away you go!
Copy link to clipboard
Copied
If you don't have an answer to this by now, here's how I've discovered a way to make percentage lines within a circle. Do this in Illustrator, then export.
1. Alt+Shift in center of document. Draw circle.
2. With Line tool, place cursor at center point (make sure your smart guides are turned on), then hold alt+shift and draw a line vertically or horizontally to width of circle. Keep selected.
3. Double Click on rotate tool to bring up dialog box. Click preview. Then enter 72 in the degree box and click Copy.
4. Click Ctrl+D to repeat action four more times.
I use different percentages, but the outcome is the same.
