This is my problem, it doesn't do it automatically. when I import a portrait mode photo, the frame is landscape. It did do it automatically on my old computer bot not this one.
When I click and drag the image when it's on my cursor while importing the frame created is much larger than the image.
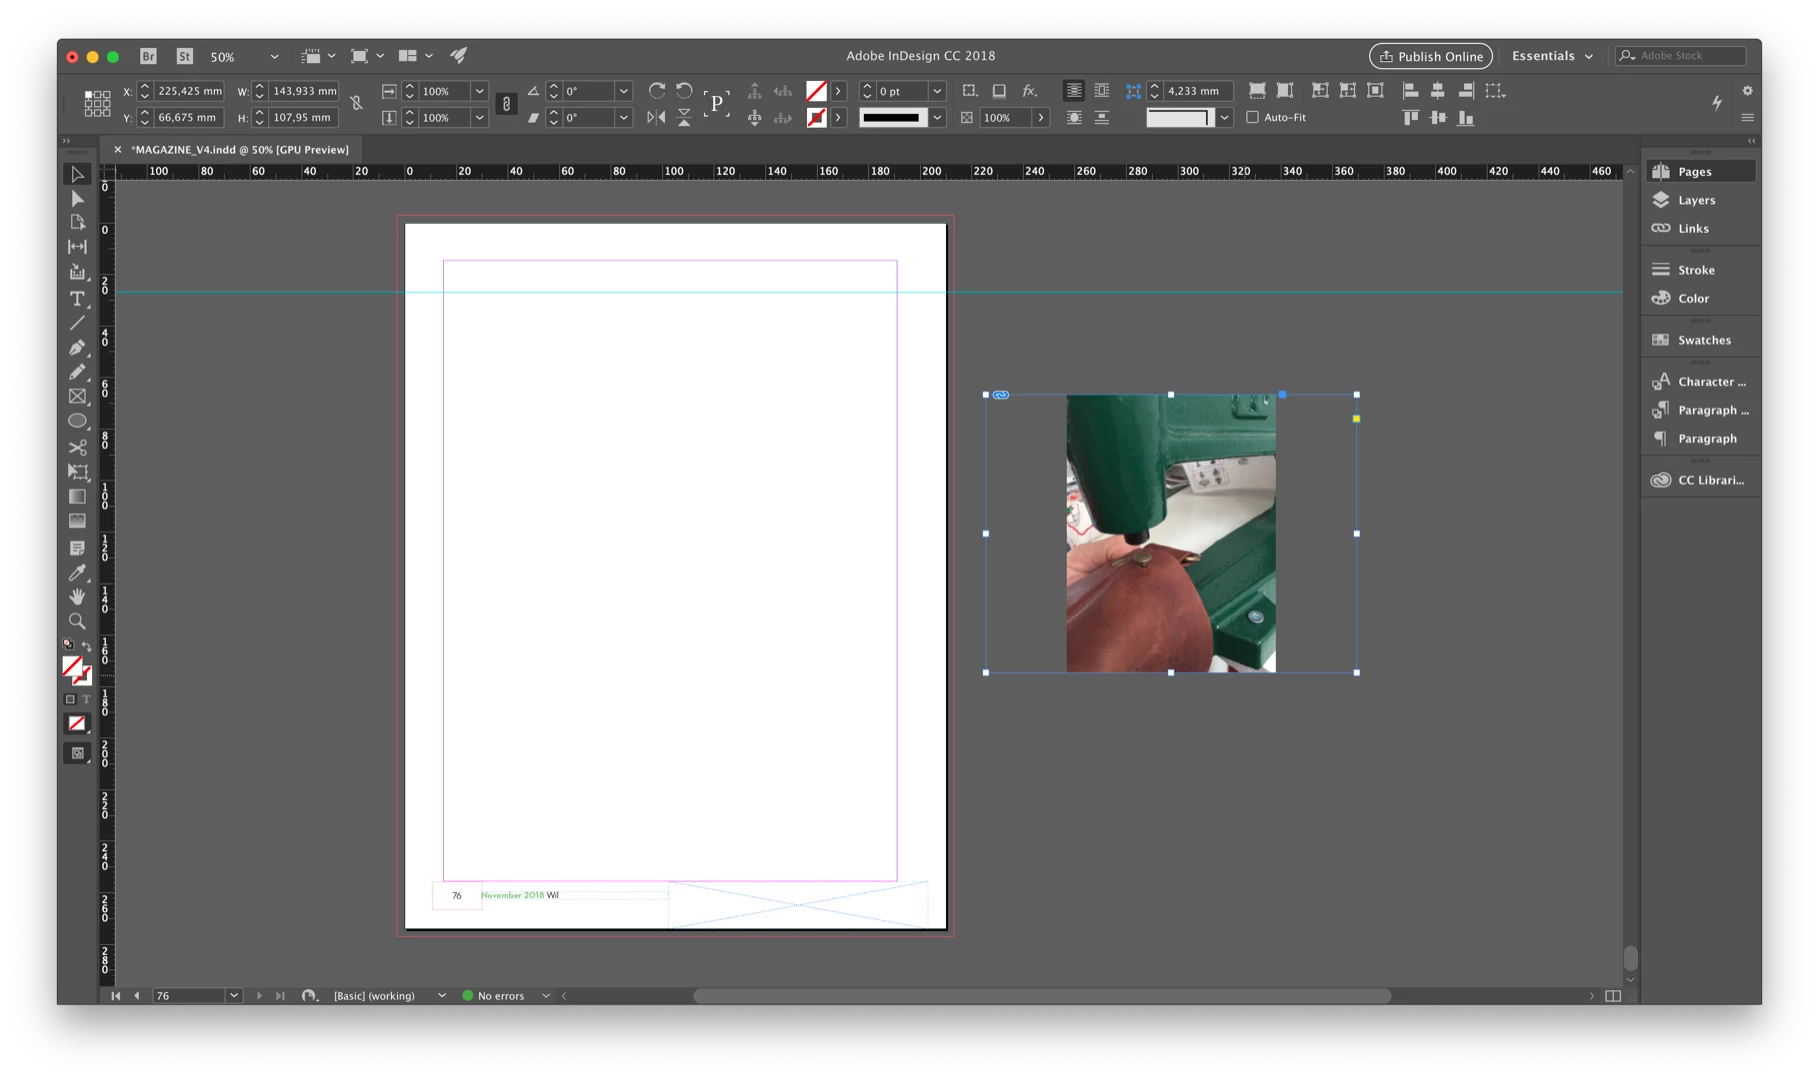
If this is happening when you import an image without any frame selected then it is behavior that should not be happening. In fact, I found that I could not recreate this problem in either CC 2018 or CC 2019 no matter what frame fitting option I made as a default preference. The way that it should work is that when you drag an image out onto the page the frame stays to the contour of the image. If this is not happening for you I would suggest trashing your InDesign preference file.
To do so:
For Macintosh Users: The User Library folder in which InDesign’s preferences are stored is hidden by default on most Macintoshes. To access it make sure that InDesign is closed and click on the desktop to launch a Finder Window (Command-N). With this window in column view follow the path User>Home folder (it’s the folder with an icon that looks like a house—it may have the user’s name rather than “Home”) and click on the Home folder. With the Option Key pressed choose Library from the Finder Go Menu. “Library” will now appear within the Home folder. Within the Library folder find the folder called Preferences and within it find the folder called “Adobe InDesign” and the file called “com.adobe.InDesign.plist” and delete both that folder and that file. When InDesign is next launched it will create new preference files and the program will be restored to its defaults.
For Windows Users: You can try the quick way of resetting on a PC which is to hold down Ctrl + Alt + Shift when launching InDesign and respond affirmatively when asked if you want to reset. There have been some recent reports that the window asking if you want to reset is not popping up but that the prefs are being reset anyway. If this works great but if it doesn’t you may have to manually delete them.
To do so:
On Windows 7 and above the preference files are hidden. To find them go to the Control Panel and open Folder Options and then click the View tab. Then select “Show hidden files and folders” or “Show hidden files, folders or drive options” in Advanced Settings. Then delete (or rename) the folder at the end of this path: C:\Users\<USER>\AppData\Roaming\Adobe\InDesign\<Version #>\<Language>. Make sure that InDesign is closed when you do this. When you relaunch the program it will create new preference files and the program will be at its default settings.
The advantage of manually deleting preference files is that after you’ve reset up the program (make sure that no document window is open) to your liking, you can create copies of your personalized “mint” preference files (make sure that you quit the program before copying them—that finalizes your customization) and use them in the future to replace any corrupt versions you may need to delete.
