- Home
- InDesign
- Discussions
- Print: Overlap = 0 not working as expected
- Print: Overlap = 0 not working as expected
Copy link to clipboard
Copied
Hi community
I would like to print a very large Bitmap image to about 100 A4 pages which I will then stitch together manually, resulting in a large poster.
The problem I'm facing: even when setting the "overlap" to 0, Indesign seems to add some kind of overlap.
Simplified example:
- a Indesign page that is exactly 2 times the size of A4: 420x297
how can I print this to exactly 2 A4 pages?
This is what I get - InDesign will print 6 pages:
my settings (note bottom right: Überlappung = Overlap = 0mm)
(I'm aware that every printer has a 'no printing' margin)
Thank you very much for your assistance!
Andreas
 1 Correct answer
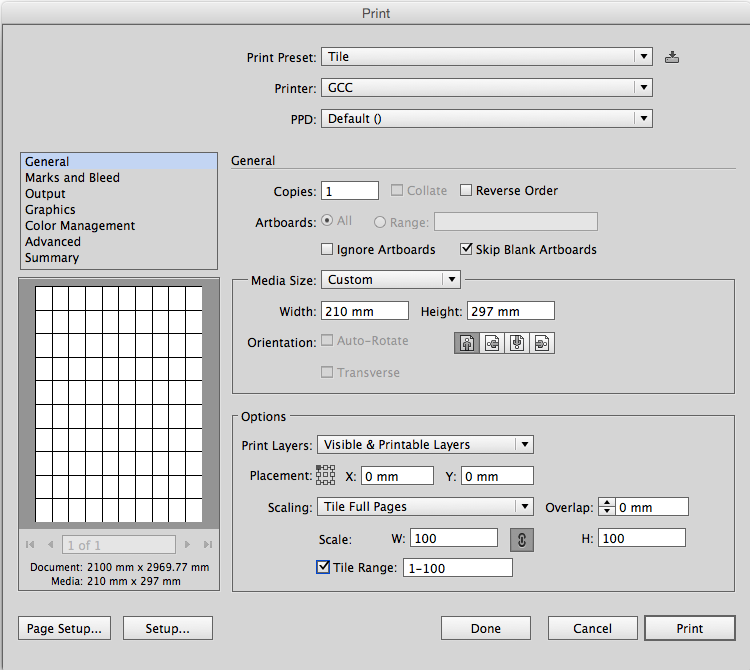
The Andreas image needs a 100 tiles! Looks like Illustrator will honor the 0 overlap correctly, so he could set up an artboard the size of the bitmap and do it there:

Copy link to clipboard
Copied
If you're aware that every printer has a no printing margin then you should know that what you are looking to do is not possible. Even if you could have a true zero overlap in the InDesign file the resulting print would have a white edge which would mean that you can't simply butt two pages together to create your bitmap poster. Tiling is designed to give you pieces of the puzzle with overlap that you can use for aligning the pieces. Then when the overlap is trimmed away the result is the complete large poster.
Copy link to clipboard
Copied
Thank you for your reply, Bill!
I'm aware of the the inevitable white edge (printer margin) but for this specific project I prefer it over the trimming.
So the question remains: is it possible to stop InDesign from adding an overlap or, in other words, how do you get InDesign to print a 2 A4-pages wide document on 2 A4 pages?
Thank you for your assistance!
Andreas
Copy link to clipboard
Copied
Have you tried simply setting up your document as three A4 pages each in two spreads (you can do this in single page mode by making sure that "Allow Document Pages to Shuffle" is turned off in the Pages Panel pull-down menu) and putting the art across the three pages of each spread and then printing as single pages with center alignment and no crops or slugs?
Copy link to clipboard
Copied
Hi webwebber
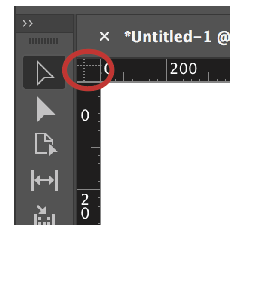
Rather than choosing Auto from the Tile drop down menu choose Manual. This means the page will start imaging exactly where you want it to. To make this work correctly you need to position your Zero ruler to the exact area you want the printer to print.
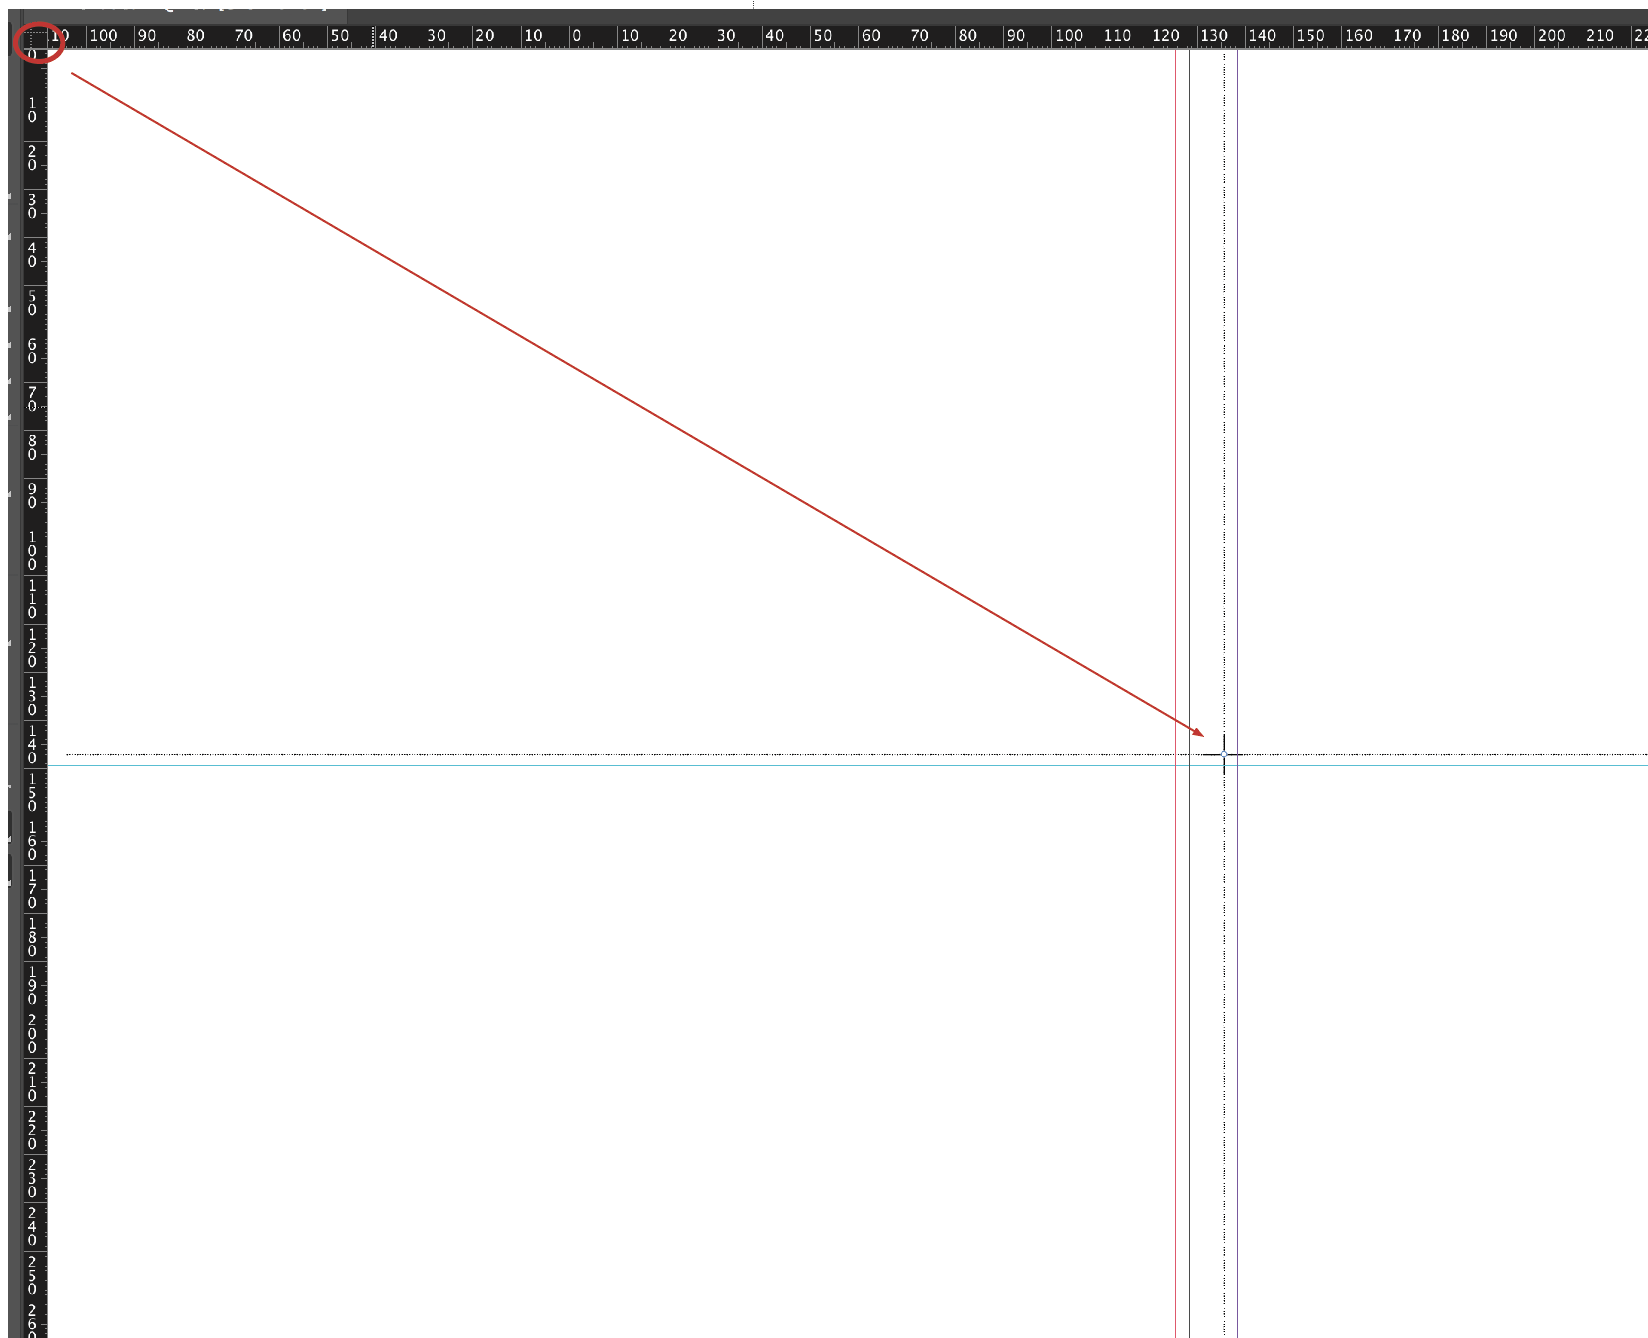
Zero point - with your selection point click and drag this area and position it where you want the second print to image.

Then click and drag to the image area releasing at the point you want your printer to begin to print.

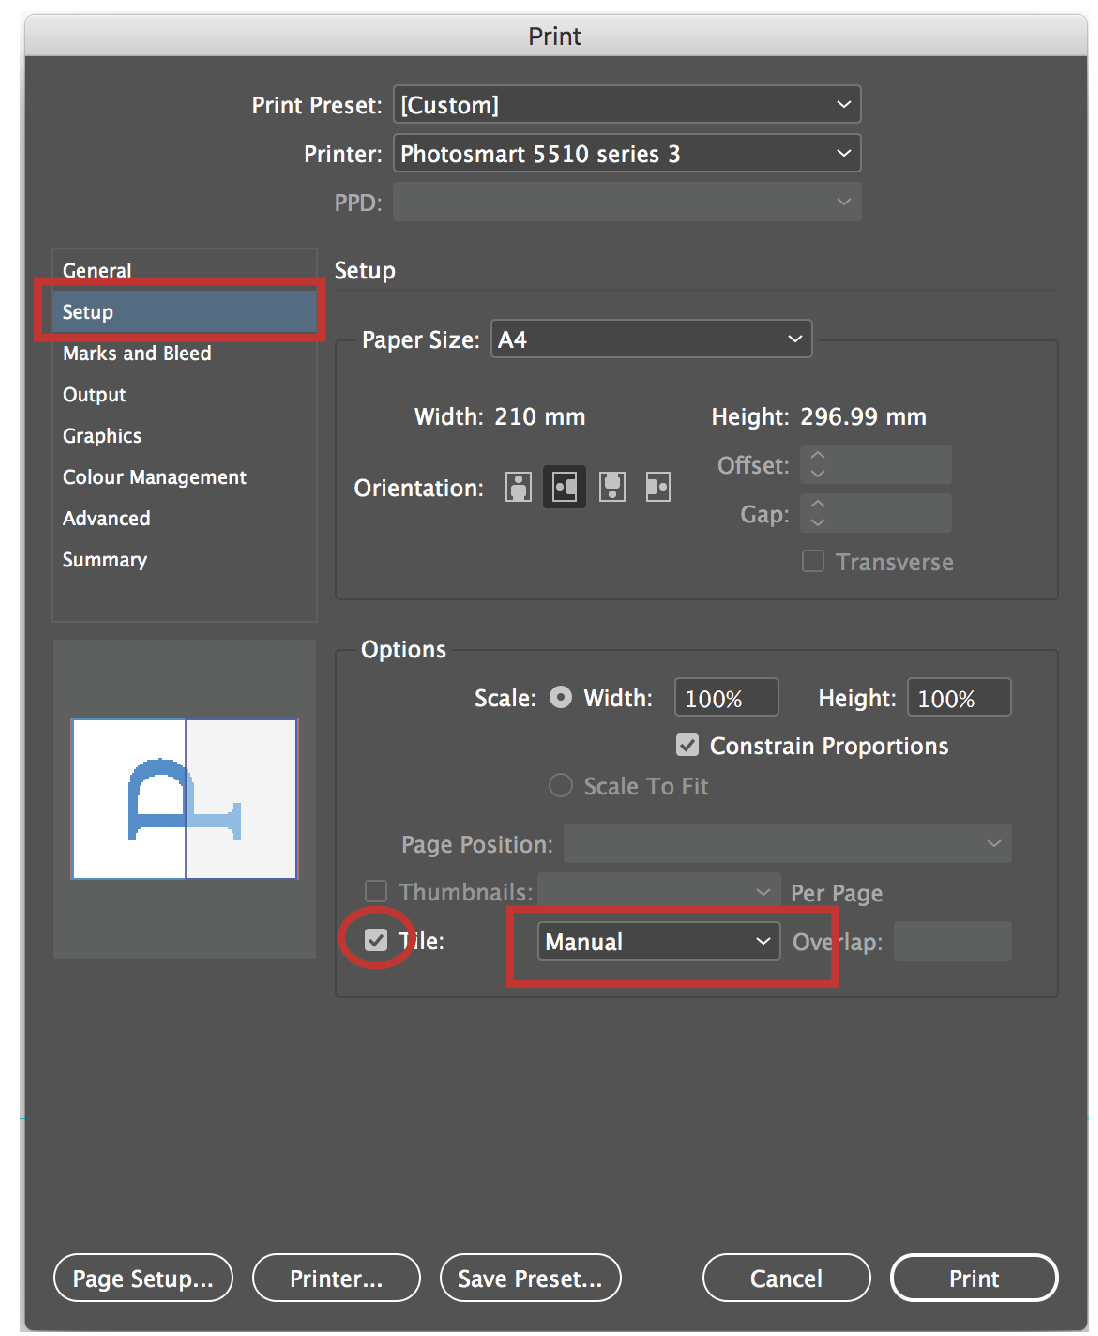
In the Print window under Setup click the Tile box and select Manual from the drop down menu.

It will take the position of the 00 point from where the zero guide was placed and start to image from there. I don't know if you'll manage to get it out in 2 A4s but it will be less pages than Auto.
Copy link to clipboard
Copied
The Andreas image needs a 100 tiles! Looks like Illustrator will honor the 0 overlap correctly, so he could set up an artboard the size of the bitmap and do it there:

Copy link to clipboard
Copied
works like a treat - thank your Rob!
And a big thanks to Bill and Alma for your time and imput!
Cheers!
Andreas

