If I think I know what you are trying to achieve - then you have some difficult editing ahead-
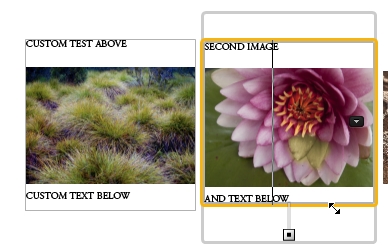
I can place the "Photo Text" box Above each photo, Uncheck [Align with Photo], and then expand the type by placing multiple line 'Returns' between the text above and below the photo, but alignment is difficult.
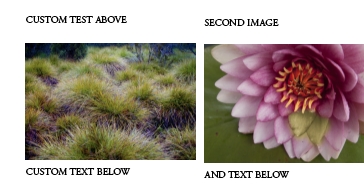
The page will print to a JPG and PDF ok as below, so I have no reason to suspect that it will not print ok by Blurb.
Editing the Photo Text cell-
A PDF export-

Regards. My System: Windows-11, Lightroom-Classic 14.2 Photoshop 26.3, ACR 17.2, Lightroom 8.2, Lr-iOS 9.0.1, Bridge 15.0.2, .


 - then you have some difficult editing ahead-


 6
Replies
6
Replies


 AdChoices