 Adobe Community
- Home
- Lightroom Classic
- Discussions
- Re: Lens Correction Adds Circular Banding
- Re: Lens Correction Adds Circular Banding

Copy link to clipboard
Copied
I have a strange issue that I just noticed with my Tamron 15-30. I get strange circular artifact introduced by lens correction in Lightroom. When there is enough contrast, clarity, and/or dehire added I get them. Even stranger, it only seems to show up at 18mm on this Tamron lens and only when lens correction is checked in Lightroom.
I tried out the lens on two different bodies and no other lens shows this.
90% of the time this won’t be noticeable in my images but it showed up in one of my images with only moderate contrast and dehaze added to clouds. It won’t really affect my images going forward but I an quite curious as to what is causing it.
Has anyone else noticed similar artifacts from lens correction?
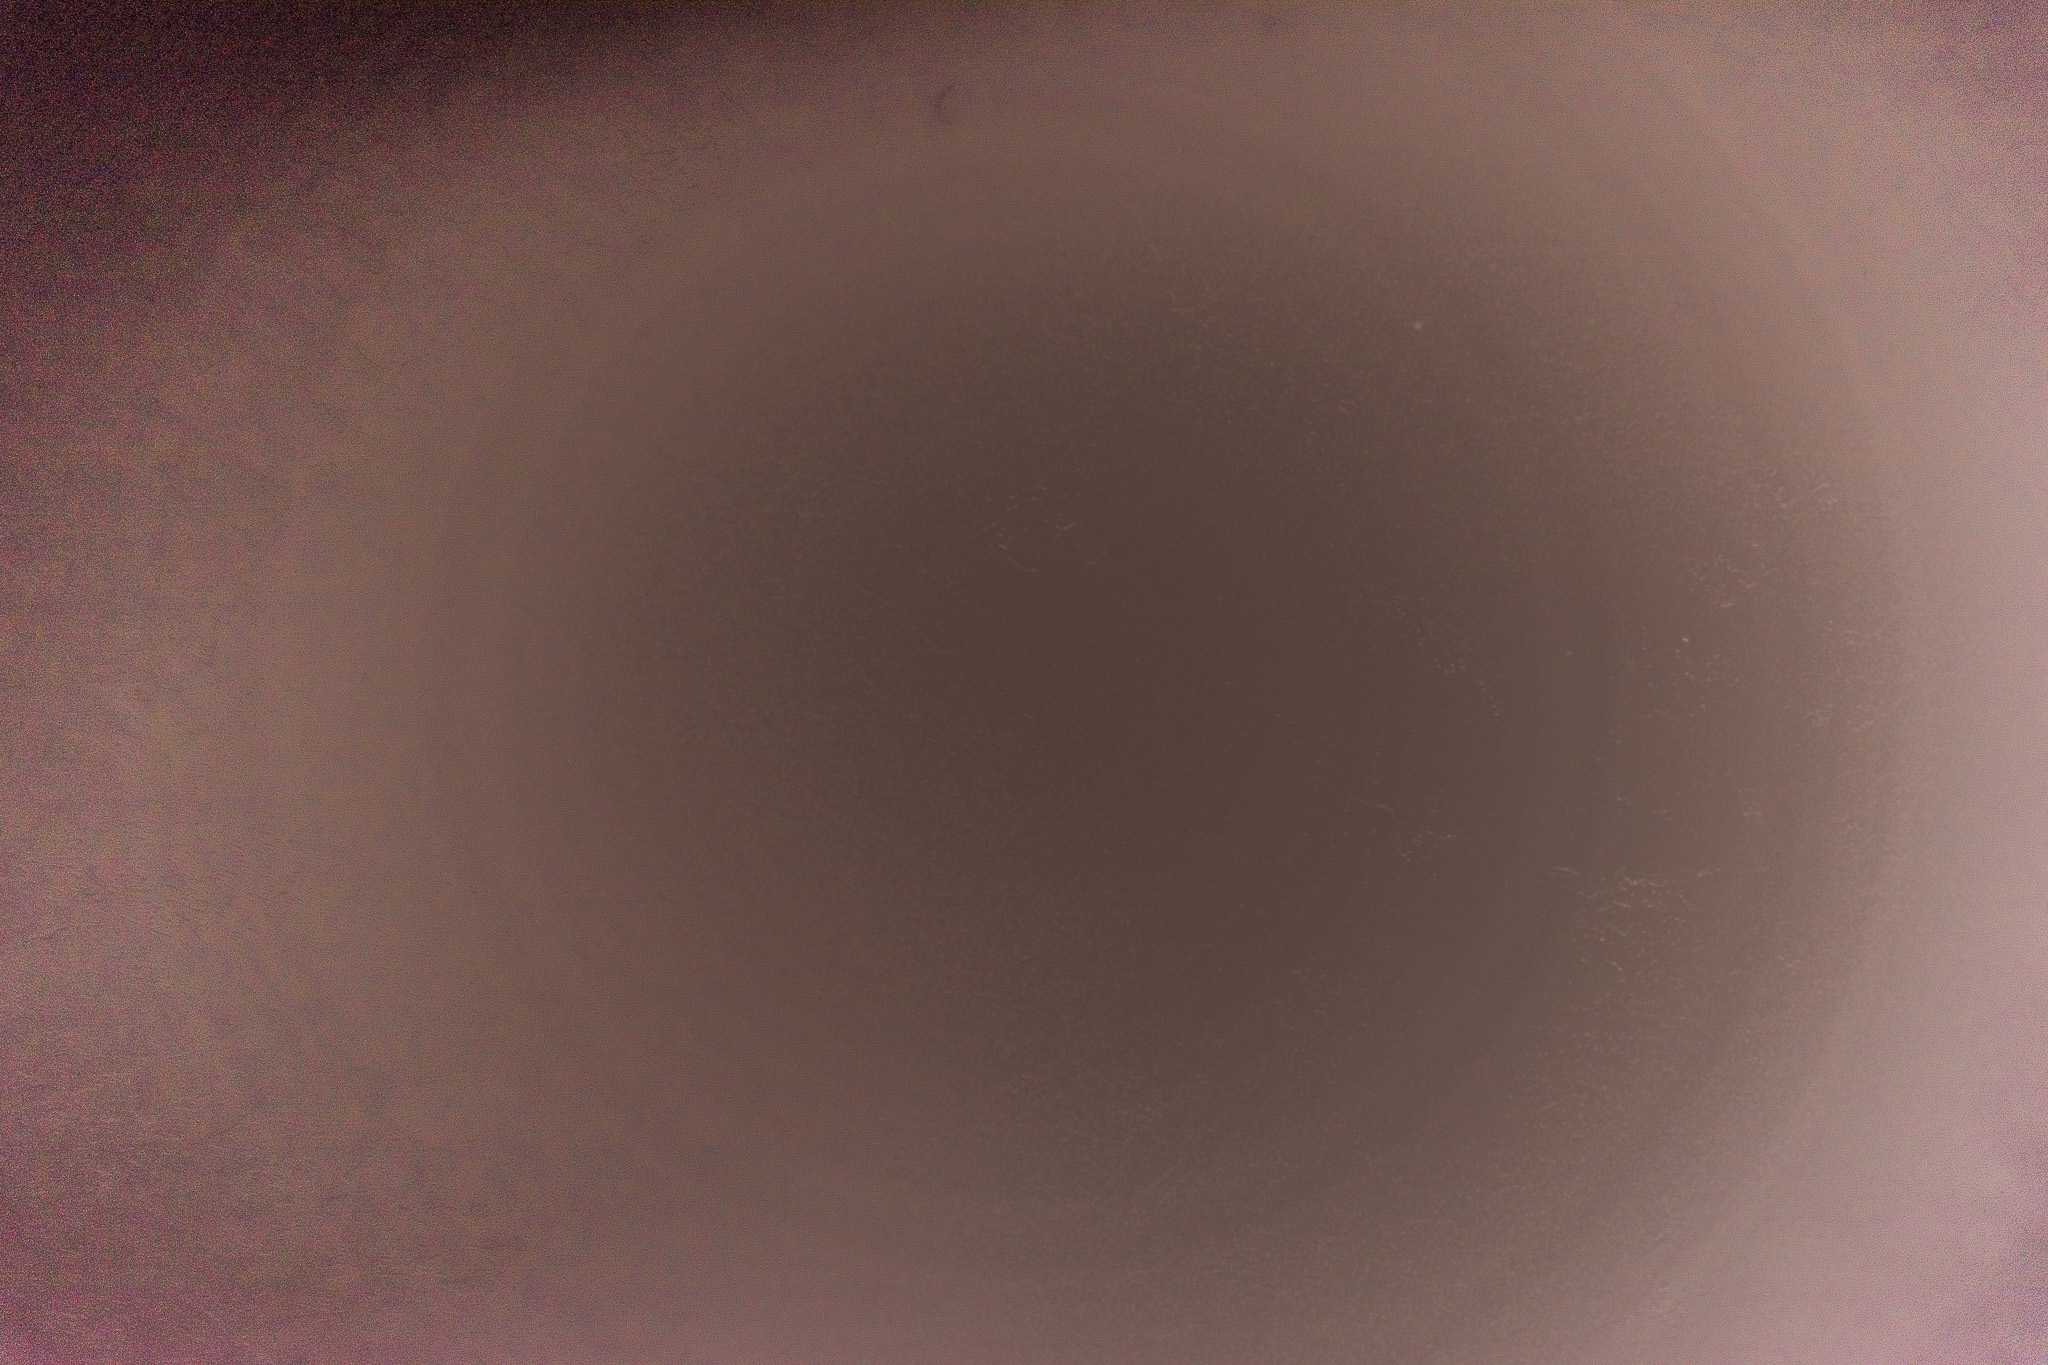
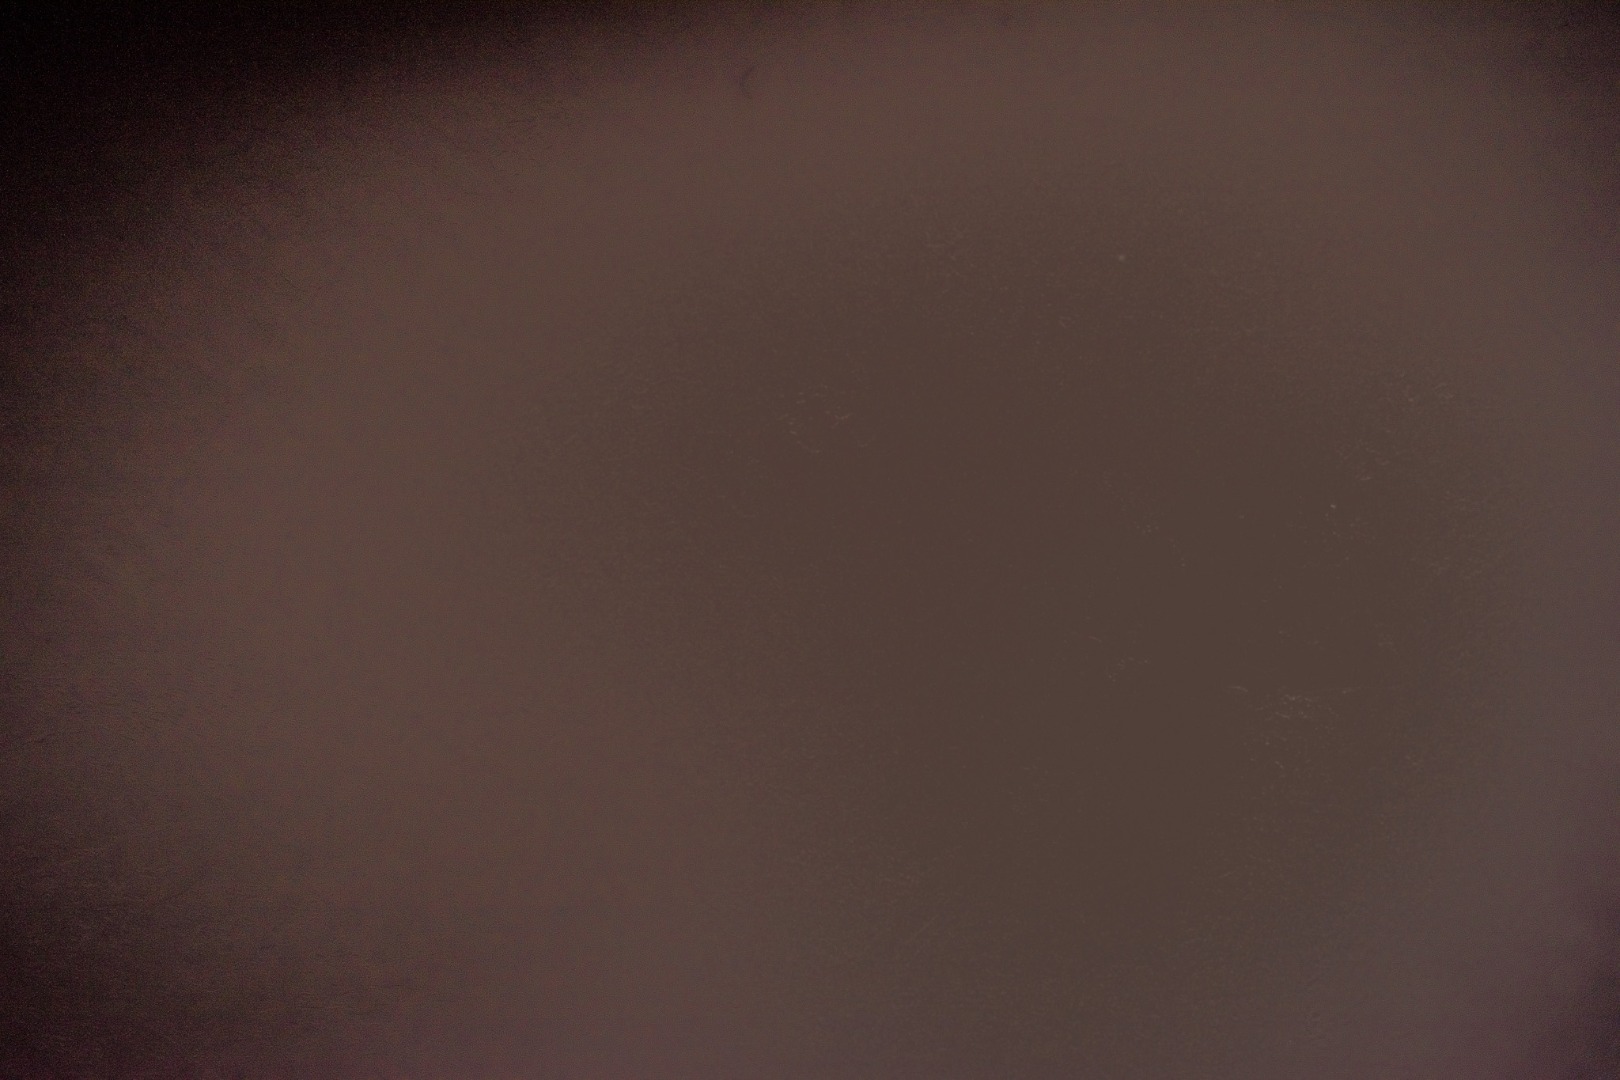
I included an image. It’s highly exaggerated to make the pattern most noticeable.
With lens correction applied:
No lens correction:


 1 Correct answer

lukejc1 wrote
That's what I'm so curious about. Why lens correction introduces these artifacts. However I believe in your post #5 you explained well what the profile corrections do to make this happen. Thank you!
It's worth repeating:
With LR default (0) settings applied to your _DSC2463 raw file the sky area has a very small tonal range (i.e. # of pixel data values). When you apply the lens profile it removes vignetting in the sky area reducing the number of tonal values even further. The orig
... 14
Replies
14
14
Replies
14
Copy link to clipboard
Copied
If this is a JPEG file the banding is due the lower bit depth (8bit/color) and is normal behavior. Try this with a raw file and see if the banding goes away.
Copy link to clipboard
Copied
I don't think it is due to JPEG compression. It can be seen in the develop module in Lightroom when working on the .NEF file. 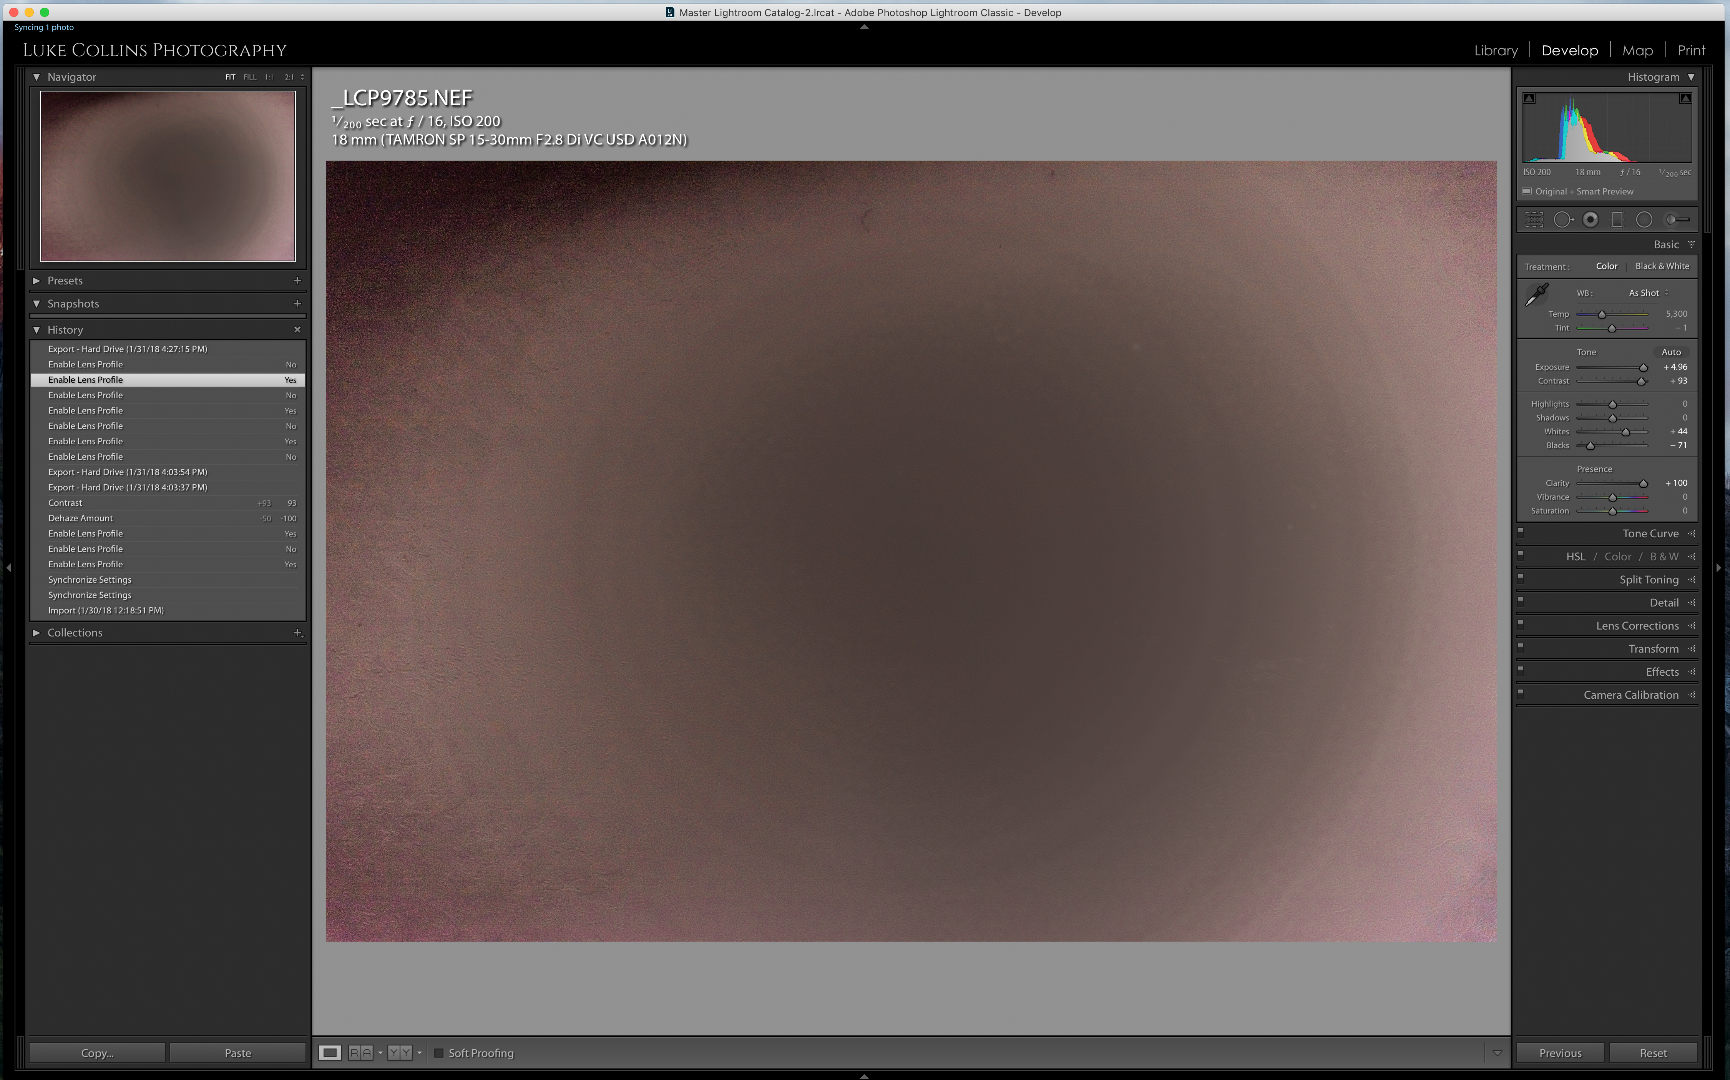
Copy link to clipboard
Copied
In LR Preferences> Performance uncheck 'Use Graphics Processor.' If the issue persists please upload the NEF file to Dropbox or other file sharing service and place the link in a reply here. Thank you!
Copy link to clipboard
Copied
Unchecking "Use Graphics Processor" did nothing. Here is the link to the .NEF.
Keep in mind that this is not a real world image and only one used to more easily see the artifact. Also you need to play around quite a bit with exposure and contrast to make the pattern easier to see.
Copy link to clipboard
Copied
The uploaded NEF is underexposed by about 8 EV, which means you've reduced the pixel data range from 16,384 to only 64 values.
This means you need to apply ~+8.0 Exposure to achieve the maximum highlight value, which stretches the image data by a very large amount. When you apply Vignetting Lens Correction the data values from center to corner become even smaller causing "stair-step" banding. If you were to shoot an in-camera JPEG the banding would be worse (8bit/color JPEG versus 14 bit/color NEF).
What you are seeing is normal behavior and won't appear in normal pictures unless they are similarly underexposed (-4 EV or more).
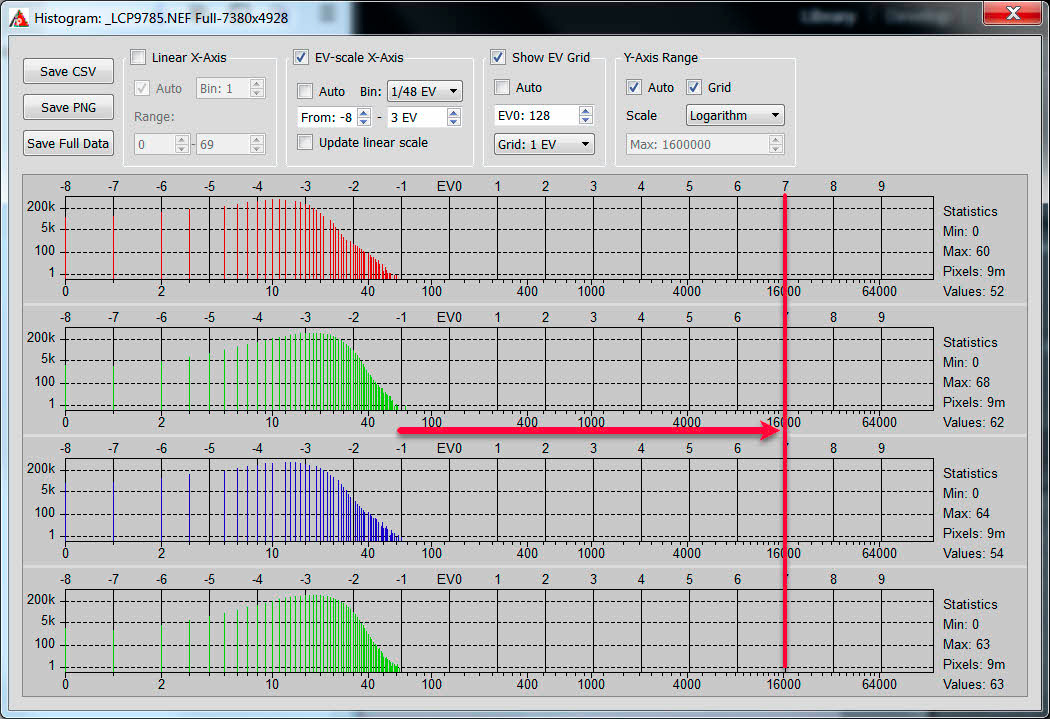
_LCP9785.NEF in RawDigger Showing Raw Data Values
Copy link to clipboard
Copied
The problem is that I have noticed the banding in raws that were not severely underexposed as the sample provided. I only provided this example because I wanted to make the artifacts as noticeable as possible. I have already noticed this in an image that was more properly exposed out in the field. I then processed the image and added moderate contrast in the clouds and saw traces of the banding. I was just more curious as to why it's only with this lens and only at 18mm. Thanks for looking in to it though!
- Luke
Copy link to clipboard
Copied
There are other issues that can cause banding in a "normal" image such the graphics driver or monitor profile incompatibility. Take one of the "normal" images you have adjusted that exhibit banding and Export it to DNG file format using the below settings. The DNG file will contain your Develop settings so make sure you have applied them to the NEF file BEFORE Export to DNG. Upload the DNG file to Dropbox and add the link in a reply with a screenshot of the Library Loupe and Develop Loupe at Fit Zoom View.

Copy link to clipboard
Copied
The image I first noticed it in was the one linked below. It's an edit from a tiff file after digitally blending some waves in Photoshop. No edits other than blending waves was done in Photoshop. (Export settings from Lightroom to Photoshop are: TIFF, ProPhoto RGB, 16bits/component, 250 Resolution, No compression.)
Below is a link to one of the original raw files that I used. This was the bottom layer used as the base for my blending which includes the sky.
Even when syncing setting from the tiff to the DNG, he lines are much more noticeable on the first edit from the TIFF file. It's definitely faint, but noticeable enough to me that I began to look in to it. As you'll be able to see, neither file started as a severely underexposed image.
Copy link to clipboard
Copied
Luke, I don't see any banding in either DNG image file on my system. As mentioned this could indicate a graphics driver or monitor profile issue. Can you please post a screenshot that shows the banding on your system with the Dropbox uploaded DNG files. Also please tell me what version of LR (EX- 7.1) you are using, OS version, graphics card model, monitor model, and monitor calibrator you are using.
EDIT- Please also supply the original PS edited TIFF file that was used to create the _DSC2455-Edit DNG file. Thank you!
Copy link to clipboard
Copied
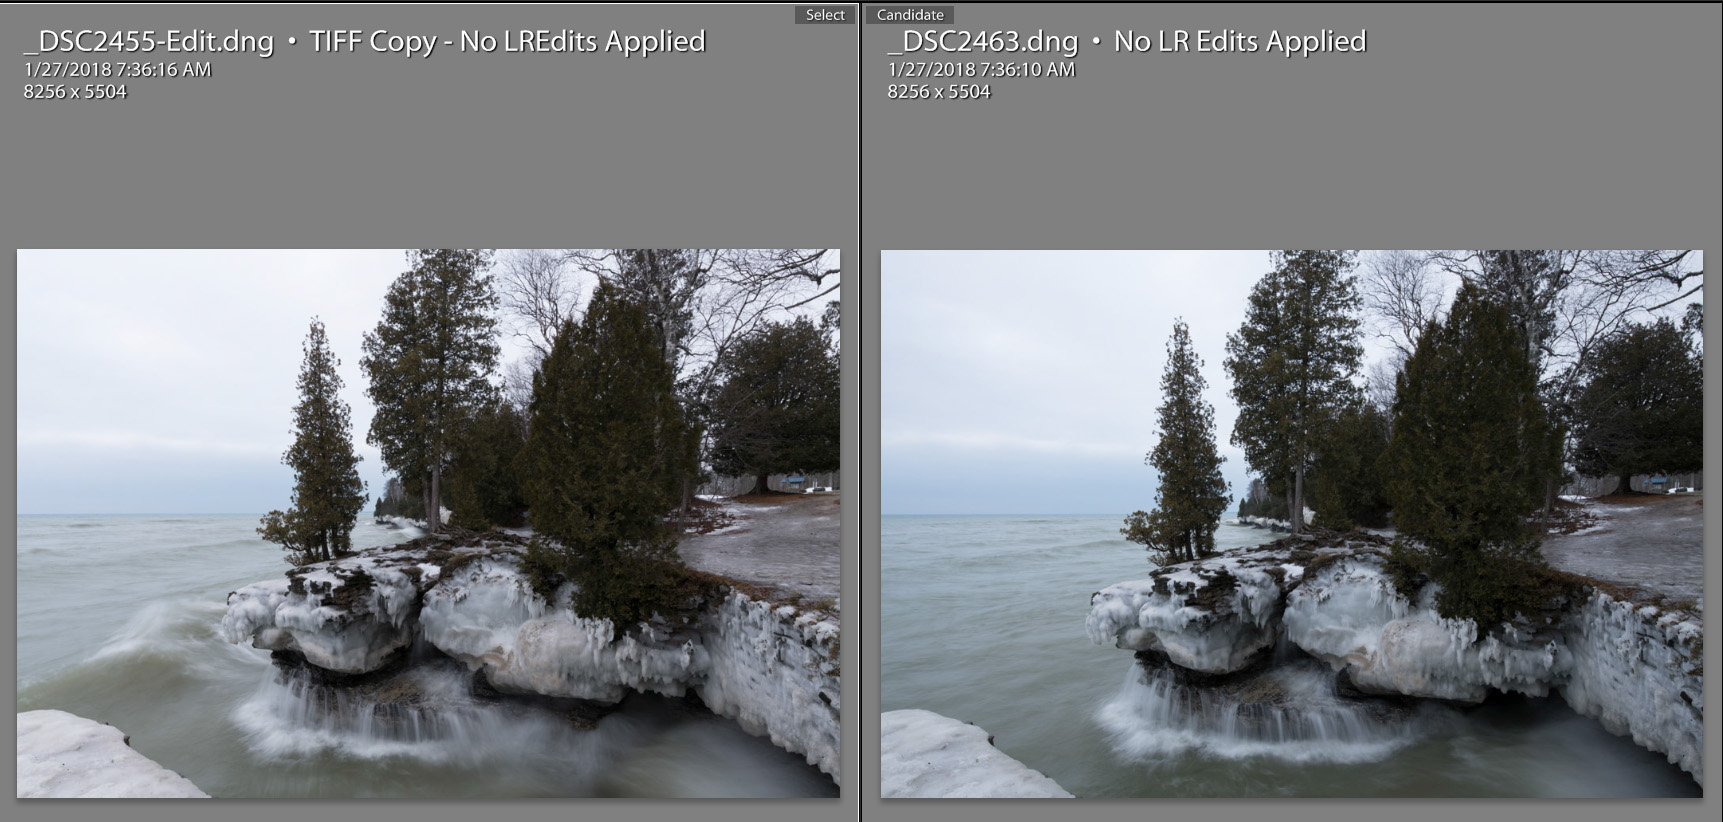
Looking at this further I may have identified the cause of your banding. I can see what appears to be slight radial banding in the PS processed TIFF (_DSC2455-Edit). It looks like you've opened the in PS with no Tone adjustments applied to the NEF file. The sky area has very little detail and when bringing it back into LR as a non-raw file the highlights can not be recovered the same as the raw file. ERGO- Banding in the sky area. Try applying Tone control adjustments to the two NEF files (using the same settings) so the sky area is better recovered and has detail. Then open the NEFs in PS, mesh the two, and return to LR for further adjustments. There should be no visible banding!
Copy link to clipboard
Copied
Thank you for looking in to it. I was already able to get around this by simply turning off lens profile corrections in LR before exporting to Photoshop for blending. Other than that I processed the image in exactly the same way. If you notice in the final image below the banding is gone. The only thing different is lens correction. So with this and the first images in my original post, it appears that lens profile correction is the source of the banding. Different processing definitely helps reduce their visibility, but turning off lens profile correction removes it completely.
That's what I'm so curious about. Why lens correction introduces these artifacts. However I believe in your post #5 you explained well what the profile corrections do to make this happen. Thank you!
Copy link to clipboard
Copied
lukejc1 wrote
That's what I'm so curious about. Why lens correction introduces these artifacts. However I believe in your post #5 you explained well what the profile corrections do to make this happen. Thank you!
It's worth repeating:
With LR default (0) settings applied to your _DSC2463 raw file the sky area has a very small tonal range (i.e. # of pixel data values). When you apply the lens profile it removes vignetting in the sky area reducing the number of tonal values even further. The original raw file linear data has been "stretched" and when you Export the file or use Edit in PS this non-linear data is baked into the image file. When you apply further edits to the TIFF file in LR to darken the sky and add more detail it stretches those tonal data values even further, which can cause visible stair-step banding or posterization.
For best results apply LR edits to the raw file for good highlight & shadow recovery and overall tonal & color rendering as a minimum BEFORE creating the PS TIFF files. Controls such as HSL and Dehaze can also be applied, but then those settings are "baked" into the TIFF file and not so easy to change or remove their effect later. (i.e. destructive editing).
Concerning Lens Profiles
A 100 Lens Profile setting is not the Holy Grail! I have the default settings for all of my lens profiles set to 0 Distortion and 50 Vignetting and only change the settings when there is "visible" vignetting or distortion in the image. There's no "free lunch" here and 100 Vignetting correction can make the image look less "natural" and accentuates corner lens aberrations. Distortion correction stretches and crops the image making it look less "natural" in the case of barrel-distortion. It also affects performance of the Develop module. For landscape photography there's really no need for distortion correction. Give it a try!
Copy link to clipboard
Copied
I'll remember this! Thanks again! I really appreciate your insight on this!
Copy link to clipboard
Copied
Glad I could help!

 AdChoices