Participating Frequently
September 3, 2018
Answered

RAW flat profiled photos turn oversaturated and overcontrasted after loading!

  • September 3, 2018
  • 3 replies
  • 8828 views

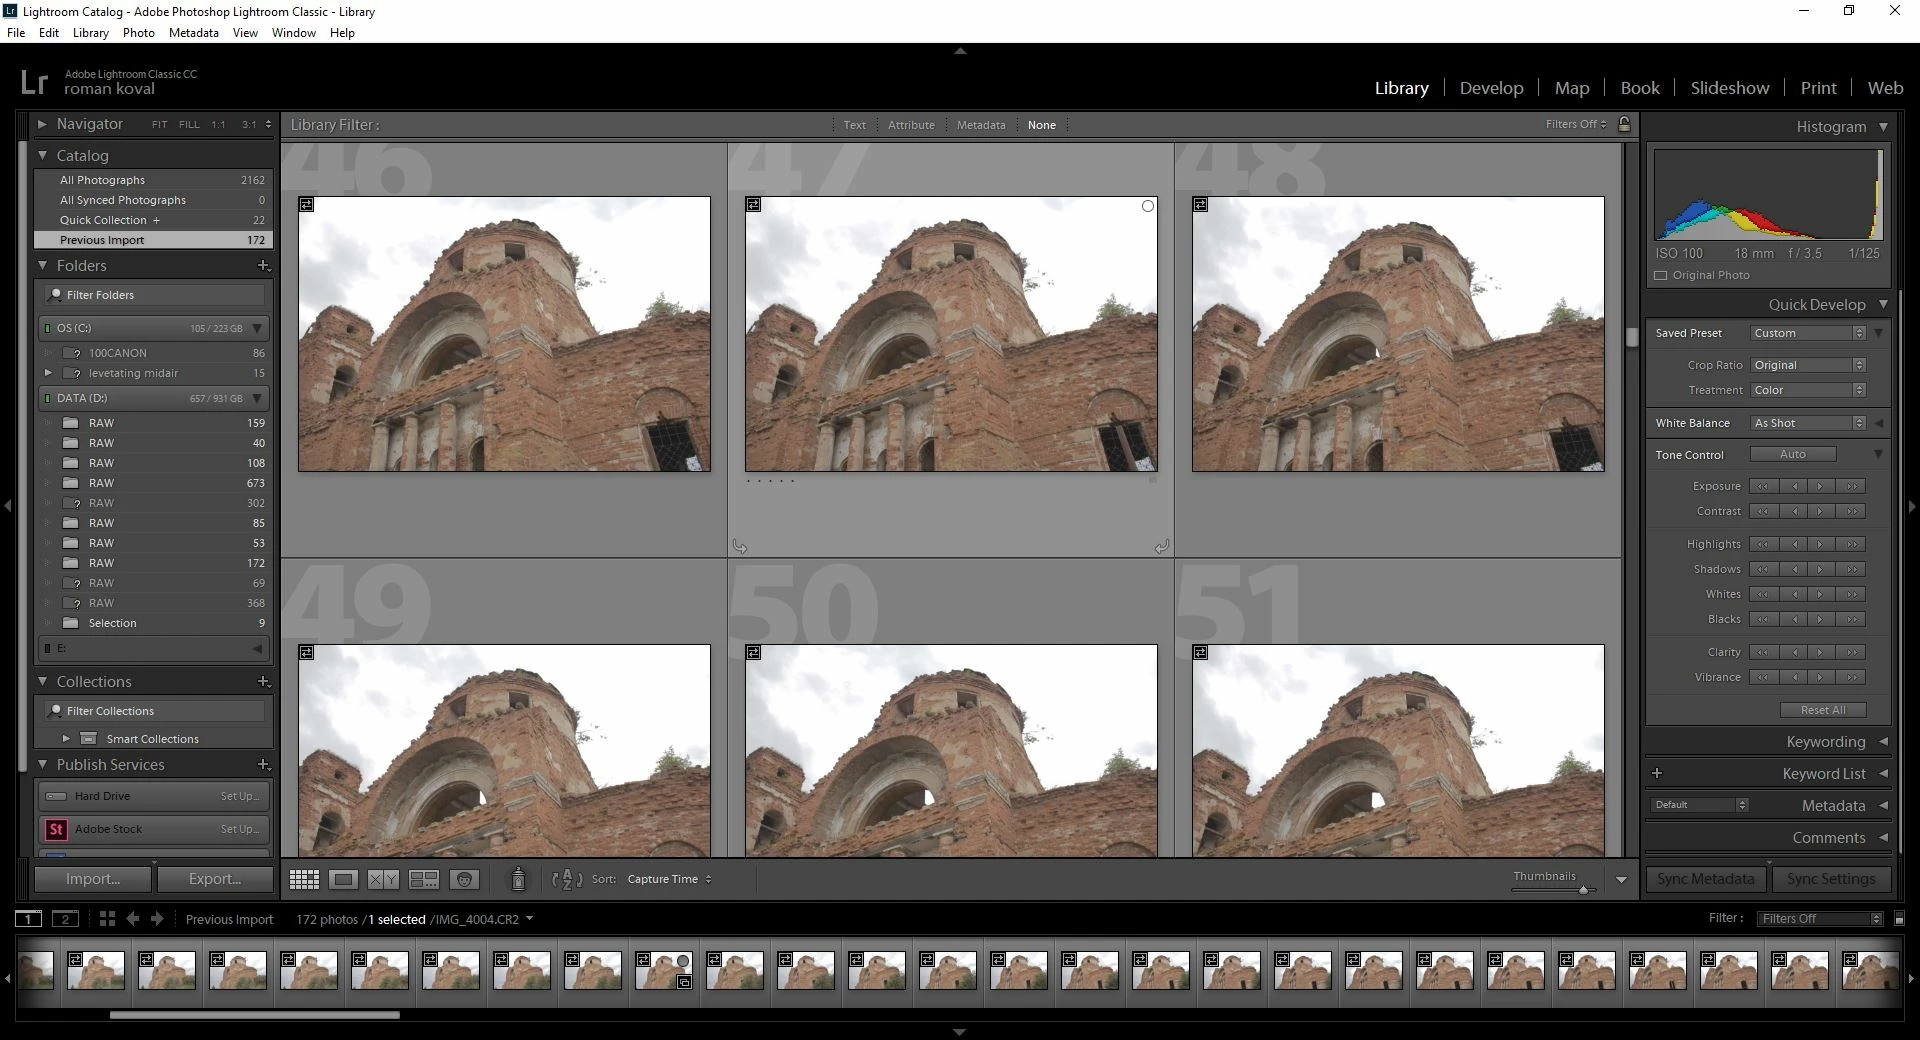
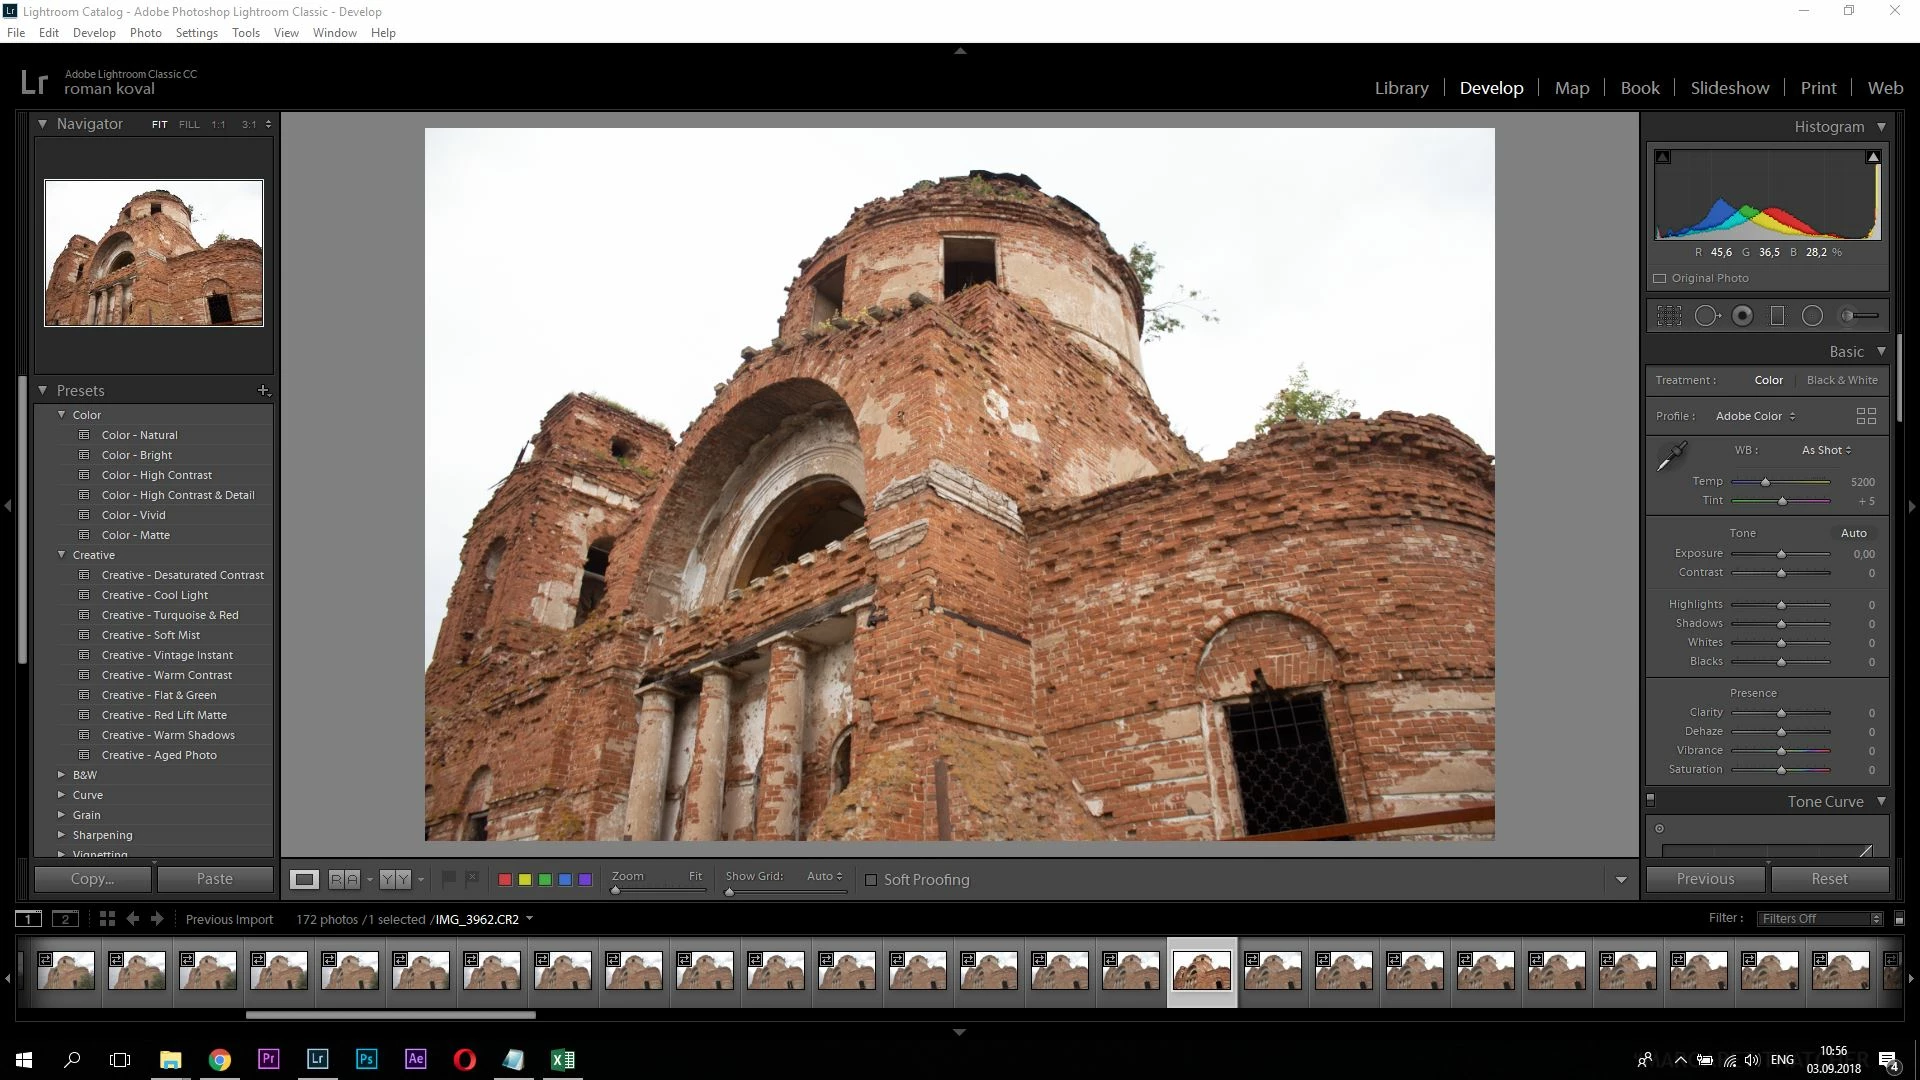
All of a sudden few seconds after import my photos become oversaturated and overcontrasted. I've only met with this problem a week ago, prior to that i have successfully edited raw CR2 photos and since then i havn't touched any settings. The first screenshot shows the library tab and how the raw files look, i couldn't take a screenshot of flat picture on 'loading' stage in develop tab as it takes less than a second for it to change into oversaturated picture shown in 2nd screenshot. I have tried opening raw files in  InfanView for a test and it showed the flat profiled raw image but when i go to develop tab , after couple seconds the flat image changes to oversaturated version. As you see on the second screenshot all of the sliders are at 0 and same goes for the import presets. I went through many forums and gathered no answer but many similar or exactly the same help requests. I heard other users suggest to adjust the sliders to what looks close to raw flat profile and save it as a import preset, BUT not only adjustments of contrast and saturation sliders doesn't give the correct flat image but it also doesn't allow fully use the durability RAW files give when color grading! Any help will be greatly appreciated.

This topic has been closed for replies.
Correct answer Per Berntsen

https://forums.adobe.com/people/Just%20Shoot%20Me  is right.

You have chosen to use the embedded jpgs for Library previews rather than letting LR generate its own previews.

Under File handling > Previews in the Import dialog, choose Standard instead of Embedded & Sidecar.

Doing so will result in identical previews in Library and Develop.

In my understanding the RAW file is flat, also i use a flat profile , CineStyle 0, -4, 0, 0.

The profile you set in the camera only affects the embedded jpg preview – Lightroom cannot read this profile and ignores it.

A raw file isn't necessarily flat, it is open to interpretation, and there is no "correct" way to render a raw file.

By default, Lightroom uses the Adobe Color camera profile when rendering, but there are several profiles to choose from (top of the Basic panel in Develop). The one that probably comes closest to CineStyle 0, -4, 0, 0 is Adobe Netutral.

To set this profile as default for all files from your camera, open a file in Develop, do not do any edits, but set the camera profile to Adobe Neutral. Now go to Develop > Set default settings, and choose Update to current settings. The Neutral profile will now be used for every image you import from this camera.

3 replies

Just Shoot Me
Legend
September 3, 2018

As stated the initial preview you are seeing in the Library module is from the Embedded JPG image included in all RAW files.

It is noted by the icon in the upper left hand corner of the Grid View thumbnail by 2 arrows facing right and left.

That preview is controlled by the In Camera settings and not what the RAW sensor data might be.

When switching to the Develop module LR then builds its own Preview from the actual RAW sensor data.

Participating Frequently
September 3, 2018

How can the RAW be more saturated than the JPG? In my understanding the RAW file is flat, also i use a flat profile ,

CineStyle 0, -4, 0, 0.

Just Shoot Me
Legend
September 3, 2018

So far i changed the embedded to standart, which has made everything oversaturated and overcontrasted,

I will get to the second part of your suggestion, there is one thing i want to ask before trying. I had the same camera settings but my CR2 RAW files were flat, and i was happy with that , because thats exactly what i needed, what im trying to achive is the C-Log, so what happened now, why are my previously flat images are now oversaturated?


https://forums.adobe.com/people/roman+koval  wrote

So far i changed the embedded to standart, which has made everything oversaturated and overcontrasted,

It has not set everything over saturated and over contrasted. It is how the camera sensor see your subjects and whatever default profile you have assigned, or what Adobe has assigned, as the default for that model camera.

As stated above by me and Per Berntsen the Default Profile that LR uses when importing images can be changed.

Per Berntsen
Community Expert
Community Expert
September 3, 2018

The way I understand your post, this is not about the jpg preview displaying briefly before the image is rendered, but about a difference in saturation between Library and Develop. Such differences are usually caused by a defective or incompatible monitor profile.

Since you're on Windows 10, and this happened all of a sudden, there was probably a Windows update that installed a bogus monitor profile.

Try setting the monitor profile to sRGB (use Adobe RGB if you have a wide gamut monitor).

If this fixes the issue, you should ideally calibrate your monitor with a hardware calibrator.

Go to Control panel > Color management, and first of all make sure that Use my settings for this device is checked.

Then add the sRGB profile, and set it as default.

You must restart Lightroom so that it can become aware of the new monitor profile.

Participating Frequently
September 3, 2018

its not the difference between develop and library tabs which is the problem, its the flicker that makes the raw flat files oversaturate with no documentation taht would let me change it back or adjust not to make changes to the initial flat RAW file. Here is the video of a oversaturation occuring in develope tab , the proble is mst noticable at 00:23 0f the video. Also i set  color profile to sRGB, unfortunately didn't resolved the problem.

Per Berntsen
Community Expert
Community Expert
September 3, 2018

Try to disable the GPU.

Go to Edit > Preferences > Performance, and uncheck Use graphics processor.

If this fixes the problem, update your graphics driver, which may allow you to work with the GPU turned on.

Legend
September 3, 2018

The initial image you see is the JPG preview, which may have an in-camera profile applied.

Lightroom / Camera Raw has never simply opened a raw photo "as is" - it always does some adjustments, most of which are undocumented, which is why it's such a nightmare to use Adobe software for DNG-based video footage. Back in the days of the 2010 process version you could re-zero all the sliders to remove most of what Adobe does, but in the current versions "zero" does not mean zero.

Frankly, if you want to work from a completely uncorrected start point (debayered and BP scaled, nothing more), you'll have to use another brand of software. Same goes for working in 32-bit HDR - Adobe's implementation has been broken for years.