
The Adjustment Brush Now in Photoshop Beta
We are excited to share that the new Adjustment Brush is now available in Photoshop Beta! This new tool simplifies the process of making local adjustments to images and allows users to apply their adjustments with a paint brush in one single step. All adjustments made with the Adjustment Brush are non-destructive, as they generate a new adjustment layer with layer mask when applied. The adjustments are applied with default values. Once applied, users can always edit their adjustment values in the properties panel. Learn more below:
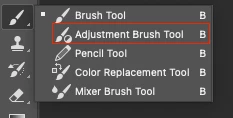
On by default, the Adjustment Brush is housed under the brush tools in your tool bar:
There are also two new contextual task bars that work alongside the Adjustment Brush aimed at helping users quickly choose their desired adjustment, set their brush settings and refine their adjustment output.
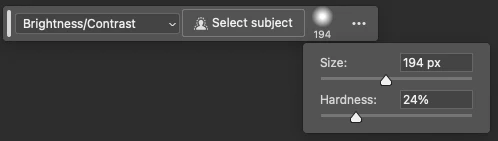
Step 1 - Choose adjustment type, set desired brush size and hardness, or use Select Subject to apply your adjustment:
Step 2 - Once you have made your first paint stroke, a new bar appears that allows you to add/subtract from your adjustment, view on overlay, invert your selection, or add a new adjustment:

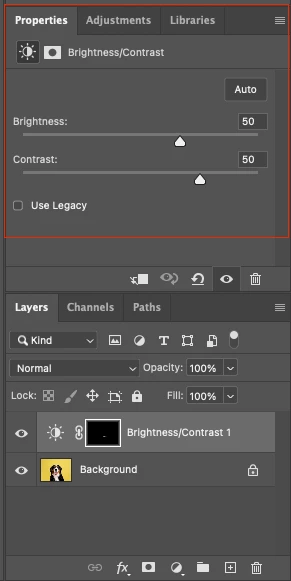
Step 3 - Adjust your adjustment settings in the properties panel:
We would love your feedback!
Please try out the feature and let us know what you think. Thanks!