Answered
Adjusting an article of clothing on photo image.
Any suggestions as to adjusting a male's tie on a photo image. I need to center it . Or replace it!

Any suggestions as to adjusting a male's tie on a photo image. I need to center it . Or replace it!
The good news is that this is very much easier than it was even a few months ago due to some extraordinary Ai powered selection tools recently added to Photoshop. AFAIK you'll need to use the beta version to make use of them.
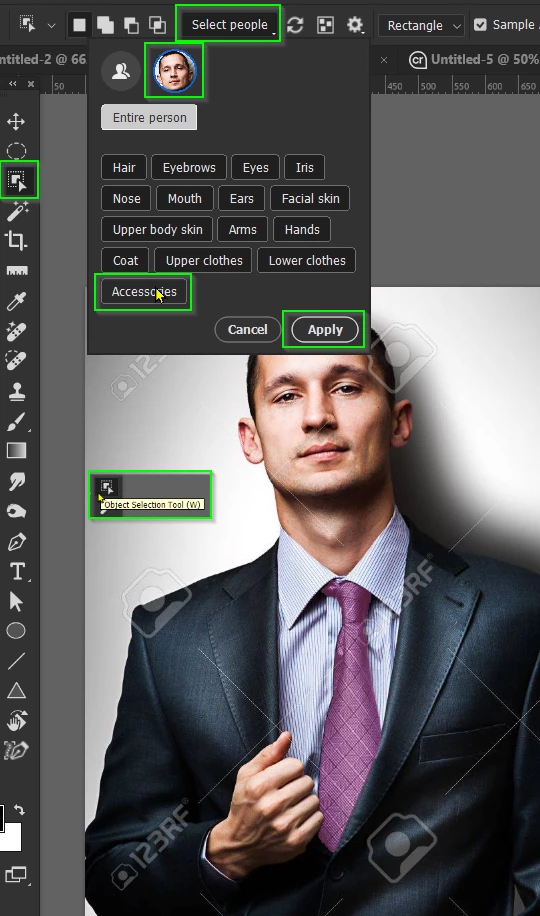
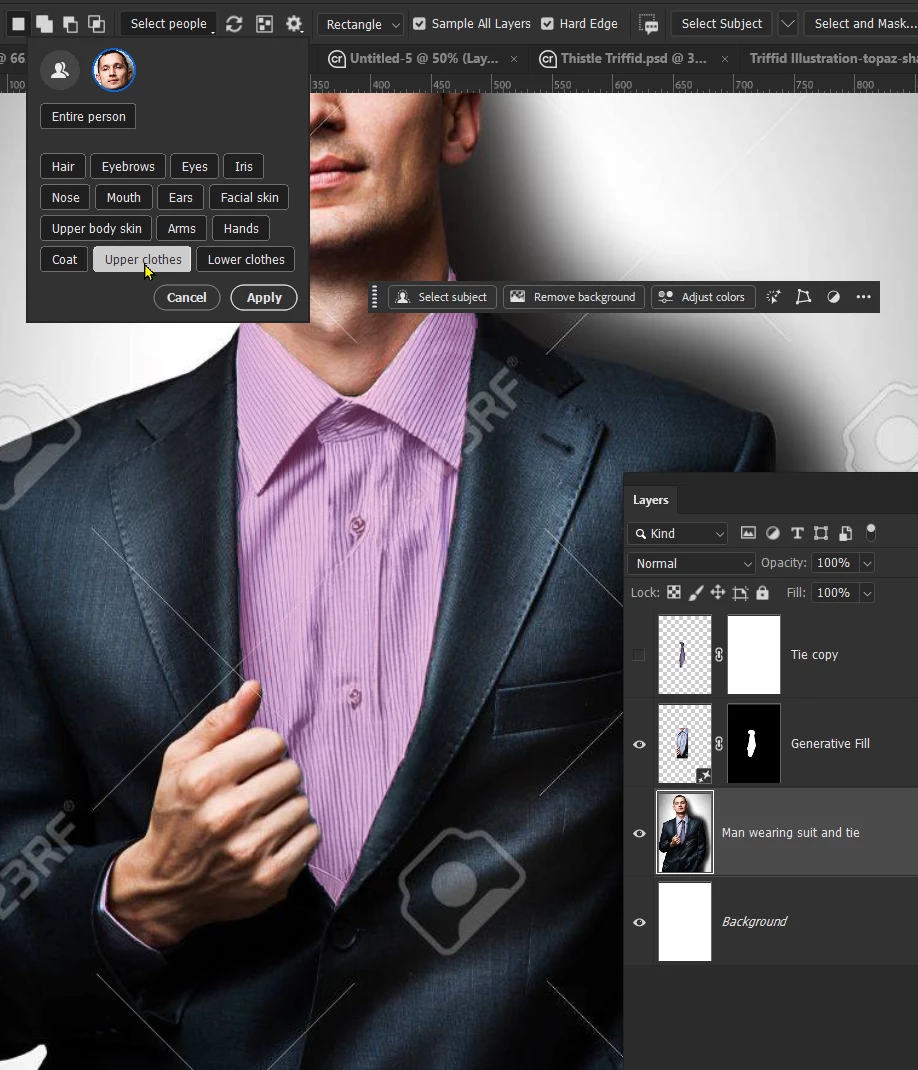
Select the Object Selection tool, and from the Options bar click on Select People > the face of the person you want to edit > Accessories. That should select the tie. If it does, click on Apply and you'll have anexcellent selection of the tie.
Use Cmd J to copy the selection to a new layer. Turn that layer off.
Cmd click the tie copy layer to load it as a selection.
Use the Contextual Task Bar (CTB) drop down to expand the selection a tiny amount. I am going to try 1 pixel.
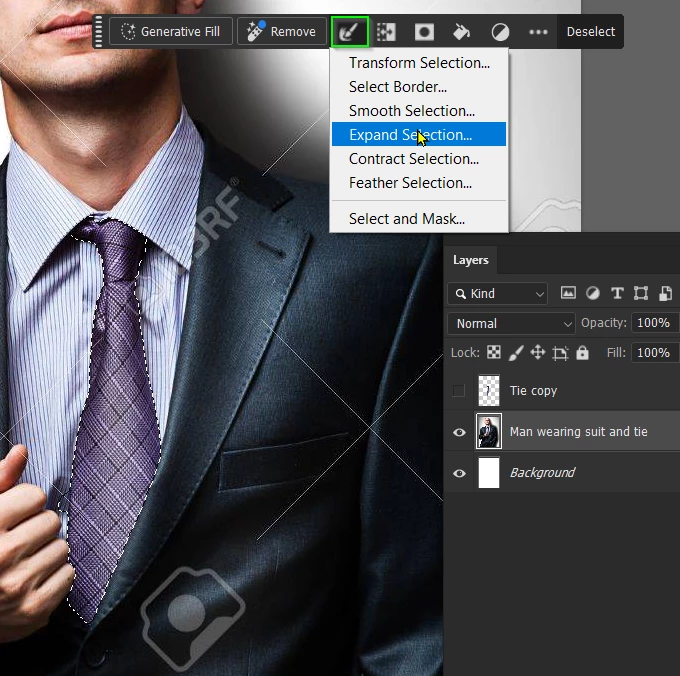
Still using the CTB and with that selection active, click on Generate and then on Generate again.
The tie will be gone, and one pixel worked fine.

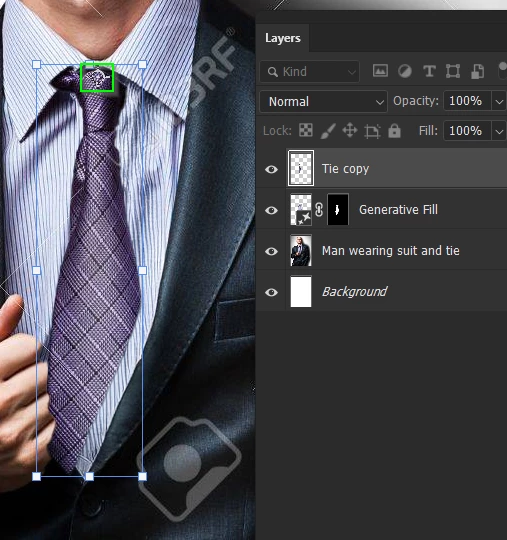
Turn the tie copy layer back on, and nudge it into place.
It won't fit perfectly, but if you get the top about right, you can use Free Transform (Cmd T) to get it close.
If you use Opt click where you want the tie to pivot, and hover the cusor just outside the transform bounding box, you can swing the tie close to perfect.
Note: You might need to turn on the centre handle in Preferences.
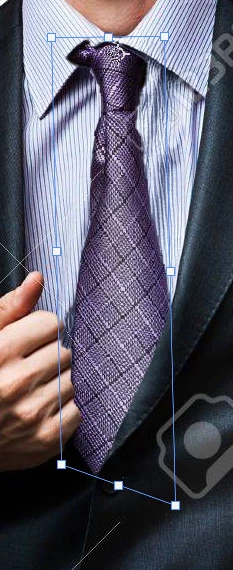
Pivoting did not work well, so I Cmd clicked and dragged corner handle to make the tie overlap the require area of his suit jacket and right hand. Hopefully you won't need to stretch too much, but if you do, you might need to sharpen the tie layer just a touch.
You now need to mask out the overlap pixels, so add a Layer Mask to the Tie Copy layer.
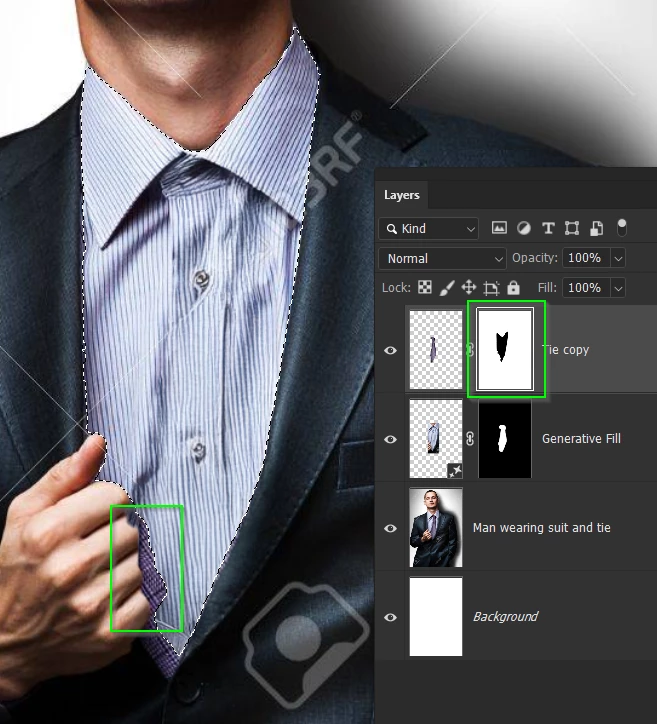
I am going to make use of the Object Select > People tool again, this time selection Upper Clothes. This gives me a decent selection of his shirt. Note I have temporarily turned off the tie copy layer so I can see what is happening/
With the shirt selected, and the Tie copy Layer Mask selected, fill the selection with black.
Most of the tie disappears, but you can see a tiny bit of overlap over his fingers.
Invert the Mask (Cmd i) to reveal the tie.
Paint with black to mask out the overlap on the collar.
There is a tiny gap top right that you could fix with clone or use Free Transform again.
I would add some very light shadows to where his knuckles are above the tie.
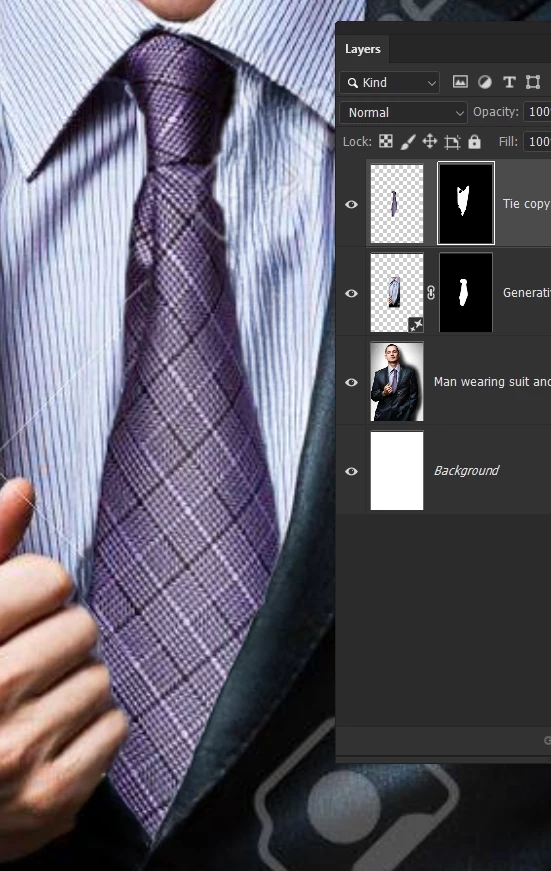
That should be near enough to your situation, but show us the image if you are still stuck.
Already have an account? Login
Enter your E-mail address. We'll send you an e-mail with instructions to reset your password.