Inspiring
March 7, 2025
Answered

Apply Curves adjustment using Channels ?

  • March 7, 2025
  • 2 replies
  • 1052 views

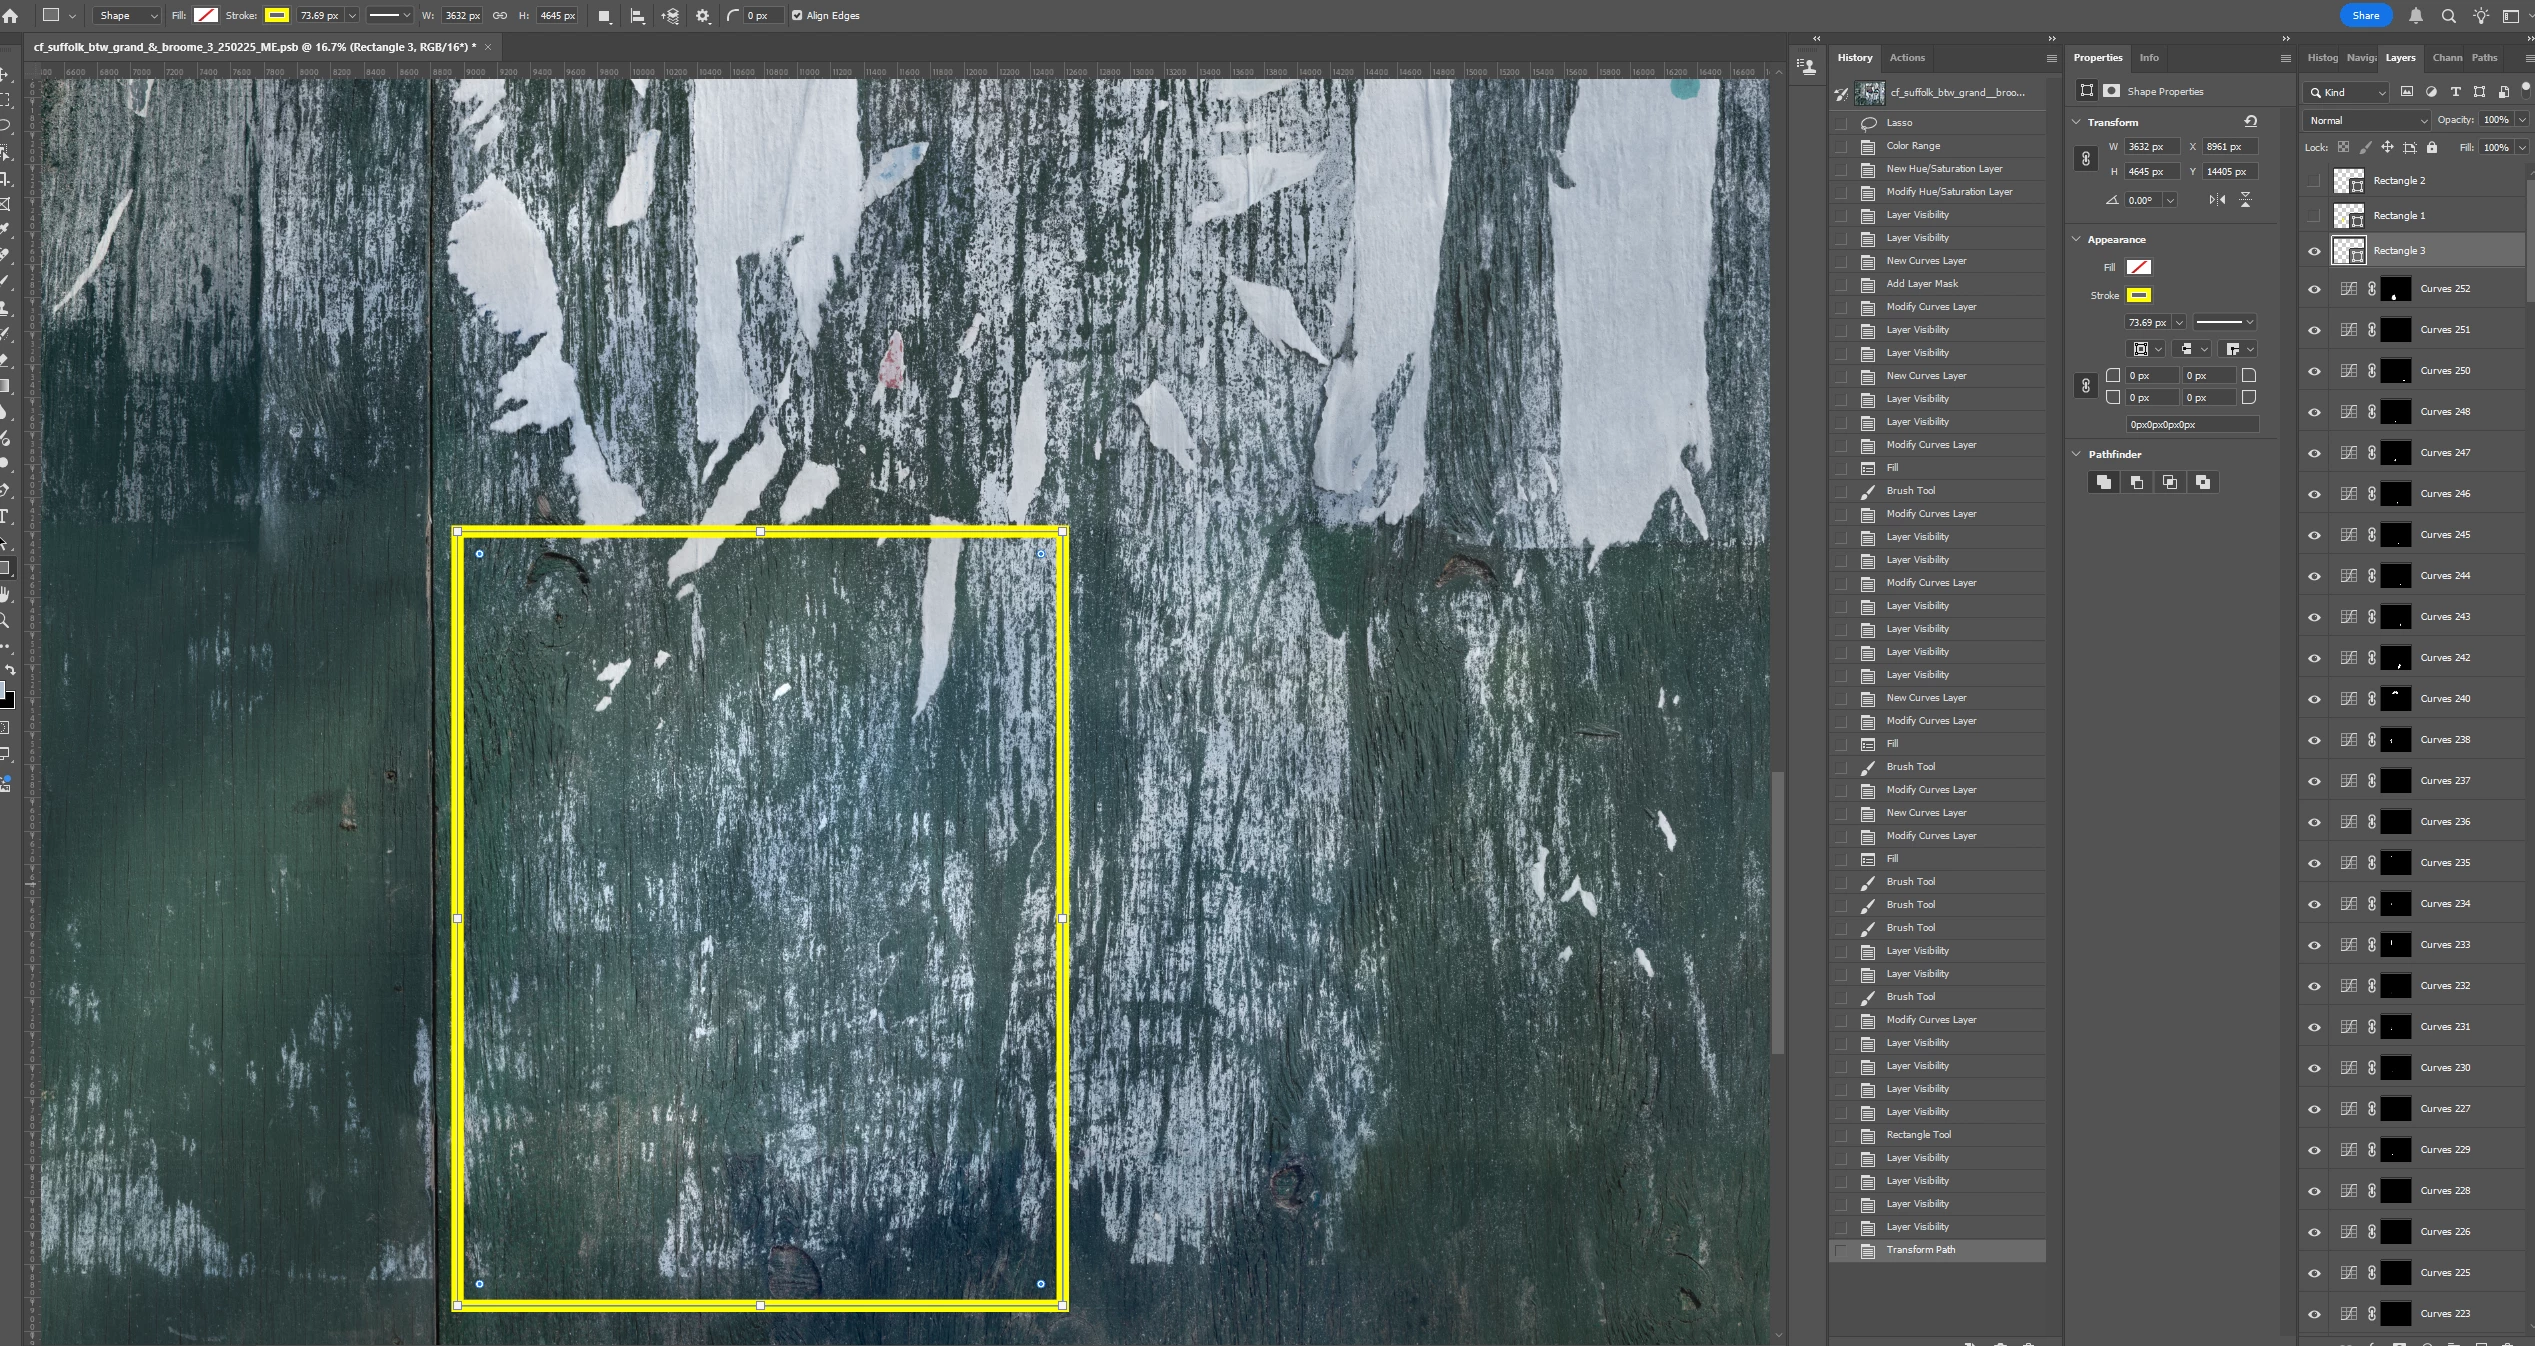
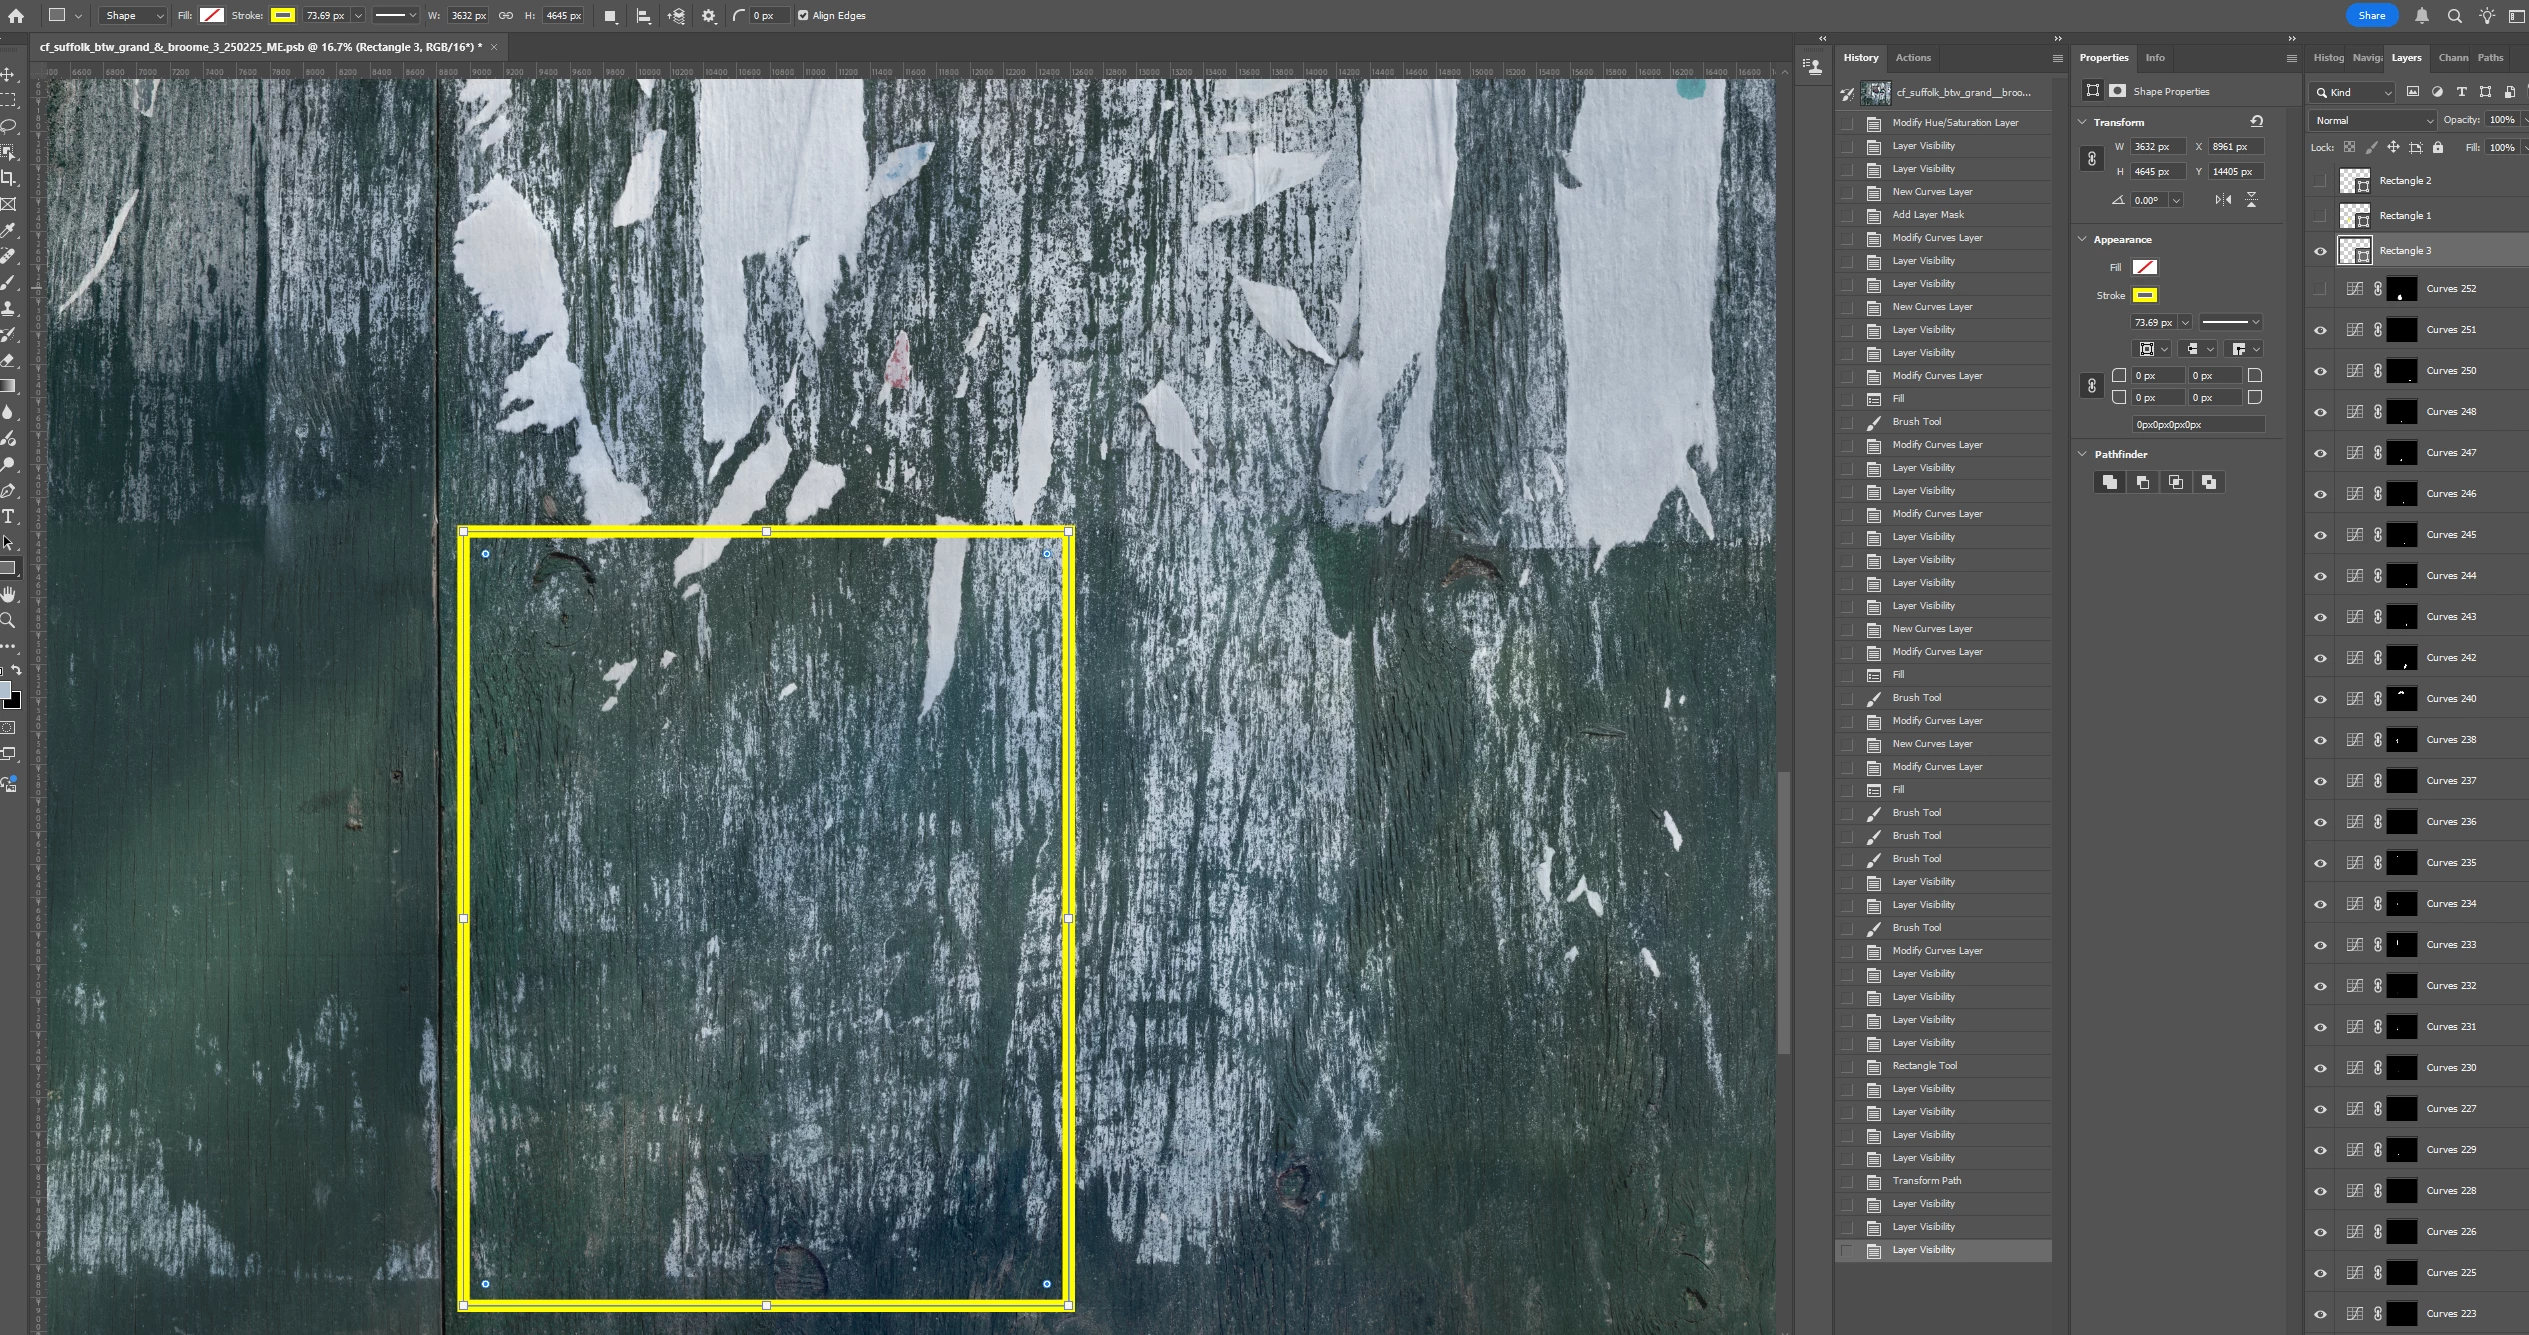
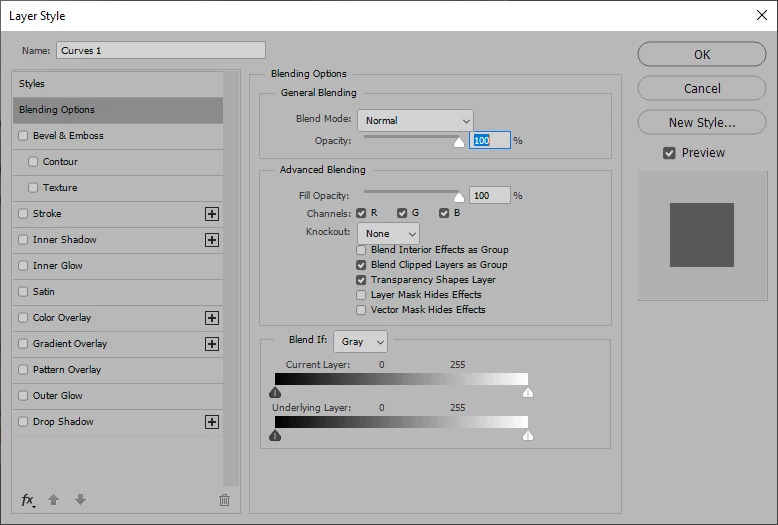
I think the following can be achieved using Channels but I don't know how, as I have very little experience with them.  In the first screenshot, I have a Curves adjustment layer lightening the highlights in the area bounded by the yellow rectangle.   Even though the Curves layer is applied to highlights only, it is somewhat affecting the entire area.  I only want the white paper pieces lightened, and not the dark green background.  (In the 2d screenshot, the adjustment layer is turned off, showing the unaffected background as I want it to appear.)   Is this best done by using Channels, and if so, how?  Thanks.  


Correct answer Semaphoric

Right click on the Path layer thumbnail, and select Blending Options from the pop up, to open the Layer Style dialog:

In particular, note the Blend If section. It can operate on all channels (Gray), or Red, Green, and Blue individually. The sliders on the controls below can be split, by Alt-dragging one side, and the blend will occur over a range.

2 replies

c.pfaffenbichler
Community Expert
Community Expert
March 7, 2025

Sometimes one may do such a thing with a Layer Mask based on one of the Channels, but that causes the problem that subsequent touch-up on the lower layer will not be reflected in the Mask. 

So @Semaphoric ’s reommendation of using Blend If-settings is an excellent one. 

Semaphoric
Community Expert
SemaphoricCommunity ExpertCorrect answer
Community Expert
March 7, 2025

Right click on the Path layer thumbnail, and select Blending Options from the pop up, to open the Layer Style dialog:

In particular, note the Blend If section. It can operate on all channels (Gray), or Red, Green, and Blue individually. The sliders on the controls below can be split, by Alt-dragging one side, and the blend will occur over a range.

Inspiring
March 8, 2025

Amazing!  That works great.  By dragging the control from the left towards the right, the shadows are made darker.  Per the message while hovering over the control, I used the Alt key while dragging to produce a similar - perhaps somewhat better? - result.  I don't understand what is being "blended" - shadows and highlights? - or what that means.   "Blending" to me suggests that the distinctions between shawdows and highlights are being lessened, but that's not what I would descirbe as happening here.  I guess I can read up on it online.  Anyway, thank you for providing a solution.  


D Fosse
Community Expert
Community Expert
March 9, 2025

Thanks.  I watched PHLEARN's tutorial on Blend If on youtube, and now I understand what's going on with this tool.


I did as you said and split the control.  Berfore and After shots of the area at issue below.  This is a great tool to know - thanks for introducing it to me.  


@Barton5C39 

But you still haven't unleashed Blend If's real power, which is to use it per channel.


If you have a saturated color and you want to either target or preserve that color, that can be done very effectively with Blend If. Here's an image with a very saturated magenta, and look what happens in the green channel:

The high magenta saturation is defined by the lack of information in the green channel. In this case it goes right down to 0, in other words gamut clipping.


But that means this area is easily targeted with Blend If: