Participant
January 17, 2025
Answered

Automatic mask replacement in Photoshop

  • January 17, 2025
  • 1 reply
  • 1408 views

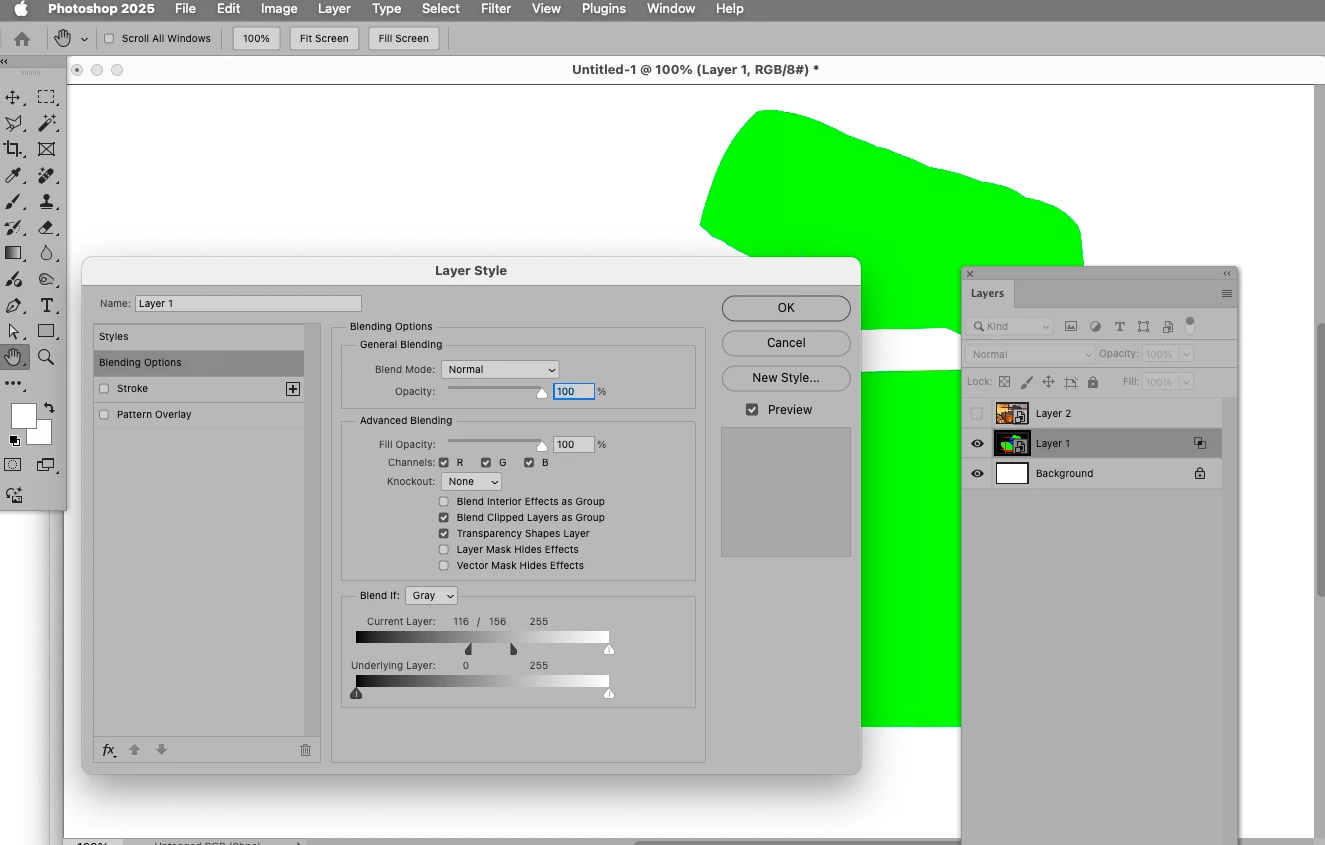
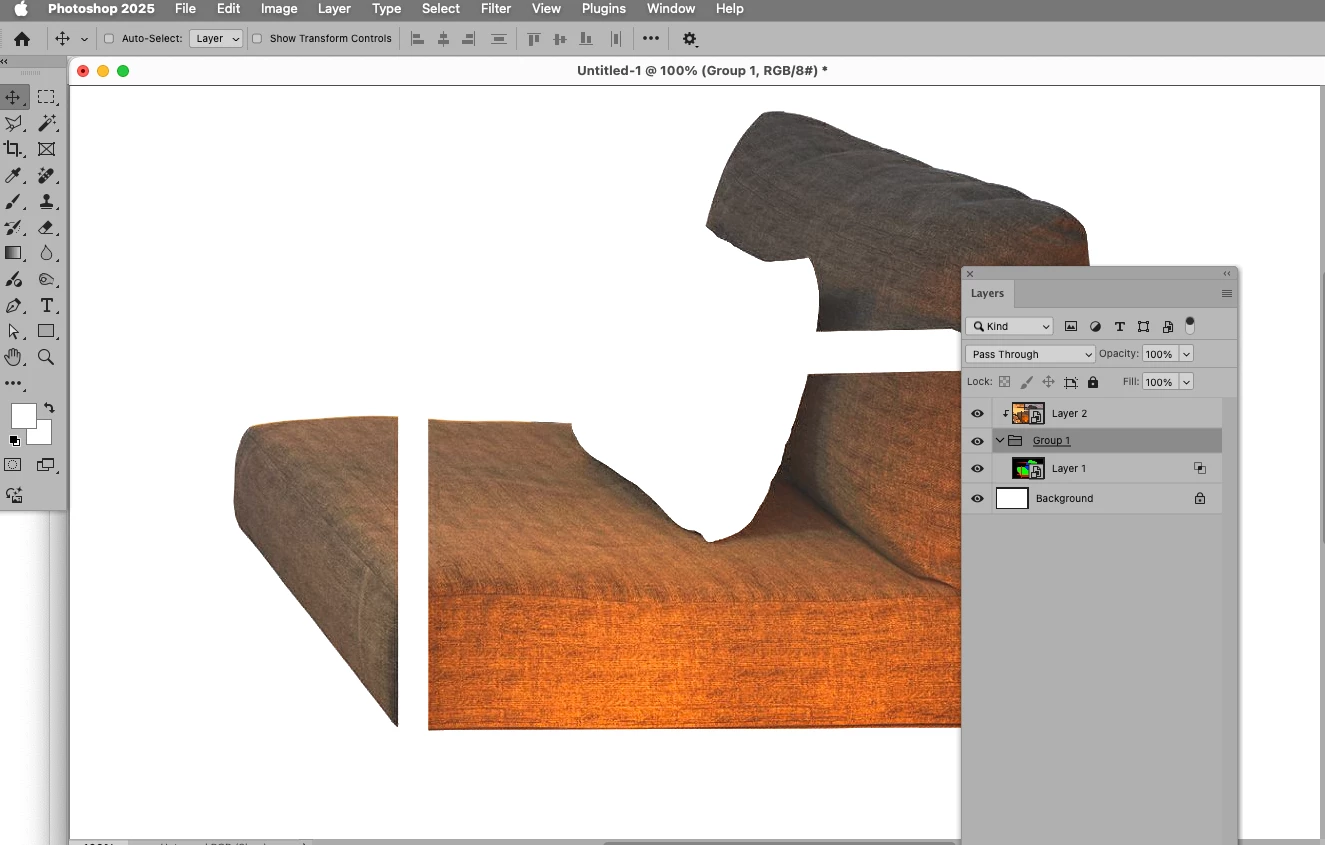
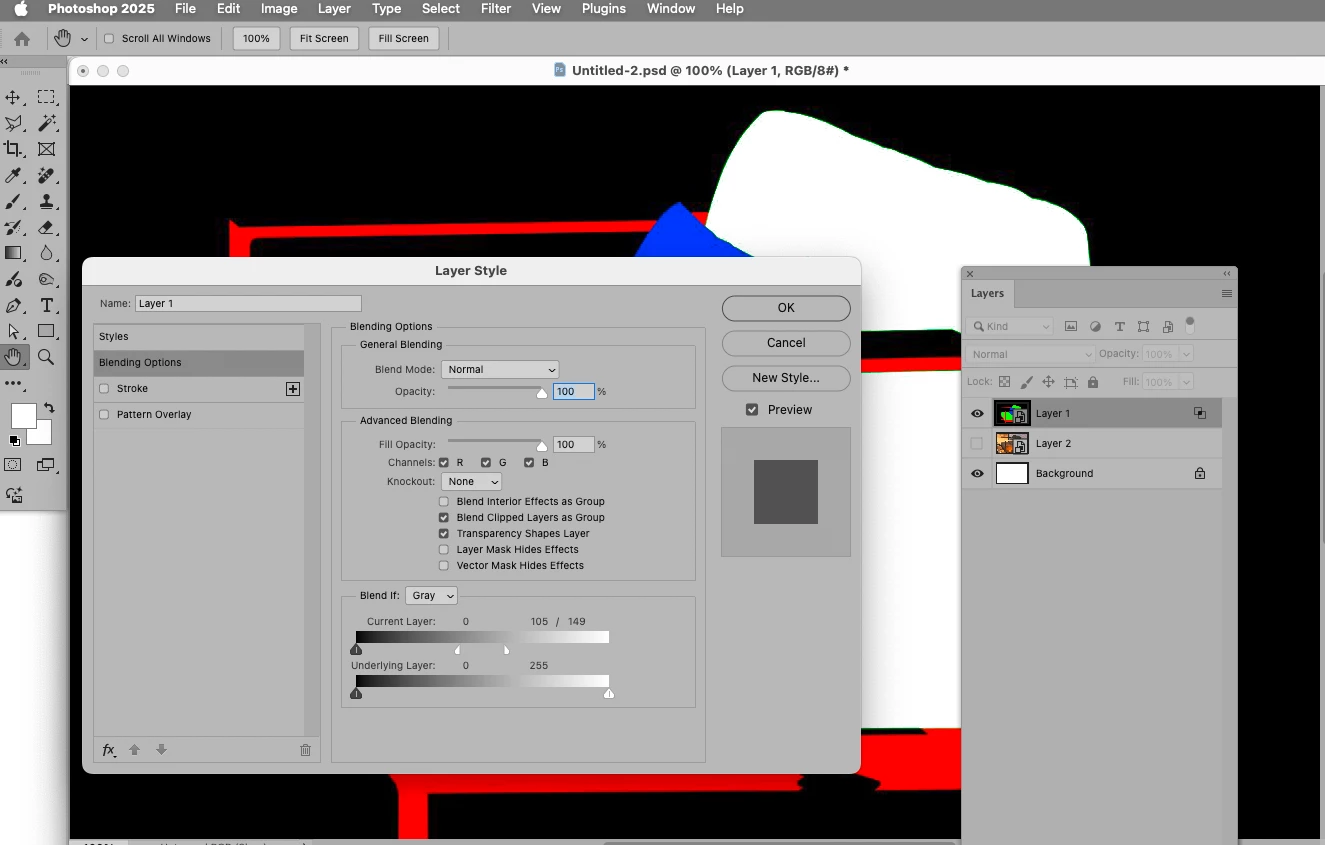
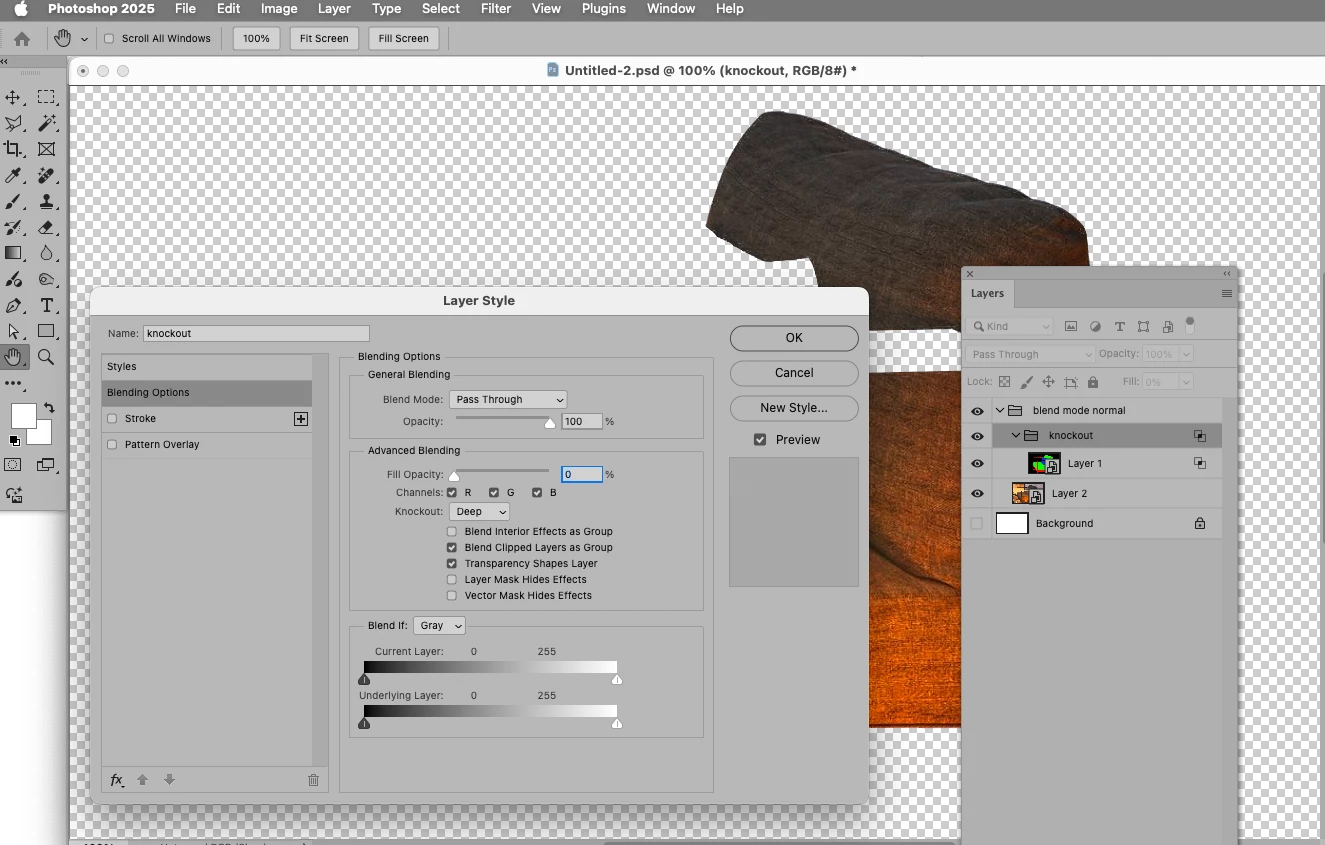
Вопрос к знатокам. Я часто работаю с ретушью архитектурной визуализации. Обычно у меня все объекты в фотошопе разбросаны по папкам и на папку назначена маска. Например, папка стена кирпича и его маска, а здесь стена бетонная. Внутри папки просто корректируем цвет. Папки 10-20 на проект. Но после того, как ретушь закончена, клиент часто просит изменить геометрию объекта. Кирпичная стена увеличивается, бетонная стена уменьшается, все маски меняются после рендеринга. По сути, ретушь остается, но нужно поменять все маски. Вопрос, можно ли организовать это автоматически в фотошопе. Чтобы все маски вели в общее хранилище. Я просто заменяю все файлы в этом хранилище и все. Есть ли такая возможность в фотошопе?

Correct answer c.pfaffenbichler

Thanks for your help, but I'm having trouble understanding the process.
I made a scheme of 6 pictures on which you can see the sequence of my actions.
1 frame. I opened the RGB image.
2 frame. I inserted a “Smart object” with the image of my masks on the RGB channels.
3 frame. I right click on the Smart object and use the “Create clipping Mask” command
4 frame. Right-clicking on the “Smart object” and using the “Blending Options” command.
5 frame. In the “Blending Options” settings in the “Blend if” line I choose “Green”. I set the “Blend if” to about 233/255.
6 frame. Here you can see the result. I was able to get a green mask, but was unable to get it to work as a mask for the RGB layer.


Knock out: 

1 reply

Peter Villevoye
Community Expert
Community Expert
January 17, 2025

If i understand it correctly (and if any crucial details didn't get lost in translation), you want to keep the masks in sync with the geometry of the layer's image ? That's odd, because that's the standard way how layers and masks are handled (moved and scaled), unless this chain (link) between the image and mask icon is switched off


But somehow, I think something else might be bothering you.

Could you supply a screenshot of your Layers panel of such a complex design ?

And perhaps a visual impression (image or screenshot) of what's going wrong ?

Participant
January 18, 2025

I want Photoshop to take the mask from this folder on the computer.
Is it possible to make it so that when I replace the mask file on my computer, the mask will automatically change in Photoshop ?

Peter Villevoye
Community Expert
Community Expert
January 19, 2025

Ah, I understand your workflow now ! (I also see some 3D-generated object selection masks and normal maps.) You're using separate files as masks, and want them to be converted (and updated) to layer or group masks.


There are levels of automation possible in Photoshop

[1] An Action, which mimics a sequence of steps, including the opening or processing of a certain fixed or variable file. There's only one downside to this: Actions (or Batches) are user invoked. So it's not an option to let Photoshop 'scan' a folder automatically and let files be updated autonomously.

[2] Scripting could maybe solve this, but I'm not familar enough with this.


As mentioned by @c.pfaffenbichler, using these files as linked Smart Objects in combination with a clever Blend setting might be the easiest solution. I tried it, and it worked ! The linked placed Mask_test.png became a Smart Object layer and its Blend setting makes it serve as a mask. Note to hold the alt/option key to drag only the left part of the right slider, to let the edges become soft (just as the grey level indicates a graded opacity). Otherwise it's a hard cut-off in opacity.


Try building this into your workflow. It surely needs a lot of combining and tweaking, but updating the Mask-test.png instantly had its effect in the combined image. It's up to you to decide if these preparations are worth the effort (especially when you need a lot of such masks).


My only worry is that the mask layer might blend a bit of its own subtle gray in the edges, in stead of just masking the original color. Maybe some one else knows another nifty option in this panel to prevent that, or use a different technique to get a better result ?