Participating Frequently
July 12, 2025
Question

B&W Images Washed Out for Book Printing

  • July 12, 2025
  • 2 replies
  • 820 views

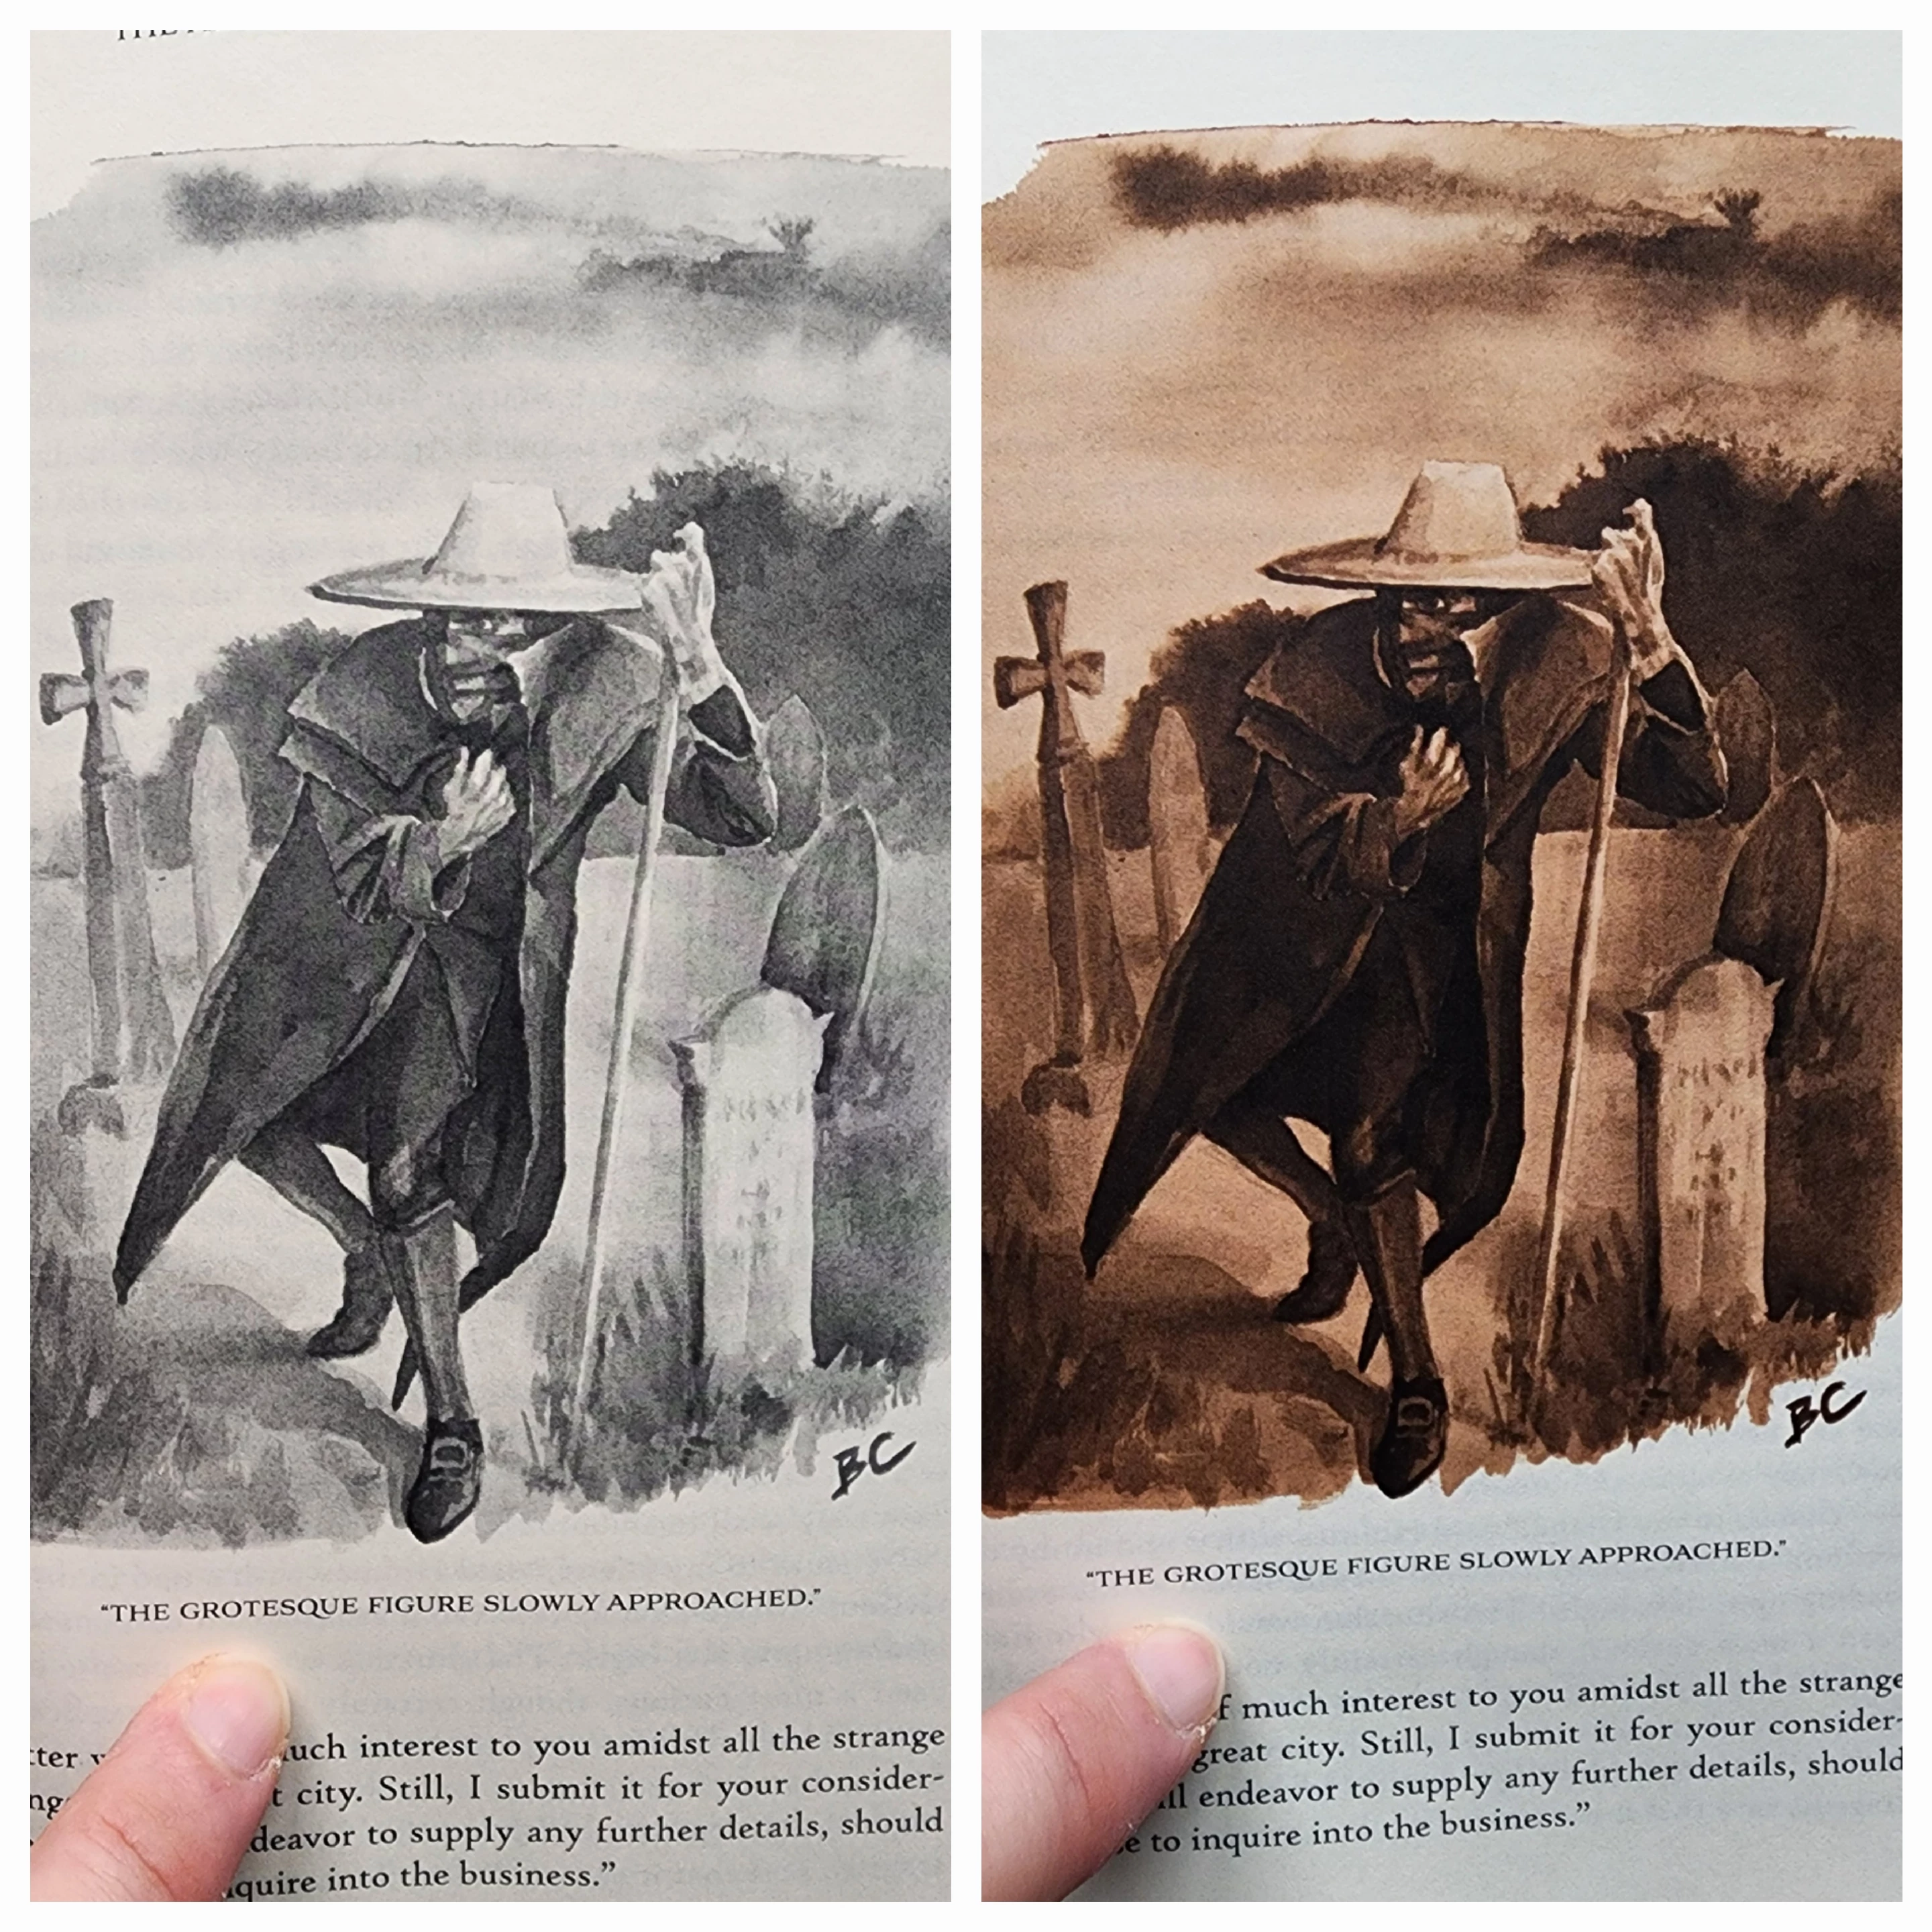
I have recently had two proofs made for a book that I have written and illustrated. I would like to print in black and white if possible to keep costs down, however I've been having trouble with the grayscale images losing their contrast and rich blacks. The second proof was done in color, and the sepia images look great. I've put them side by side for comparison (the b&w appears more washed out in person). Is there something I should be doing to the b&w files to avoid the loss of values? I edited them in photoshop, converted to grayscale, increased contrast, saved as PNG's, dropped into my InDesign book file, and then exported for print. Thanks!


2 replies

Stephen Marsh
Community Expert
Community Expert
July 12, 2025

Presuming a single/short run PoD book publishing service.


Mono/Black & White printing will use a single toner/ink, therefore it will naturally have lesser density. It costs less to print and doesn't have concerns with maintaining neutrality.


Full colour print will offer greater density due to having four toners/inks buiilding the shadows. You may have issues with maintaining neutral tones.


For the sepia or colour images, were these supplied as RGB or CMYK files? What ICC profile or conversion did the images or PDF conversion use?


Are the proofs close to what you see on screen for both mono and sepia/colour, particularly density and detail?


Are the proofs inkjet proofs or actual prints from the digital press used for production on the final stock?

Participating Frequently
July 12, 2025

This may help-apologies, as I am somewhat new to this

Stephen Marsh
Community Expert
Community Expert
July 13, 2025

Don't use Dot Gain profiles. They are rather outdated generic black ink profiles that aren't used anymore. They don't correspond to any modern offset printing process and will not represent the tonal scale correctly in InDesign.


Use the K component in the CMYK profile appropriate for the printing process. You need to ask the printer which one! US Web Coated (SWOP) is the Photoshop default just because there has to be some default, but it is not valid outside North and South America (and may not even be the correct choice there). Always ask.


Click the working gray rolldown in Color Settings, and navigate to the appropriate CMYK profile. This will appear as "Black Ink - <CMYK profile>".


Once you have chosen this as working gray, it will appear in the Convert to Profile list, and you can convert in the normal way. The file will then print as a CMYK file, but on the black plate (K) only.


As Stephen points out, K-only black appears rather washed out compared to full 4-color black. You'll just have to accept that.


quote

Use the K component in the CMYK profile appropriate for the printing process. You need to ask the printer which one! US Web Coated (SWOP) is the Photoshop default just because there has to be some default, but it is not valid outside North and South America (and may not even be the correct choice there). Always ask.


By @D Fosse


From my experience over the years with people coming to this forum, all of these PoD providers have the same/similar instructions, use U.S. Web Coated (SWOP) or U.S. Sheetfed Coated v2 (and then go on to confuse or contradict themselves regarding total ink limits).


They use digital presses, which will have a custom CMYK profile for the machine and the stock in use (coated cover weight stock, uncoated text weight stock, etc). They do not give you this production orientated digital device output profile. What they do is have an intermediate "simulation" profile based on a standard offset condition. They convert incoming RGB data to the simulated press condition before it's converted to the digital press profile. For CMYK data, they will generally assume that the CMYK data is already as per their instructions and I assume that they use this as the source for the conversion to the device profile. They could pass on the input CMYK values direct to the printer, however, I doubt that is common. If they detect that ink limits are above their recommendations, they will either ask you to re-submit, or they might just convert them to the lower ink limit without notifying you.


Looking over what they suggest, there is a custom 300% total ink limit version of the standard GRACoL 2006 characterisation data:


https://support.bookbaby.com/hc/en-us/articles/220379028-Do-you-have-a-color-profile-I-can-use


This is the CMYK profile which should be used for conversions and softproofing, not the default colour settings (I often joke that when it comes to colour settings, there is a reason why they have fault in their name).


They do mention below that if the page is B&W then you should convert the image to grayscale mode. If you want better density for these images, you would have to pay for full colour printing on these pages, which also probably means more expensive coated paper in addition to the colour print cost.


https://www.bookbaby.com/pages/pdf/Book-Printing-Preparation-Checklist.pdf

pixxxelschubser
Community Expert
Community Expert
July 12, 2025

How about with a Black&White adjustment layer?
I've added one default setting and one custom setting


Participating Frequently
July 12, 2025

I haven't done much with B&W adjustment layers in the past, but I can certainly give it a try. Would the correct usage be to edit the color image this way and then save in CMYK? Or should I still convert to grayscale?

pixxxelschubser
Community Expert
Community Expert
July 12, 2025

I would probably convert the file to greyscale in Photoshop. Or, depending on your workflow, work media-neutral in RGB in your layout programme and convert to CMYK when outputting the print file with Device Link Profile.