Back light
Copy link to clipboard
Copied
are there any ways to make a back light for multiple layers in a quick and easy way in photoshop? The end results im looking for is like a silhouette photograph with multiple people but there is another close light source from behind so it would make a rim light effect
Explore related tutorials & articles
Copy link to clipboard
Copied
Could you please post an example of what you want to achieve and some (loses versions of) images you wand to edit thusly?
Copy link to clipboard
Copied
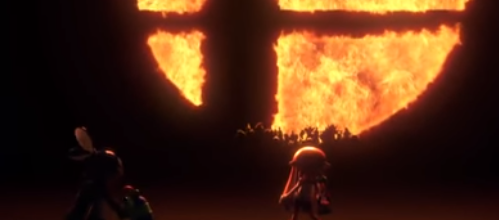
i can't actually show what im working without proper credits (its a collaboration picture made by multiple artists) but here is a rough blurred version (for copyright reasons)

basically those are a bunch of different layers of different characters. i want to achieve that

to them
basically like the roster shown in front of the smash ultimate logo
Copy link to clipboard
Copied
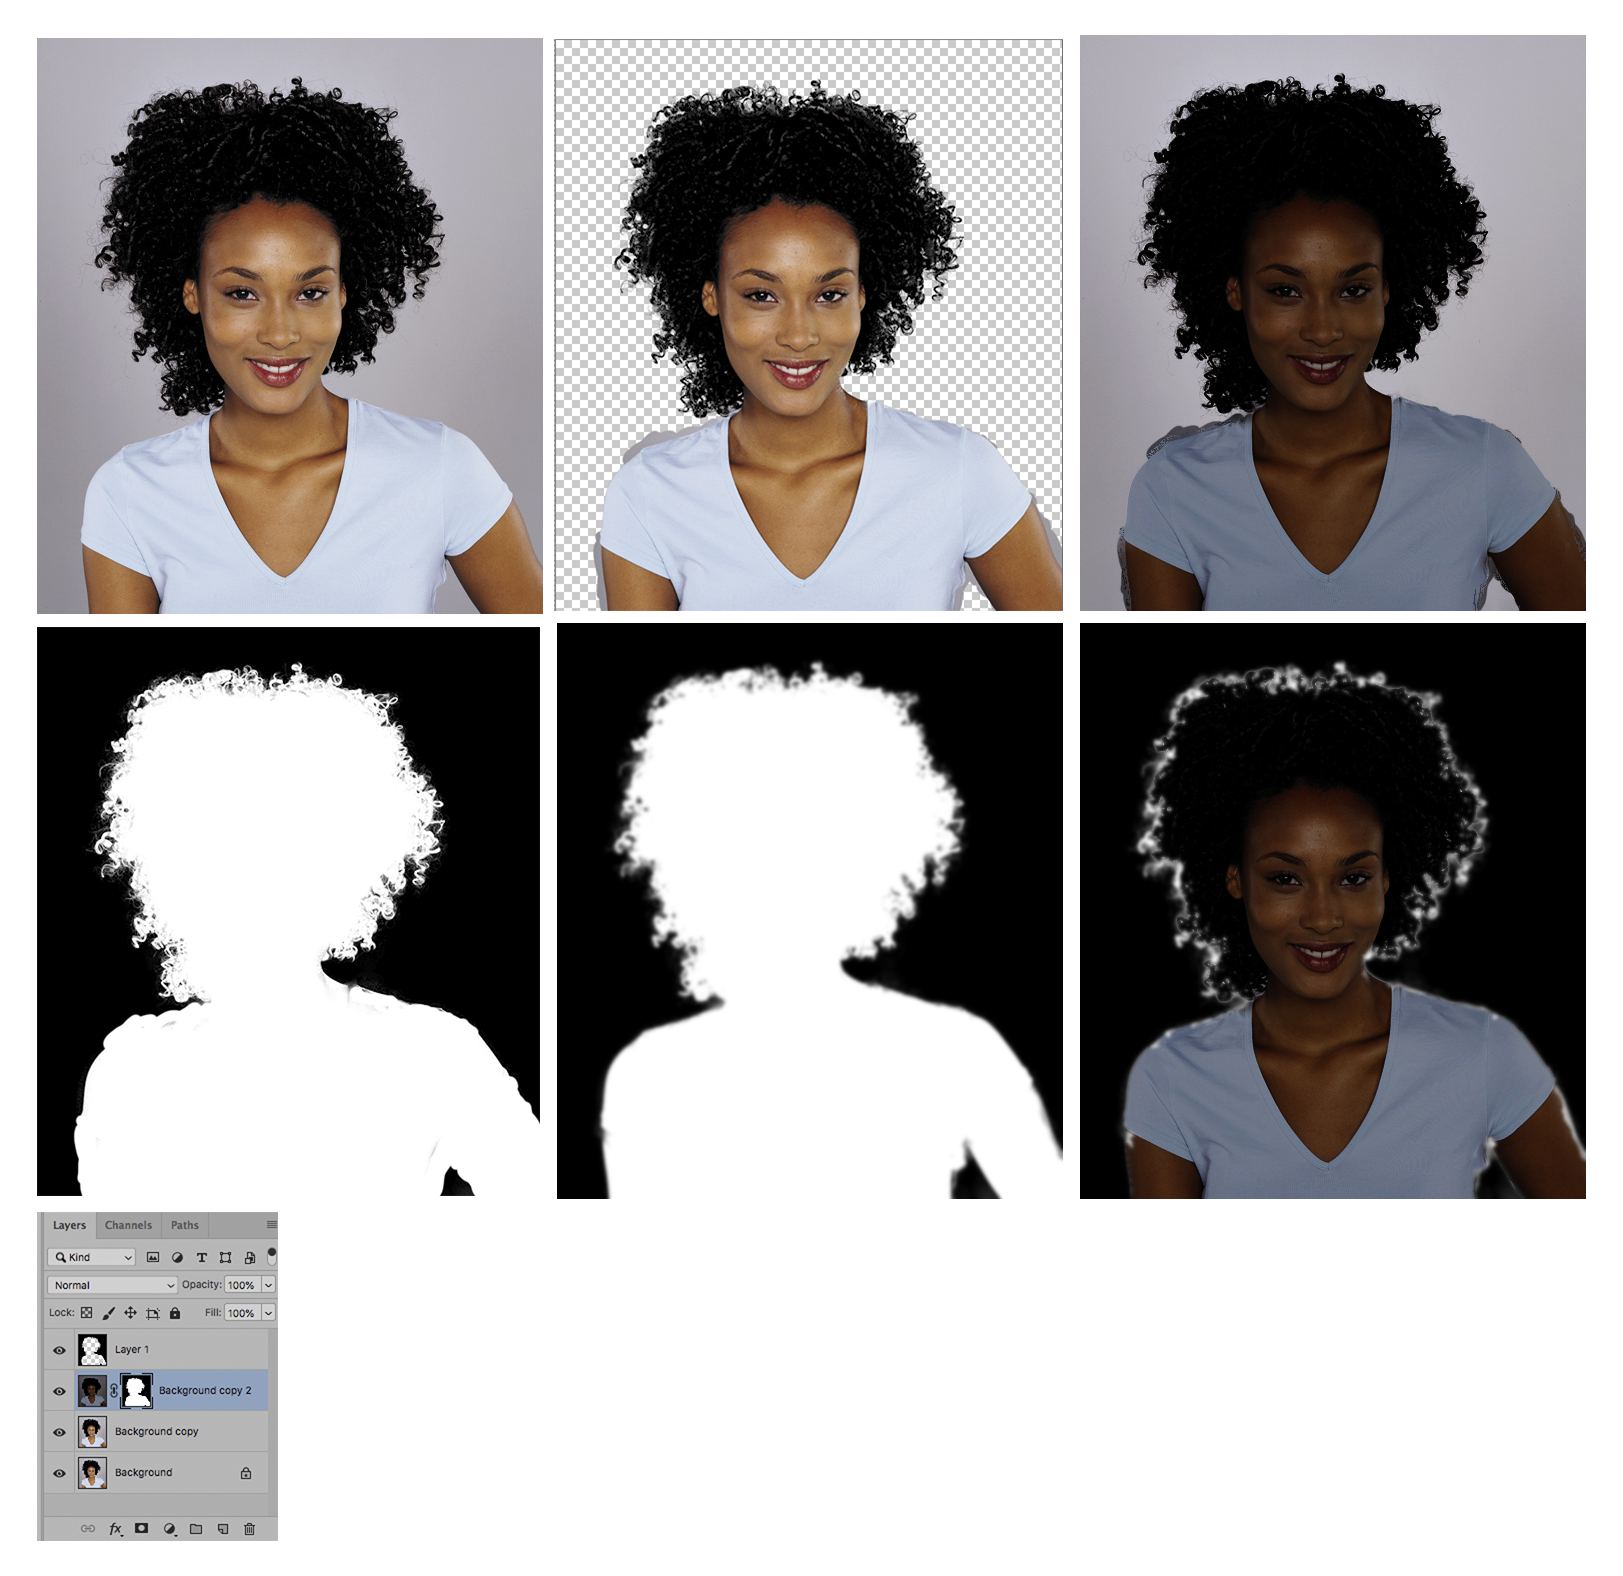
By far, the effect of a back light (actually a hair light) is best achieved in the original photography. If the images cannot be reshot, consider this alternative: (Click on the image to see it in a larger size.)

Fig 2: The effect of Select & Mask
Fig 3: The Select & Mask with Background Copy visible and its image darkened (the amount of darkening is up to you)..
Fig 4. Its sharp mask
Fig 5. The mask duplicated, placed on the top layer and blurred sightly. To blur, the mask is first inverted, then blurred, then inverted again to return it to normal.

