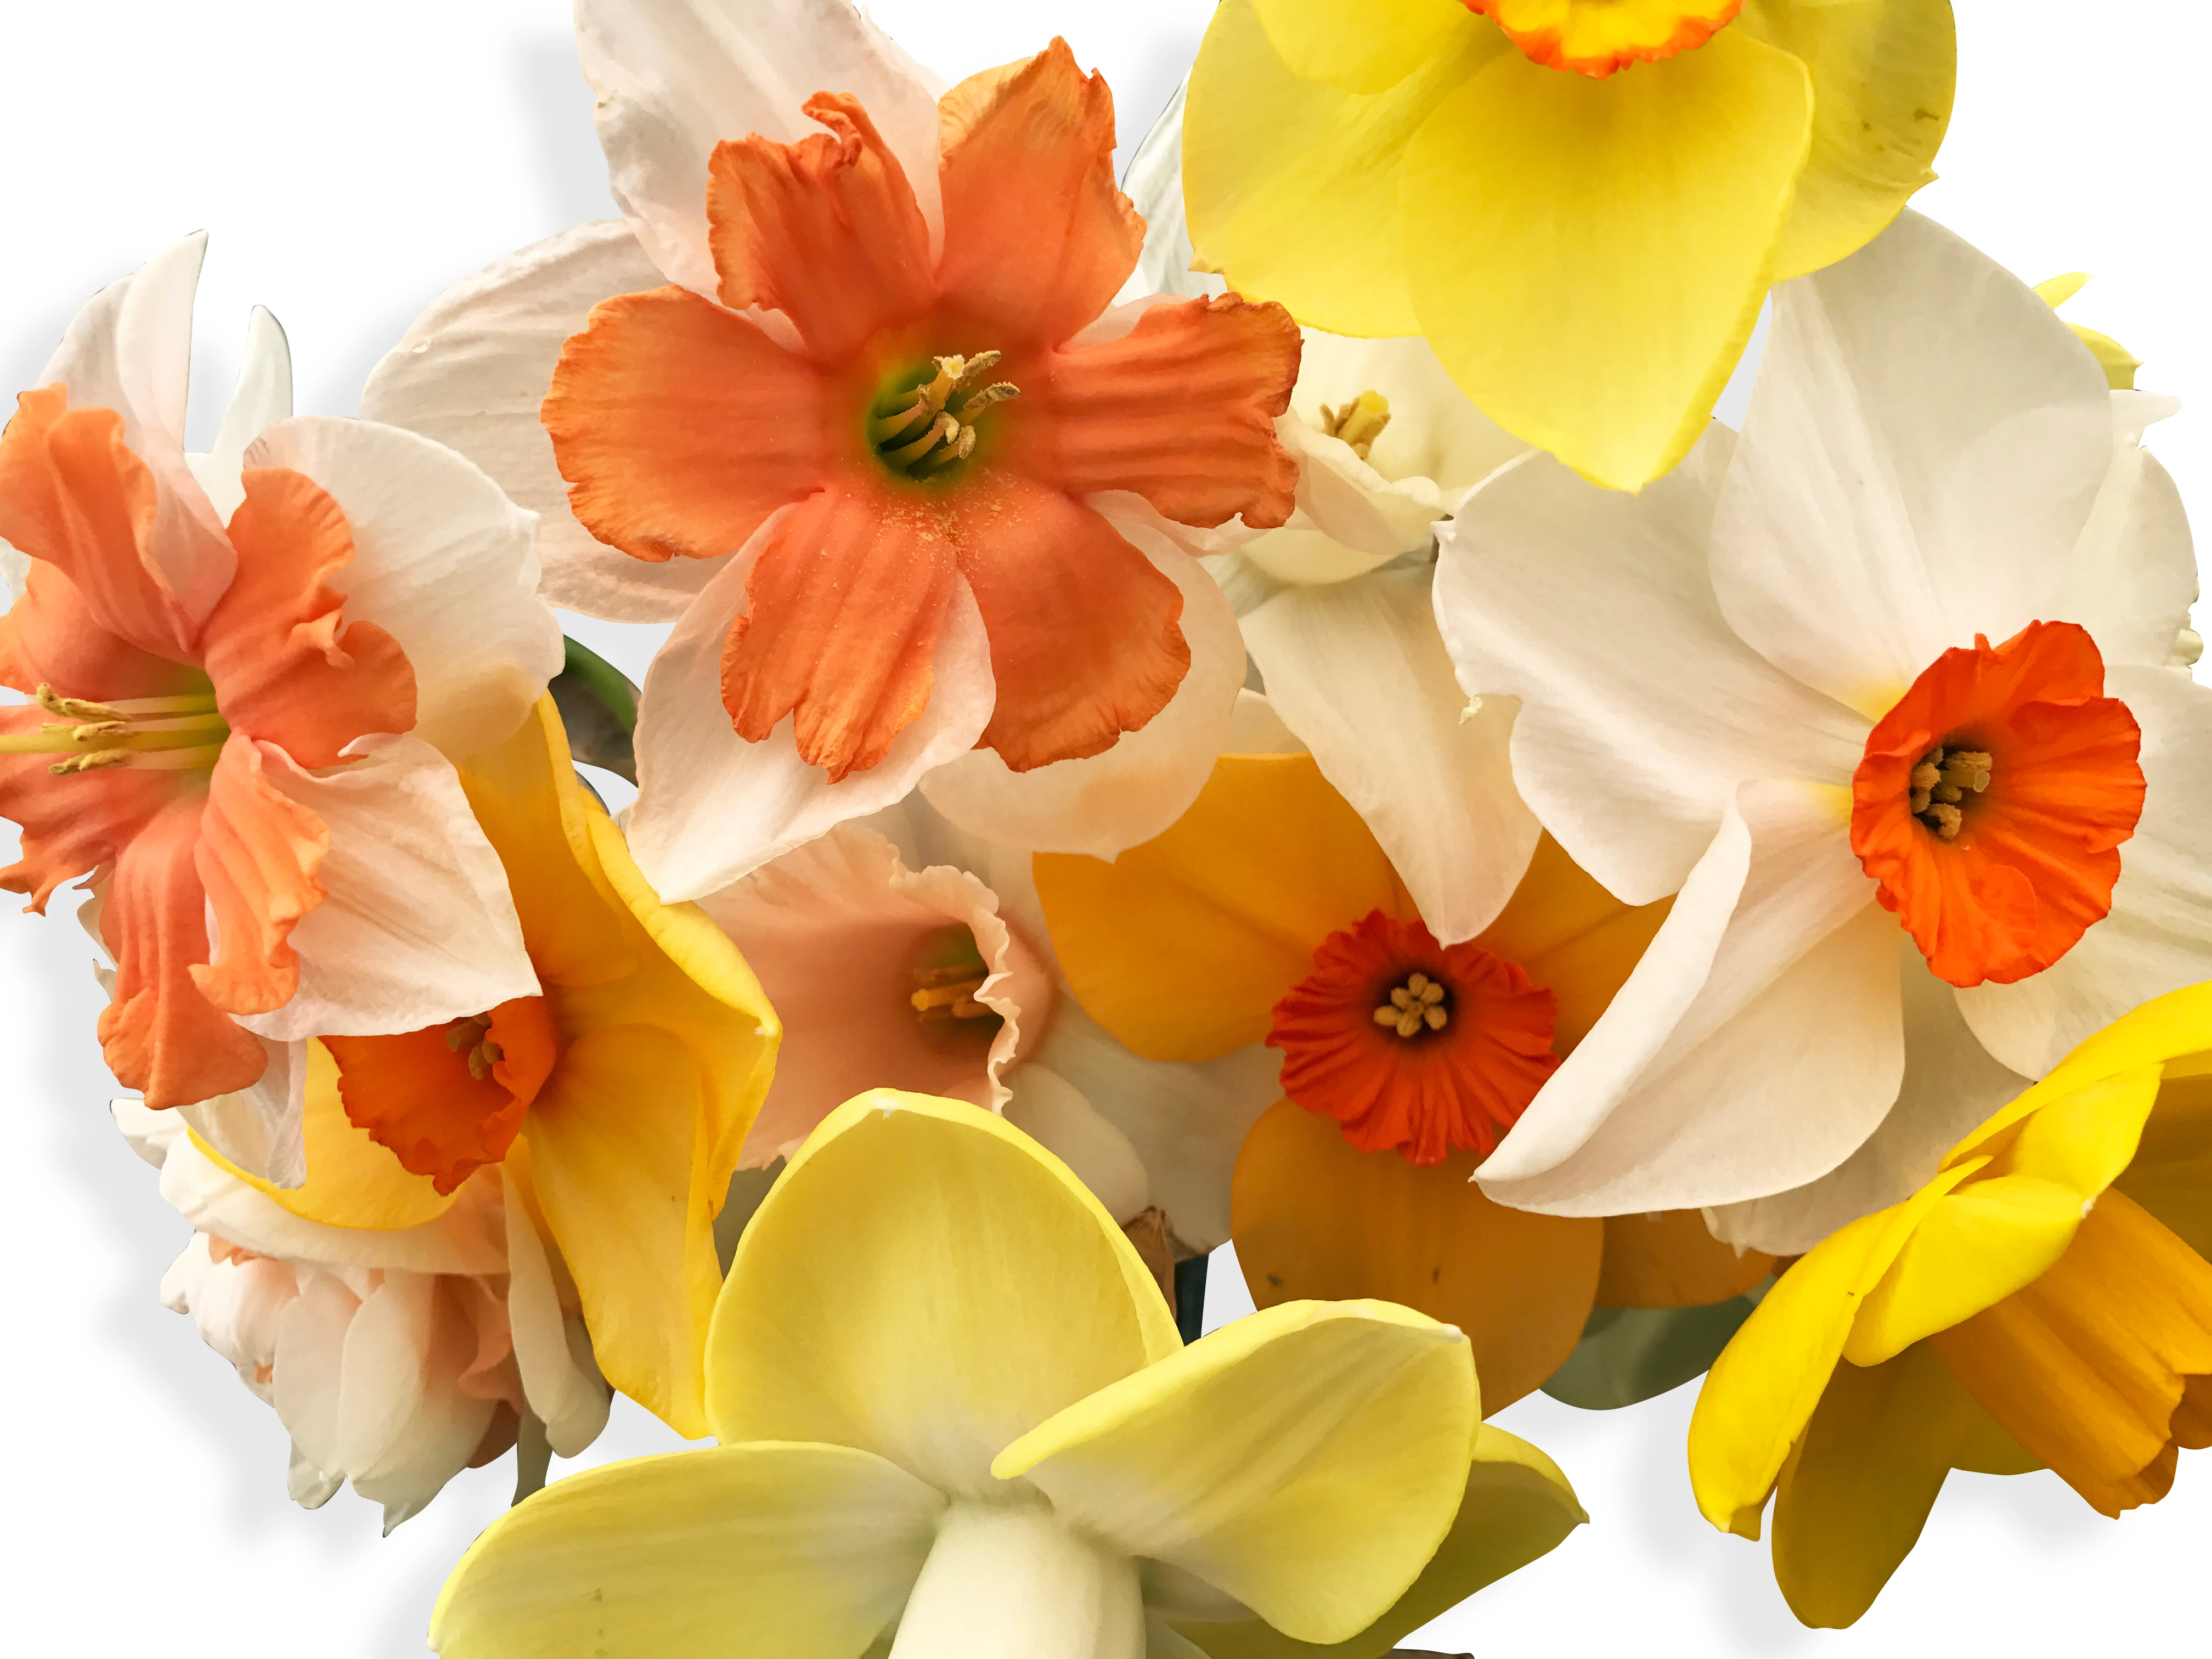
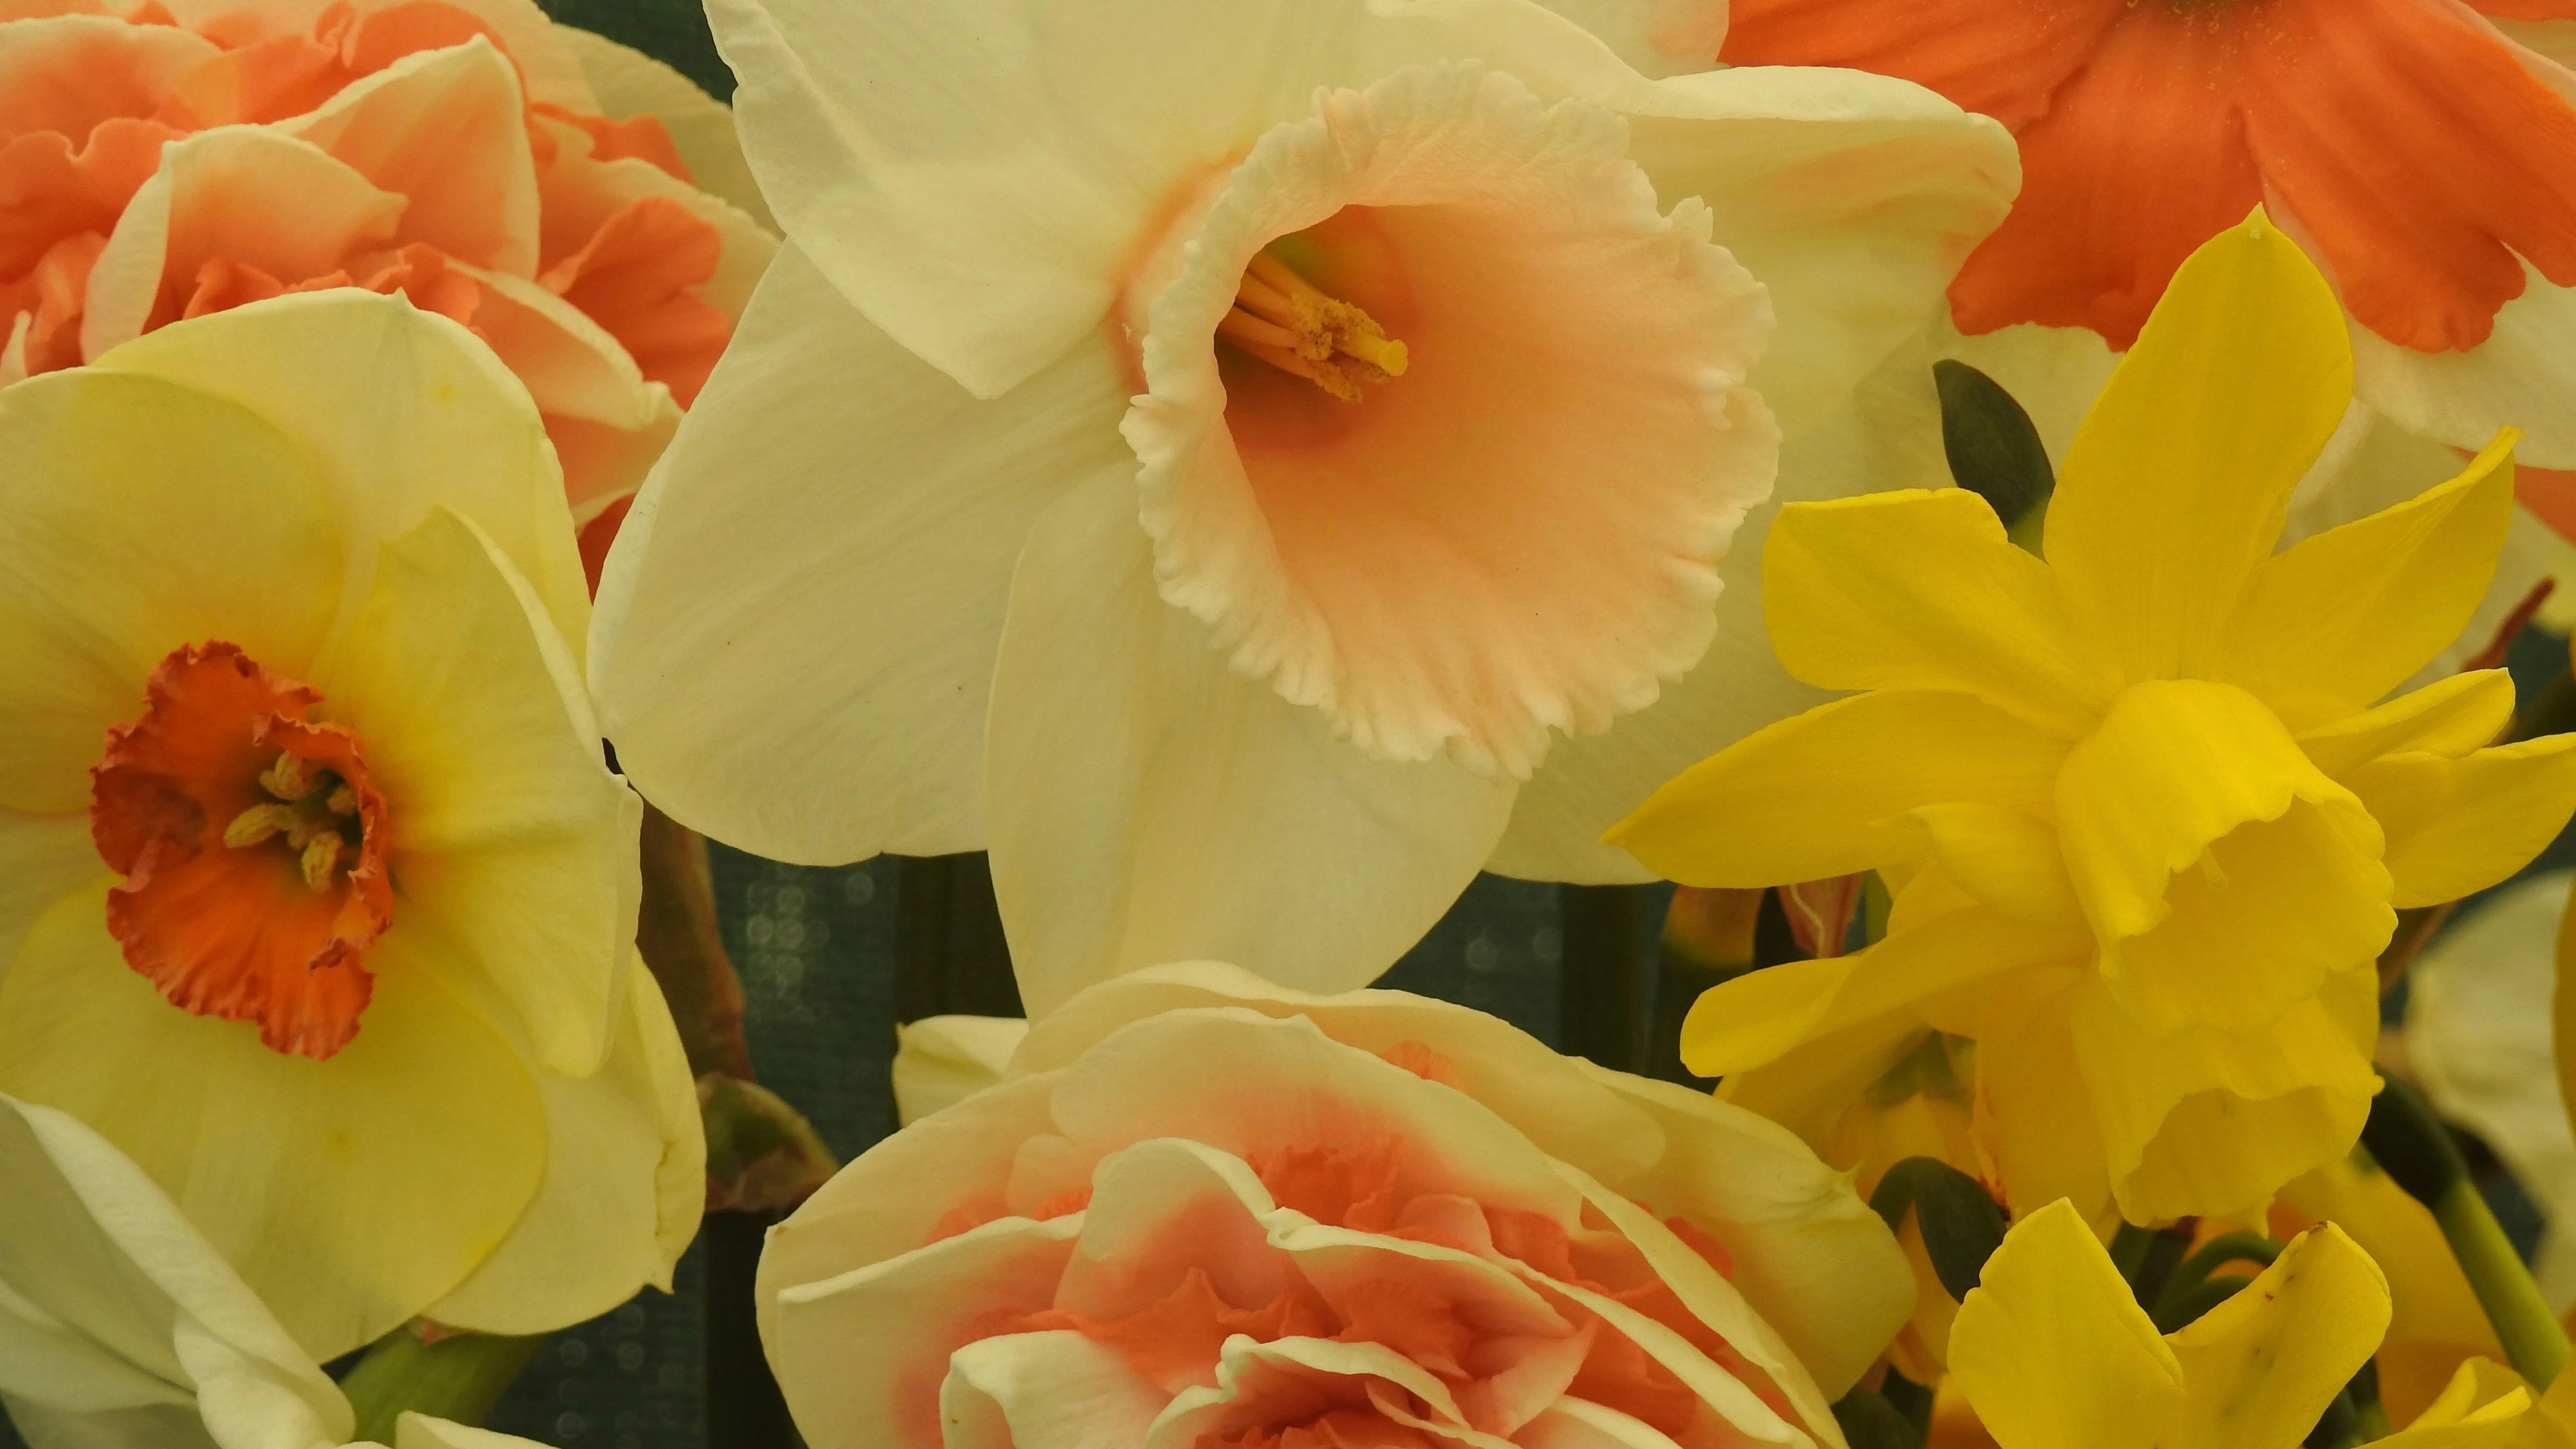
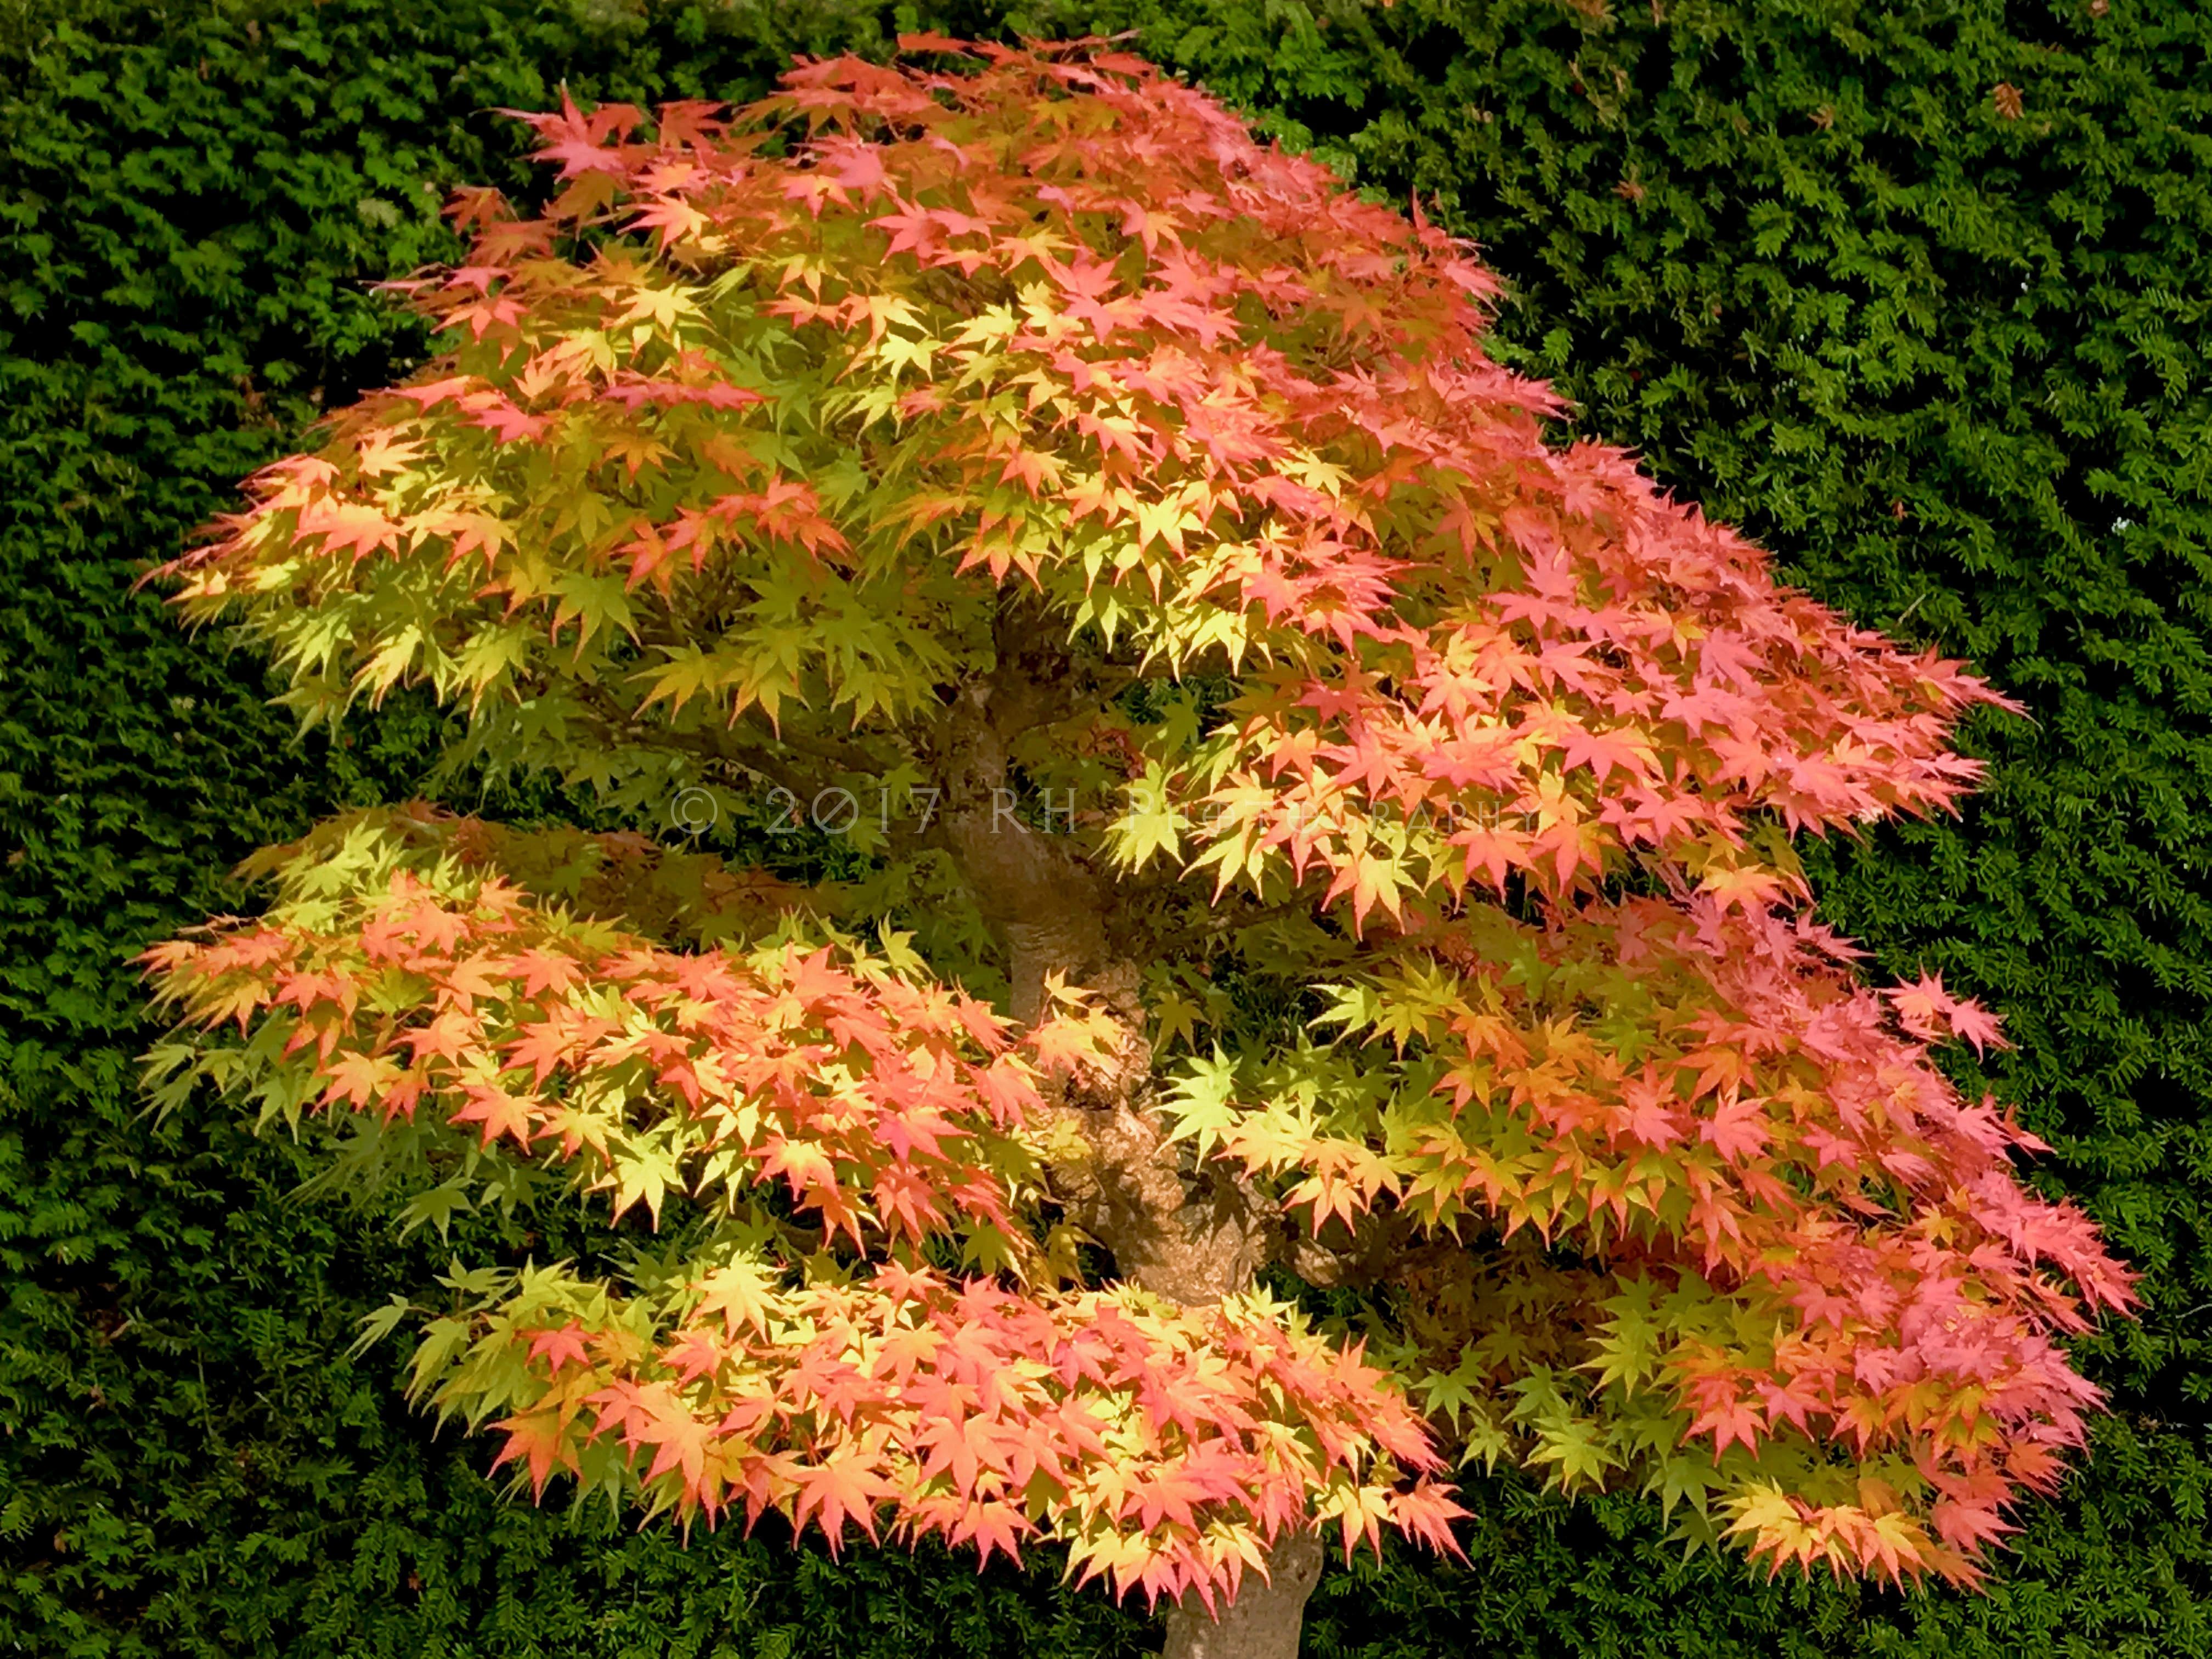
Can you briefly explain, bullet points would be fine, as to how you got from importing the image of the maple to where you were able to select a channel mask ?
----------------------------------------------------------------------------------------------
1. Open the file
2. Choose the Channels panel
3. Choose the Red channel and drag it down to the "Create New Layer Channel. When you release the mouse the new channel will appear at the bottom of the list and be named Blue Copy
4. Choose Image > Adjustments > Curves and increase the contrast of the image by moving the end points of the curve horizontally. Be careful to not let the internal part of the tree leaves get too dark as you darken that end of the scale.
5. Choose the Brush Tool, soft edged, and in its Options bar. change the Mode from Normal to Overlay, 100%.
6. Set the Foreground Color in the Tools panel to White
7. Repeatedly dab the white area, and adjust the brush size as needed.. It will take several dabs. Note that in Overlay, set to white, painting does not lighten the dark blacks as you touch the edges. Be careful not to overdo the edges. (If a few specks refuse to go white, change the Overlay setting to Normal, touch them up, and return to Overlay Mode.) Be sure to lighten the darker leaves.
8. Now, set the Foreground color to Black and repeatedly dab black edge part of the image. Note that as you stray into the pure white of tree area, your black brush does not affect it. That is the feature of Overlay. Be careful not to overdo the black at the edges.
9. When you are satisfied with the resulting mask, change the Mode in the Options bar back to Normal to that it is ready for the next image you may work on.
Using the mask:
10. Choose the mask and drag it down to the Load Channel as a Selection symbol at the bottom of the Channels panel. It will create marching ants
11. Choose the Layers panel and then choose the image layer
12. Click on the Add Layer Mask symbol at the bottom of the Layers panel. The mask will appear alongside the image in the Layers panel and be applied to the image.
Good luck.