Participating Frequently
August 15, 2025
Answered

Best way to make a selection of this object?

  • August 15, 2025
  • 2 replies
  • 403 views

Hi Everyone!


For anyone out there who is very knowledgeable about the different techniques to make selections in Photoshop, whether it involves the Pen Tool, Channels, Calculations, Creating Contrasts, etc. 


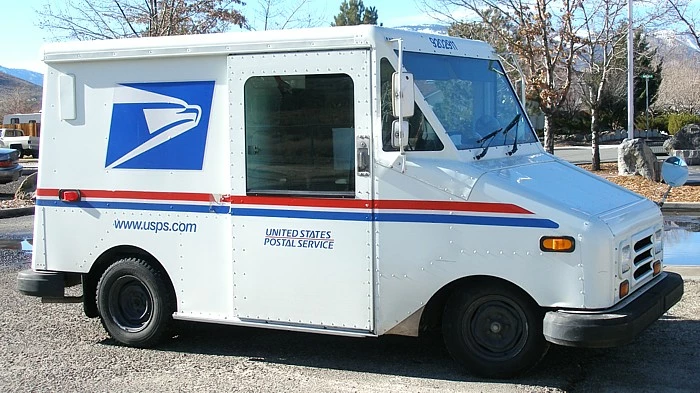
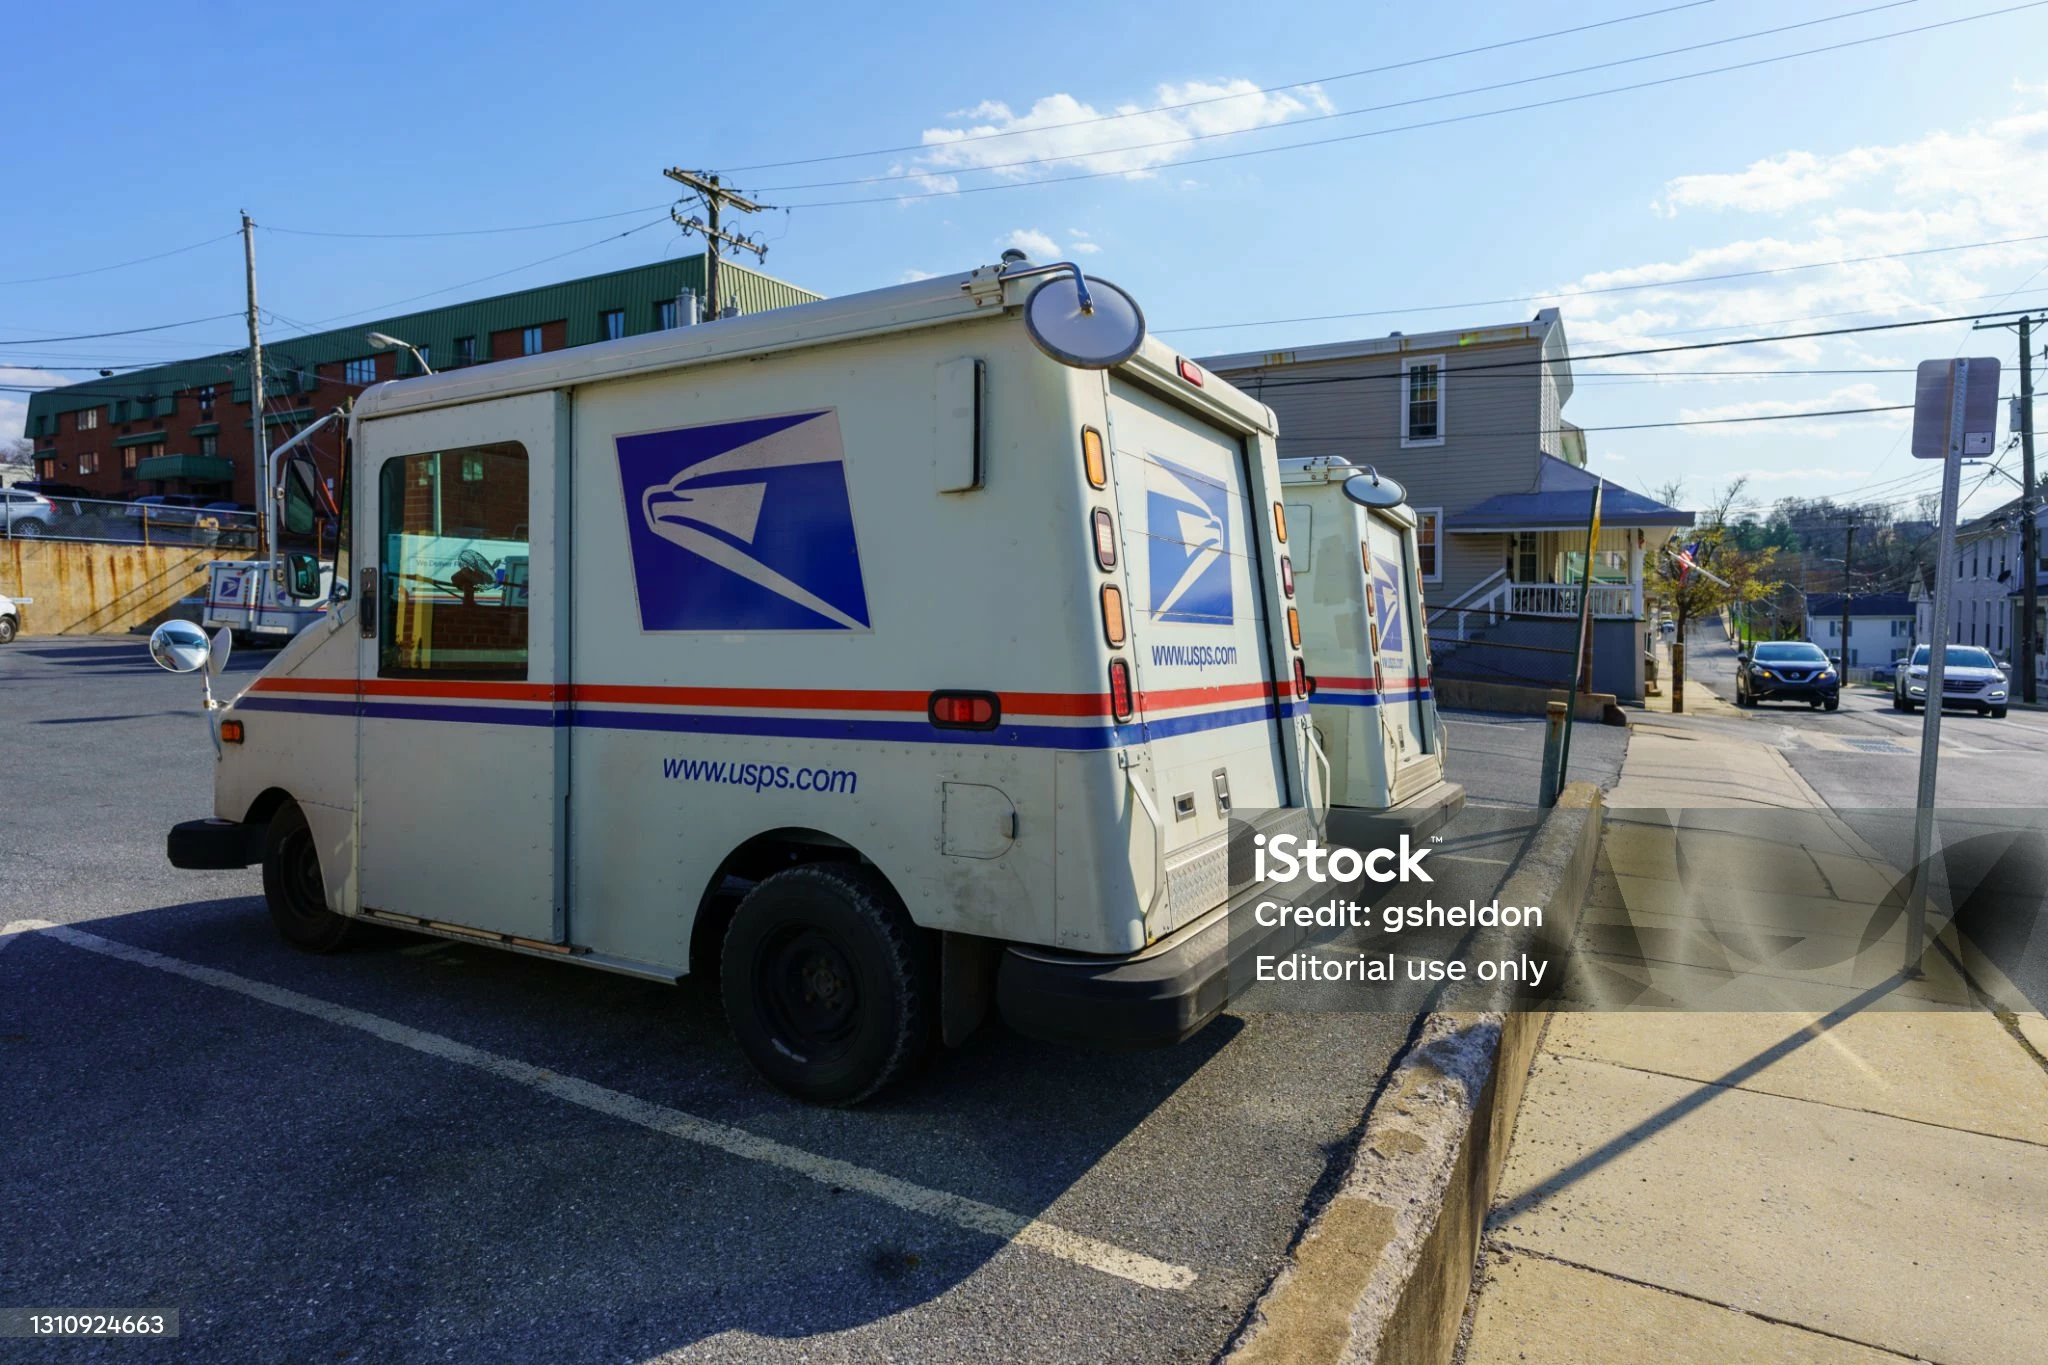
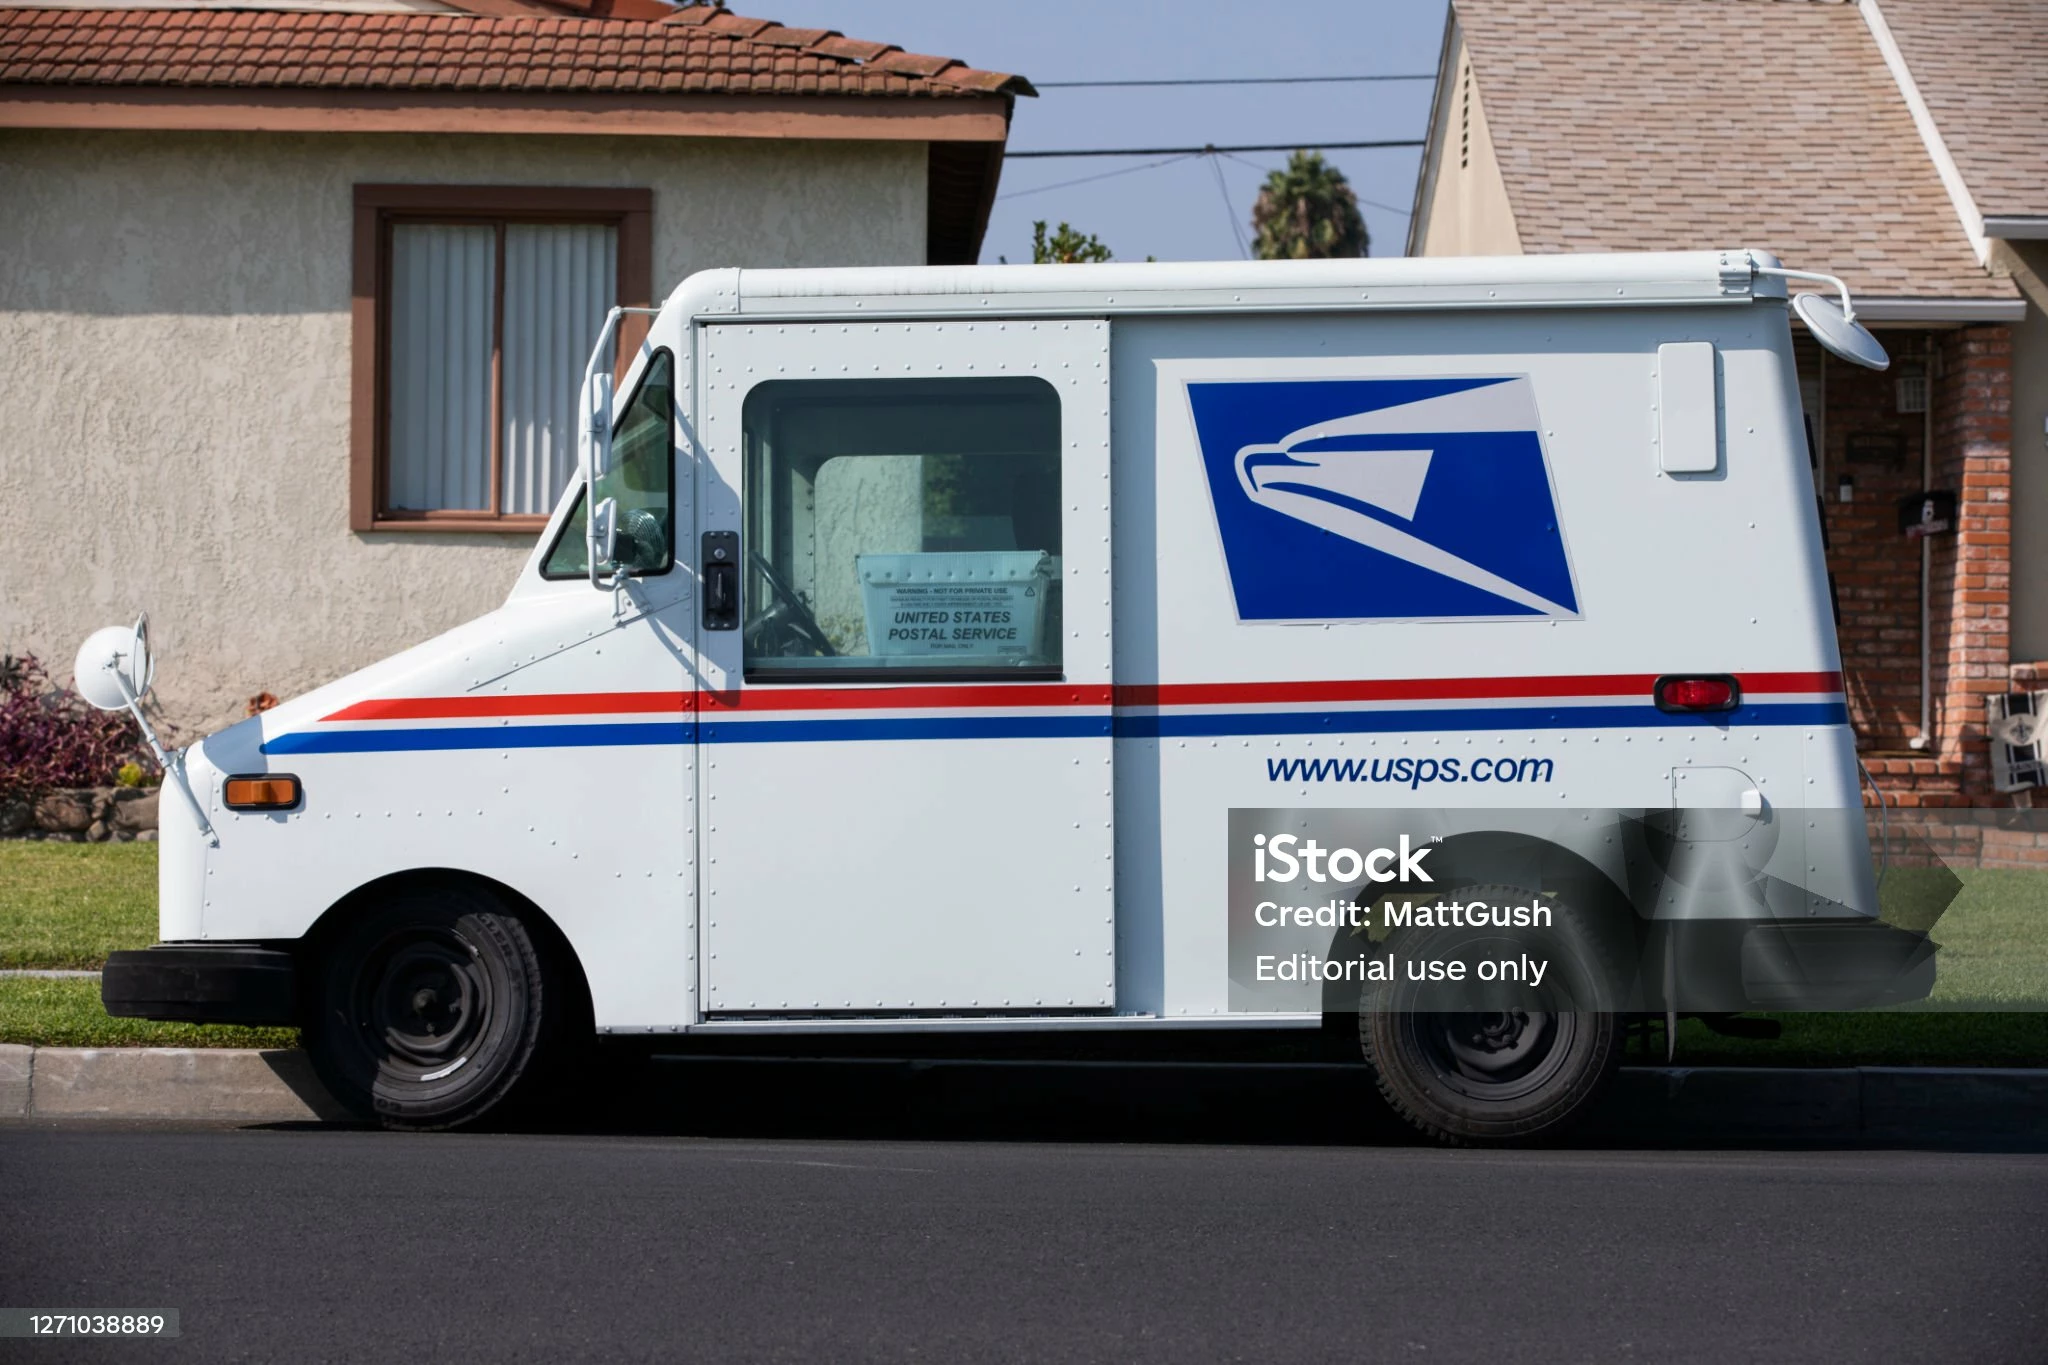
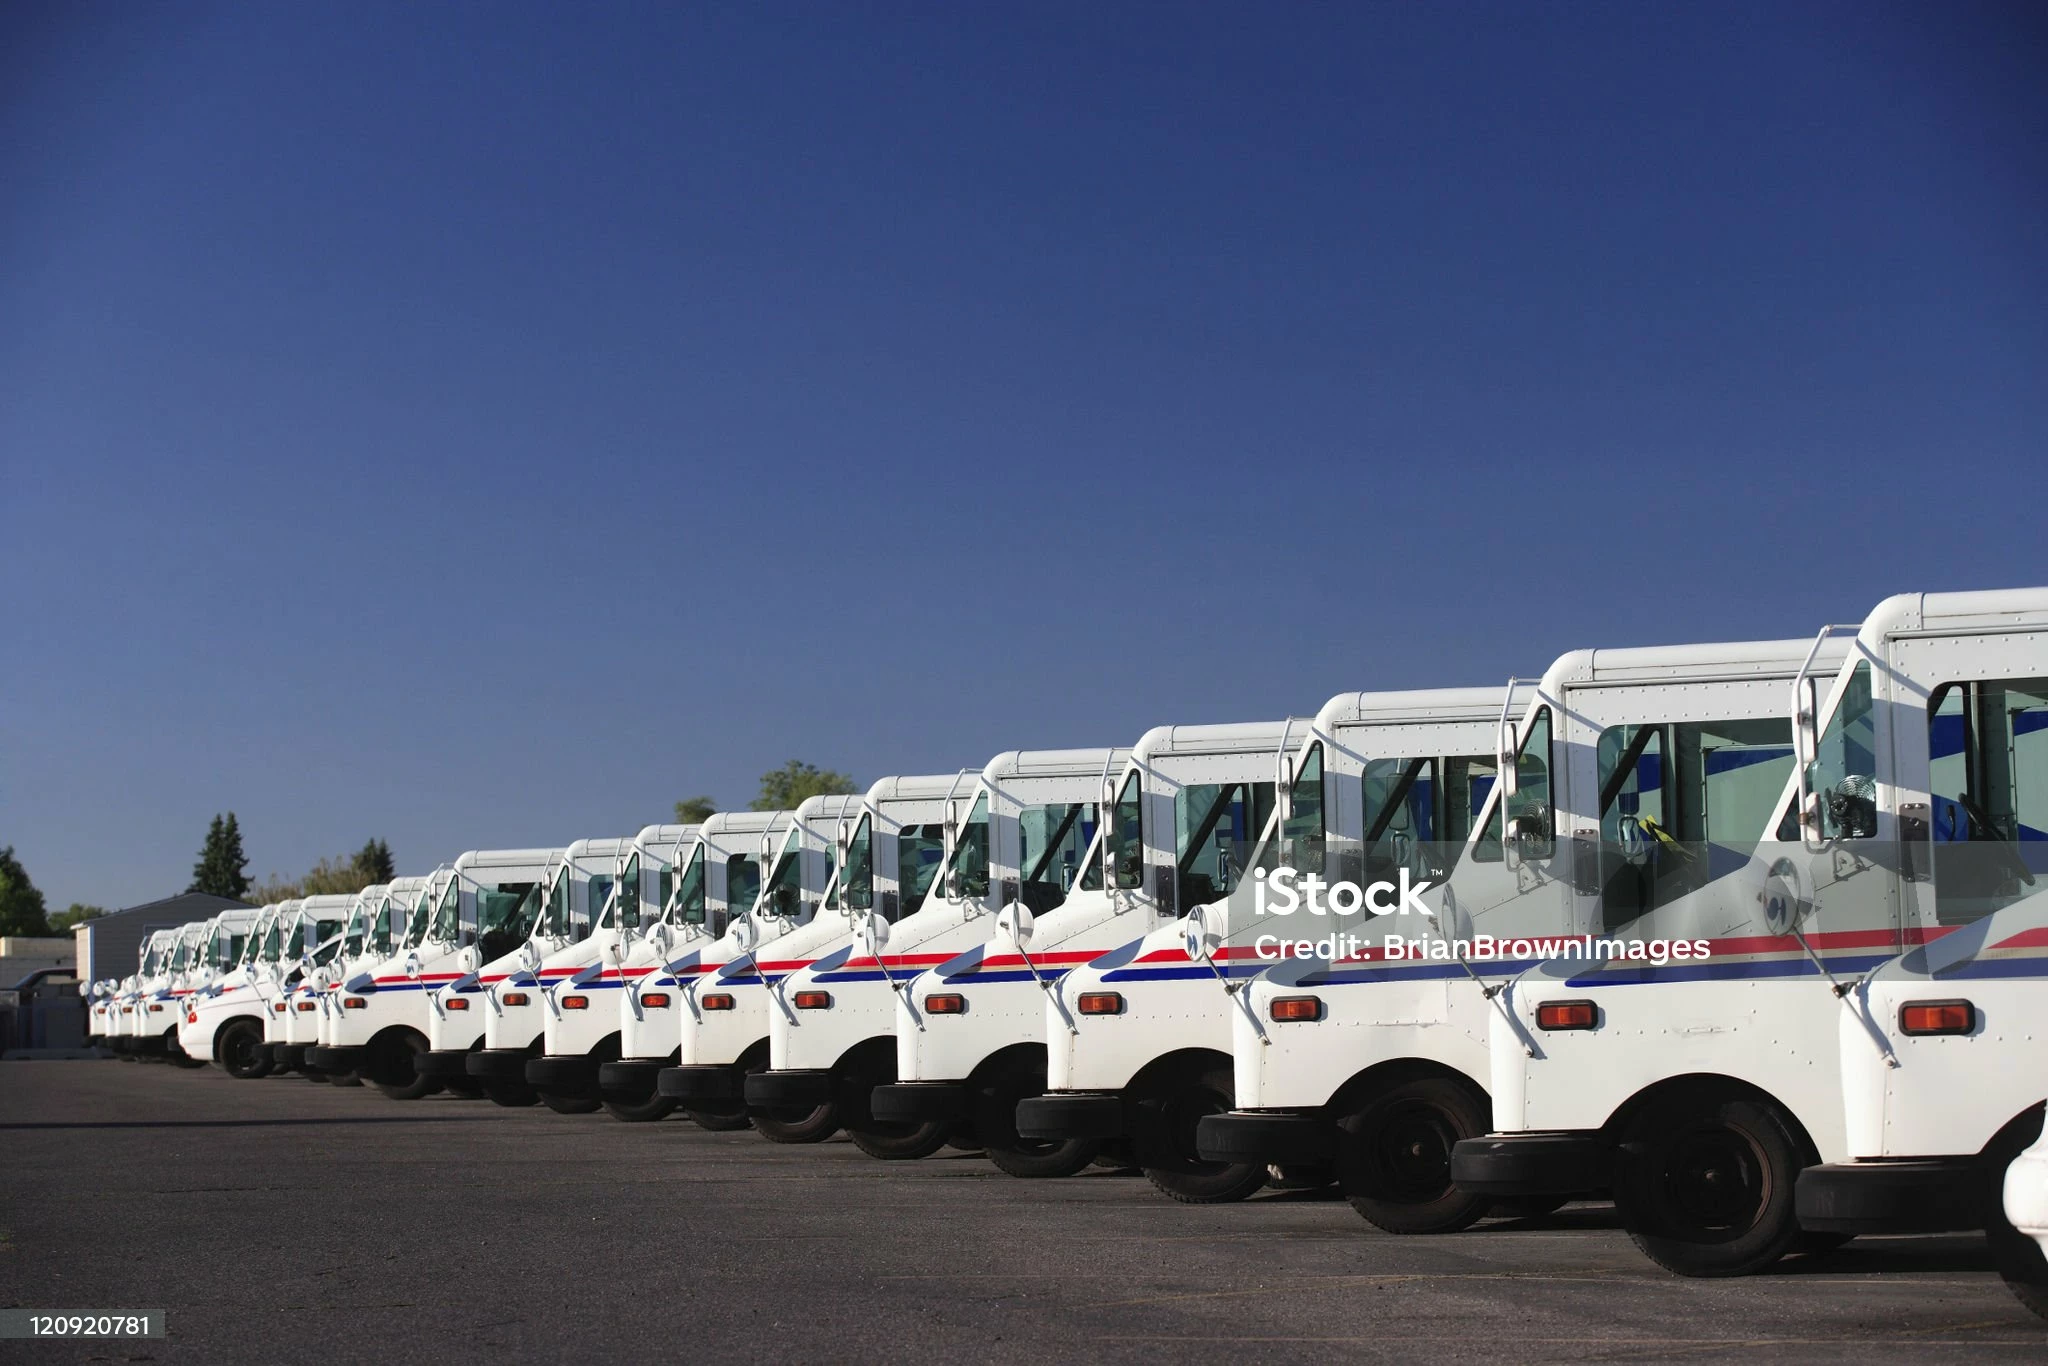
What would you suggest is the best method to use to make a clean isolation of the mail trucks in these photos? Also, do you see the area where the wheels are, and how difficult it is to distinguish between the wheels and the dark shadow region where the ground is? What is the best way to increase the contrast in that dark area so that I can make a clean selection of the mail truck? 


I would highly appreciate any feeback from anyone. Thank you enormously!!! Have a wonderful day!!!


Correct answer Conrad_C

One way to make object edges easier to see in shadow areas is to add a Curves adjustment layer that steepens the contrast in the tonal range that you need to clarify, as shown in the first demo below. 


After you make the selection, you can hide or remove the Curves adjustment layer to return the image to its normal look.


If all of the images are similar, keep in mind that you can easily reuse it for the other images by copying/pasting, dragging & dropping, or saving & loading the adjustment layer to other images, or save it as a Curves preset and apply it to other images.


But also keep in mind that the selection methods you listed are no longer the only or best options. For example, the latest AI-powered Select Subject feature does a good job of getting you an initial selection in just one click…even without having to adjust the hard-to-see dark tire edges in the shadows!


In the demo below, the steps are just:

1. Click Select Subject. In one second you get a selection good enough to use as a starting point.  

2. In the Paths panel, click Make Work Path. 

3. (not shown) Use any path-editing techniques to clean it up into a more precise path. Also, remove the unneeded subpath on the windshield. 

4. (not shown) Use the finished path as a vector mask, or convert it to a pixel (layer) mask.


Select Subject might be even more accurate when using the high-resolution, full-quality licensed version of those commercial stock images.


2 replies

Conrad_C
Community Expert
Conrad_CCommunity ExpertCorrect answer
Community Expert
August 16, 2025

One way to make object edges easier to see in shadow areas is to add a Curves adjustment layer that steepens the contrast in the tonal range that you need to clarify, as shown in the first demo below. 


After you make the selection, you can hide or remove the Curves adjustment layer to return the image to its normal look.


If all of the images are similar, keep in mind that you can easily reuse it for the other images by copying/pasting, dragging & dropping, or saving & loading the adjustment layer to other images, or save it as a Curves preset and apply it to other images.


But also keep in mind that the selection methods you listed are no longer the only or best options. For example, the latest AI-powered Select Subject feature does a good job of getting you an initial selection in just one click…even without having to adjust the hard-to-see dark tire edges in the shadows!


In the demo below, the steps are just:

1. Click Select Subject. In one second you get a selection good enough to use as a starting point.  

2. In the Paths panel, click Make Work Path. 

3. (not shown) Use any path-editing techniques to clean it up into a more precise path. Also, remove the unneeded subpath on the windshield. 

4. (not shown) Use the finished path as a vector mask, or convert it to a pixel (layer) mask.


Select Subject might be even more accurate when using the high-resolution, full-quality licensed version of those commercial stock images.


Participating Frequently
August 16, 2025

Conrad, 


I simply cannot thank you enough for taking the time out of your day to lend your expertise and provide me your incredible, step-by-step, in-depth answer to my question. Your detailed feedback is exactly what I was hoping for. I especially want to thank you for going above and beyond when you carefully explained why the Refine Edge Brush is not ideal in this type of situation. Your detailed insight truly demystifies key concepts for me. Thank you tremendously for providing these live demonstrations that actually show you performing these methods and techniques in real-time. I literally saved and archived your entire response to my computer, for my own personal edification, so that I can carefully study these techniques for future reference.  


I truly value the feedback of professionals such as yourself. It is so amazing that I can come to the internet, post a question such as this, and receive this caliber of insight on a topic, all tailored just for me. 


Peace and blessings, my friend!  

Legend
August 15, 2025

First of all, be sure to purchase a license from iStock so your usage is legal. You'll be able to download unwatermarked images.

Second, remember that tires are round, so the oval marquee tool may be of use for those. Straight edges of an object are easy to isolate with the pen or polygonal lasso.

Third, to make things easier to see, add a Levels adjustment layer and drag the black slider to the right and/or white slider to the left. This increases contrast and changes the tonal balance so that you can more easily see differences in similar tonal areas.

Finally, Photoshop has numerous tools, but AI and non-AI, to make selections and remove backgrounds.

CMass
Community Manager
Community Manager
August 15, 2025

Hey @werunhollywood


I would like to +1 to everything that @ExedyUSA mentioned, especially +1 to the third point. I also wanted to drop an article for basic selections in Photoshop here: https://adobe.ly/4ltJRiY

Refine Edge Brush will help: https://adobe.ly/417rWaE


Let us know if this helps or have any questions. 🙂 

^CM

Conrad_C
Community Expert
Community Expert
August 16, 2025
quote

Refine Edge Brush will help: https://adobe.ly/417rWaE

By @CMass


I disagree. The Refine Edge Brush tool (in Select & Mask) isn’t designed to solve this problem.


The Refine Edge Brush tool is specifically for improving ambiguous areas such as detailed hair edges and semi-transparency. It isn’t designed to find a hard edge. I tried the Refine Edge Brush tool on the dark tire edge in the first sample image, and sure enough, it made the edge worse (softer) because it wasn’t finding the fuzzy detail it was looking for.