 Adobe Community
- Home
- Photoshop ecosystem
- Discussions
- Re: Breakthrough t shirt effect
- Re: Breakthrough t shirt effect
Breakthrough t shirt effect

Copy link to clipboard
Copied
Hi guys.
I need to do some kind of graphic design to print on t shirt, similar to these in style:
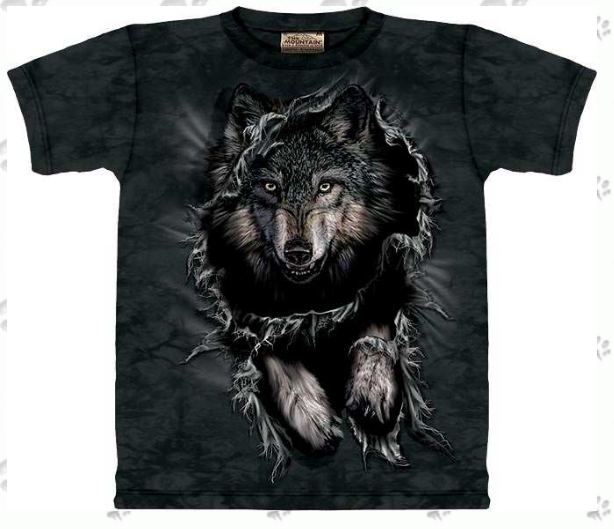
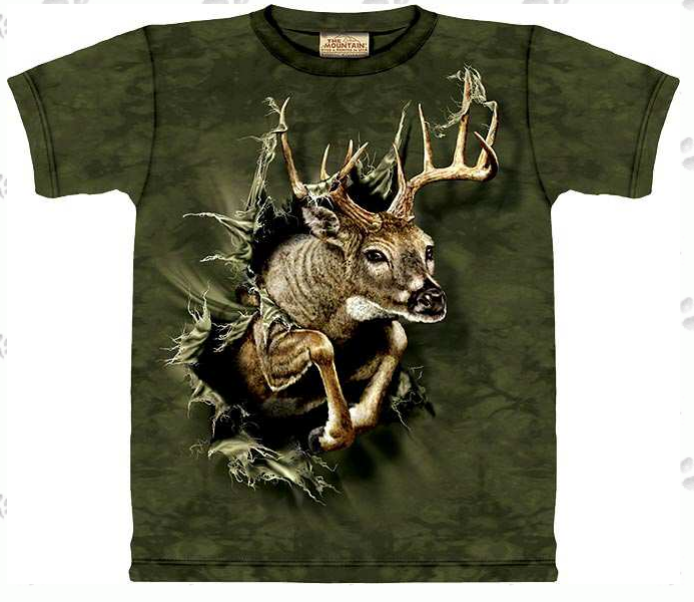
I want that "breakthrough" effect, photo really dont matter, i just dont know how to achieve it.
How i can start, any pro-tips guys? How would you do it?
Thanks! 


Explore related tutorials & articles
 14
Replies
14
14
Replies
14

Copy link to clipboard
Copied
I fail to see what this has to do with Photoshop. All that is required is some skill in conventional drawing techniques. Therefore the bad news is that nobody will be able to tell you which magic brush to use or which tutorial to look for. This is realyl about the artsy side of things, not a technical PS question.
Mylenium
Copy link to clipboard
Copied
lets say i have he image of an animal i want to use, how would you do the torn t shirt part?
would the free transforming some kind of torn material texture work?
Copy link to clipboard
Copied
As I said, it's about painting. The images are clearly elaborate airbrush work. At best you could find some stock images of torn textiles and adapt them, but otherwise it's really an artistic problem that can't be covered in a simple PS tutorial. It takes practice and understanding fundamental painting techniques like light & shadow.
Mylenium

Copy link to clipboard
Copied
Your first link was not working so I took it out, and added two pictures from the other link.
It's the sort of question where if you have to ask, you are not going to able to do it. Like Mylenium says, it is down to drawing skills whether you use Photoshop or pencil and paper. I can give you some ideas though.
Search for Torn Hole on Google images. That gets you plenty of hits with paper, but only small size images if you add fabric or cloth, but you'll find usable images if you look for holes in jeans If you search an image site like flickr, you'll have a better chance of finding decent quality high res images like this one Click on the down facing arrow and then View All sizes to download the best res version. Not forgetting to PM the owner and ask permission to use it.
Alternatively, punch a hole through a sheet of paper and photograph it against a dark background. Even illustrative geniuses like Erik Johansson use exactly such methods to make things look real. Check out this behind the scenes video of one of his illustrations
Copy link to clipboard
Copied
Hi piro, thanks for joing us this forum. I promise to you that your problem will run away from here. These works are made by Adobe Illustrator. I have one sample please check out . 
Copy link to clipboard
Copied
yeah, saw that t shirt on google, so what?
Copy link to clipboard
Copied
I think that you need to break this kind of artwork down into it's core components.
1) you need to know how to make photographs look like paintings. Photoshop can do that, but probably a third party plugin like Topaz Impression is easier if you don't want to learn a lot of new techniques. The examples in your screen shots look as if they may have been drawn by hand to me though.
2) you need to learn how to make composites using masks in order to blend the torn shirt look with the animal painting in the foreground.
3) you need to give the artwork a 3D look. Below is a video from Jesus Ramirez, that might be adaptable to your needs
4) you need to know something about commercial printing on t-shirts unless you are only going to do one or two, in which case a dye sublimation printer will do a good job with this.
All in all creating t-shirts like this is far from easy, but they retail at high prices and I imagine could be lucrative if you can master the necessary skills.
Copy link to clipboard
Copied
Adding to what others have said, there are a plethora of painting apps like Ambient Design's ArtRage, which works perfectly with Photoshop for final composition touches like Curves adjustments and the like; the only things needed are your skills at painting and drawing and most definitely a graphics tablet of some sort (like those from Wacom).
Copy link to clipboard
Copied
I had a wee look at it and came up with an easy method that might work for you.
Fill a layer with the colour of your choice, and run Filter > Texture > Texturizer > Canvas

Make a hole in it. You are going to need to make a work path of the hole at some stage, so either use the pen tool in freehand mode, or use the lasso tool. Whatever works for you. I used the freehand pen tool. Ctrl clicked the path to select it, and deleted the hole pixels. I have a black layer behind.
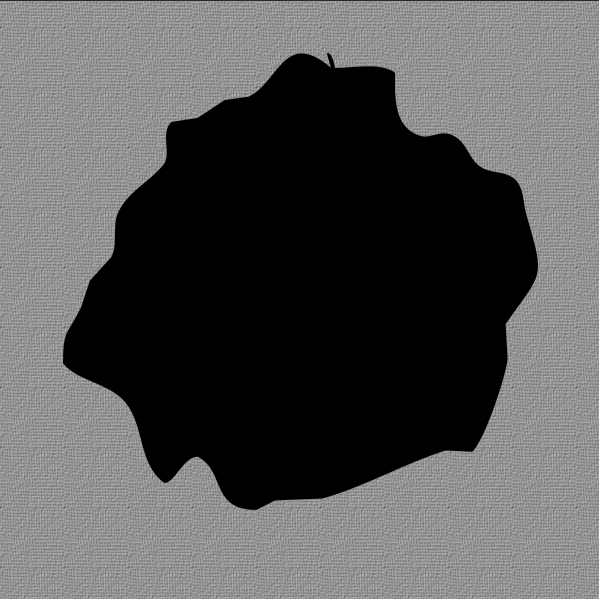
This is quick and dirty to make it easy, but it works well enough.
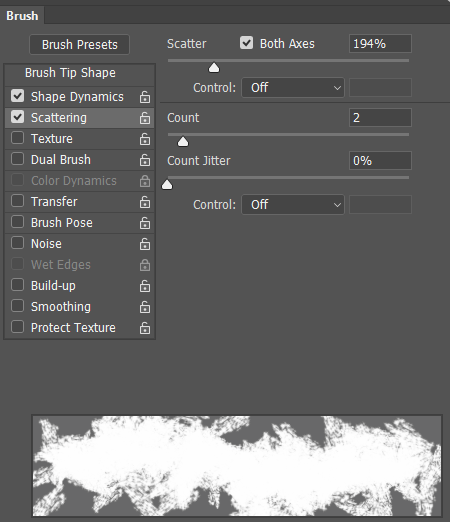
Select the Eraser tool and rough edged brush. I used this one

Give the brush 100% size jitter, and something like 200% scatter jitter. The preview will look like this
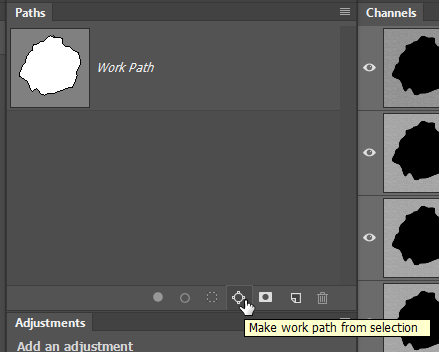
If you used a workpath to make the hole you are good to go. If you used a selection, you need to make selection into a path using this icon in the paths panel
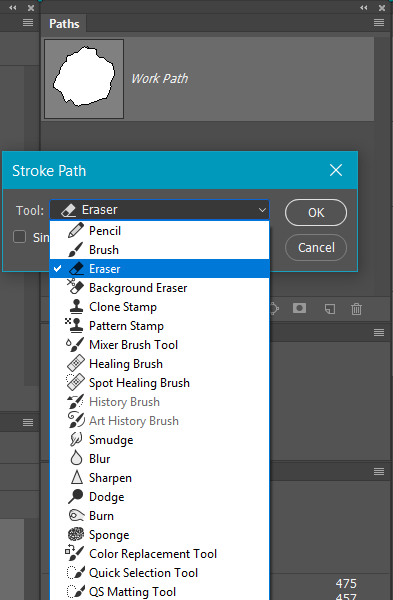
OK, select the layer with the hole. Right click the workpath and choose Stroke path, and in the drop-down chose Eraser
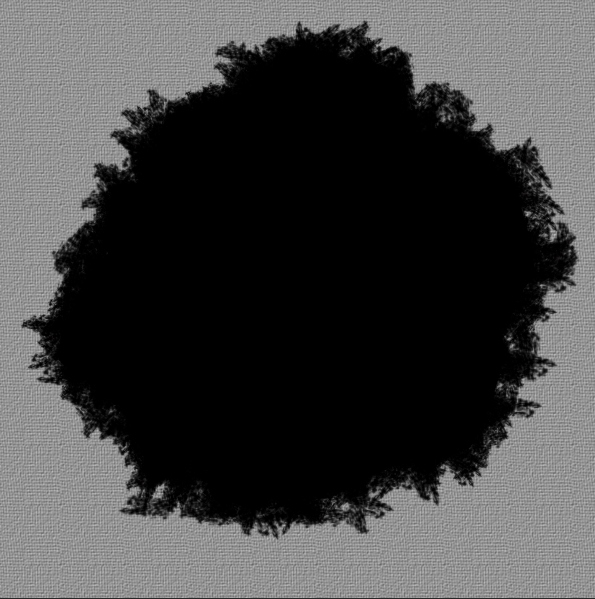
Which gives you something like this
Place your cutout animal in the hole, and Ctrl click the hole to load the selection, and use that as a guide to paint out relevant areas in the animal layer's layer mask.

Add a curves layer and clip it to the animal layer. You can see I have choked the brightness way way down. You need to set the blend mode to Luminosity to prevent crazy colour changes with a radical curves layer.

Now either paint the shading in with a large fully soft brush, or use the gradient tool set to foreground to transparent, with white as the foreground colour, and run as many gradient as you need to do the shading. I actually added another layer at the top of the stack and feathered in some black to fade the animal into the hole. Note that I coped the animal layers mask to that layer.

To add some fried cloth I have used one of my hair brushes
But turned it 90° and stroked that path again, except I Free Transformed the path to make it bigger.
That gets you to this sort of thing

Without writing this thread, the above is five to ten minutes work, and I would expect to take an hour to it properly with better shading and highlights, but it might put you on track.
Copy link to clipboard
Copied
nice one Trevor

Copy link to clipboard
Copied
Similarly to Trevor I knocked up a quick example.
The background is just a Colour fill layer with a textured pattern and clouds overlayed
The tear is a jagged shape drawn quickly with the freeform pen tool. Then some shading added to give depth.
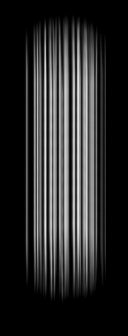
The threads are brushed on with round brush
The tiger is masked
I added drop shadows to several layers to enhance the depth
If blending mode or opacity is anything other than normal or 100% I have shown it on the layer label
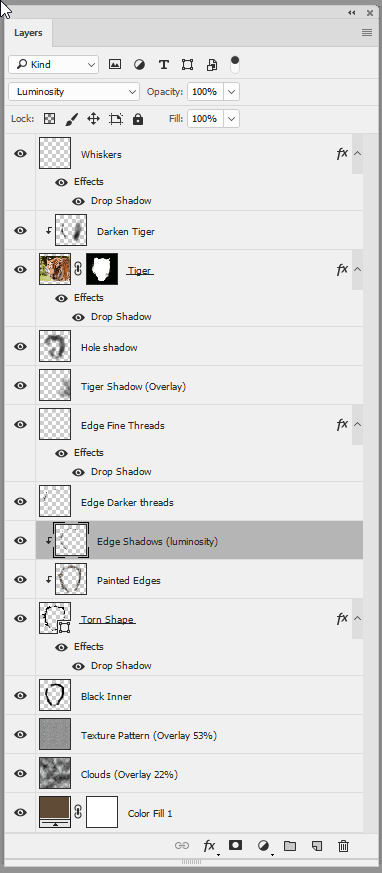
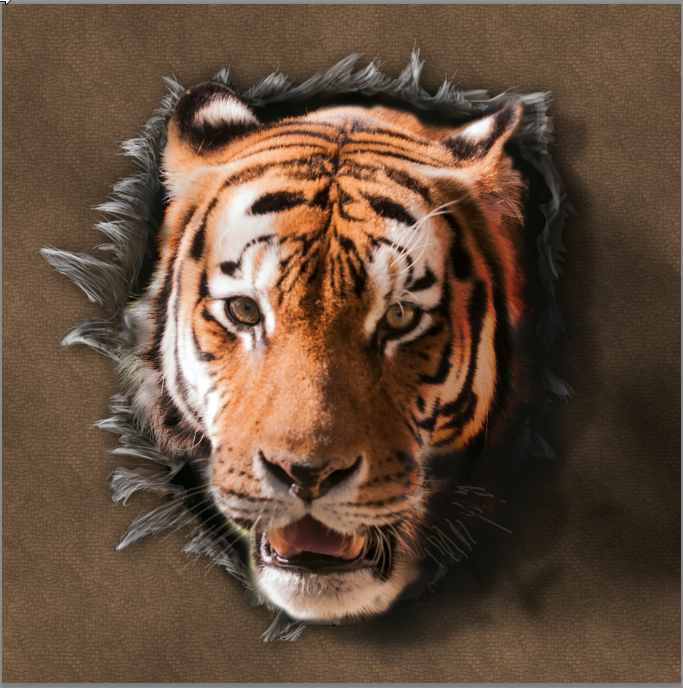
I hope that helps you
Dave
Copy link to clipboard
Copied
Woah!!! Way too scary Dave. You need to warn us before putting up pictures like that.
Copy link to clipboard
Copied
Haha. It could have been worse Trevor 
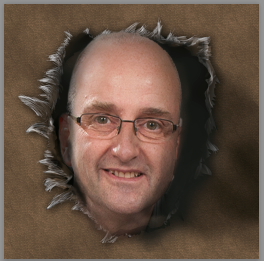
Dave
Copy link to clipboard
Copied
holymoly guys, thanks for help ❤️

 AdChoices