Burn Tool Help
Copy link to clipboard
Copied
how do you use the burn tool for a shading
Explore related tutorials & articles
Copy link to clipboard
Copied
You've accidentally posted in the Dreamweaver forum. I'll move you over to the Photoshop forum: Photoshop
Copy link to clipboard
Copied
Good on you for asking about the Burn tool. The Dodge and Burn tools are sadly under rated, and tend to get a bad press, but they are much more useful than some of the so called 'non-destructive' methods of darkening, and lightening parts of an image, and a big part of why that is so, is that they can target tonal ranges.
Here's a wee image for you to try it out on. Click to expand it, then right click and copy, and paste into Photoshop.

Select the burn tool, and set it to 50% and Shadows. Uncheck Protect Tones, and make the brush fully hard, and set its spacing to 10% (in the Brush panel (F5))

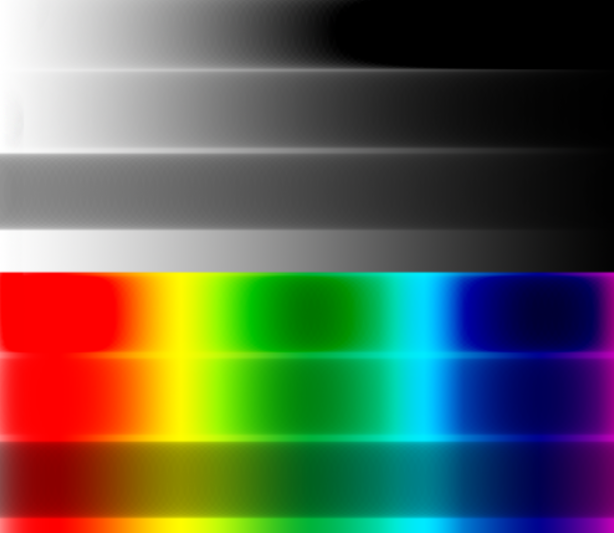
Now paint across the top of the white to black gradient, and then the rainbow.
Set the Range to Midtones and repeat, and the same again with Highlights
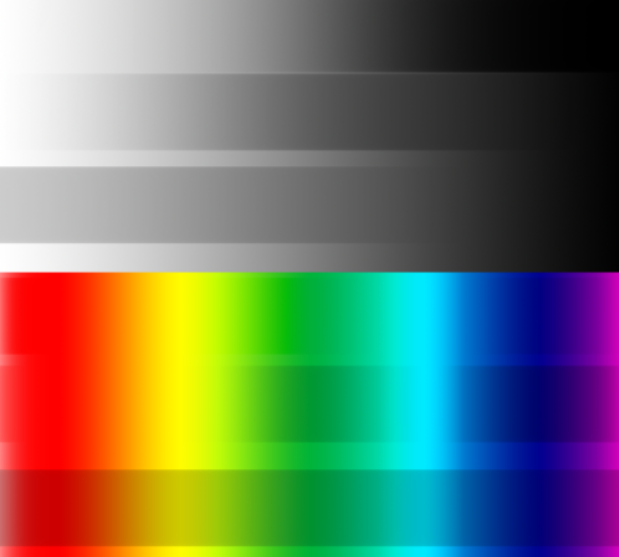
This is the result

Now undo those strokes, and repeat with Protect Tones turned on. It makes a marked difference

Choosing the appropriate (I am not going to say 'correct', as there is no right or wrong — just what effect you are aiming for) makes a big difference to things like local contrast. You can make highlights look muddy grey, for instance. I tend to keep Protect Tones turned on all the time, and I use these tools a lot.
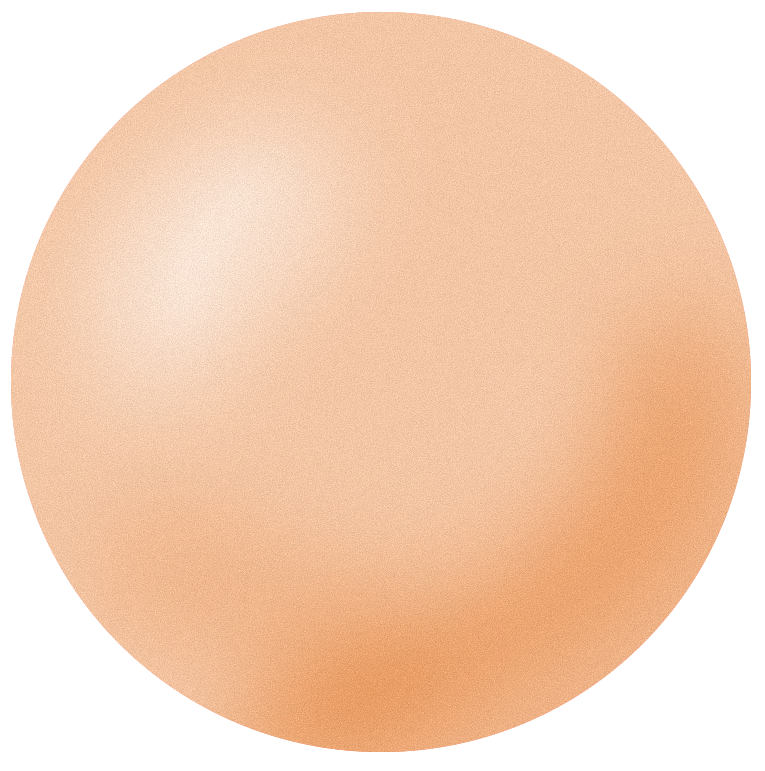
Don't forget the Dodge tool. Something I would use these tools for is fixing blown skin tones.
Paint over the burnt out area with a low opacity brush (20%) continuously selecting the colour from surrounding areas.
Then use Dodge & Burn to add shadows and highlights to give it depth, and lastly add some texture to make it look like skin, and not plastic. I have brush presets for the texture, but Filter > Camera RAW > fx > Grain works well.


